Icom ID-5100 controller head speaker mounting bracket
prusaprinters
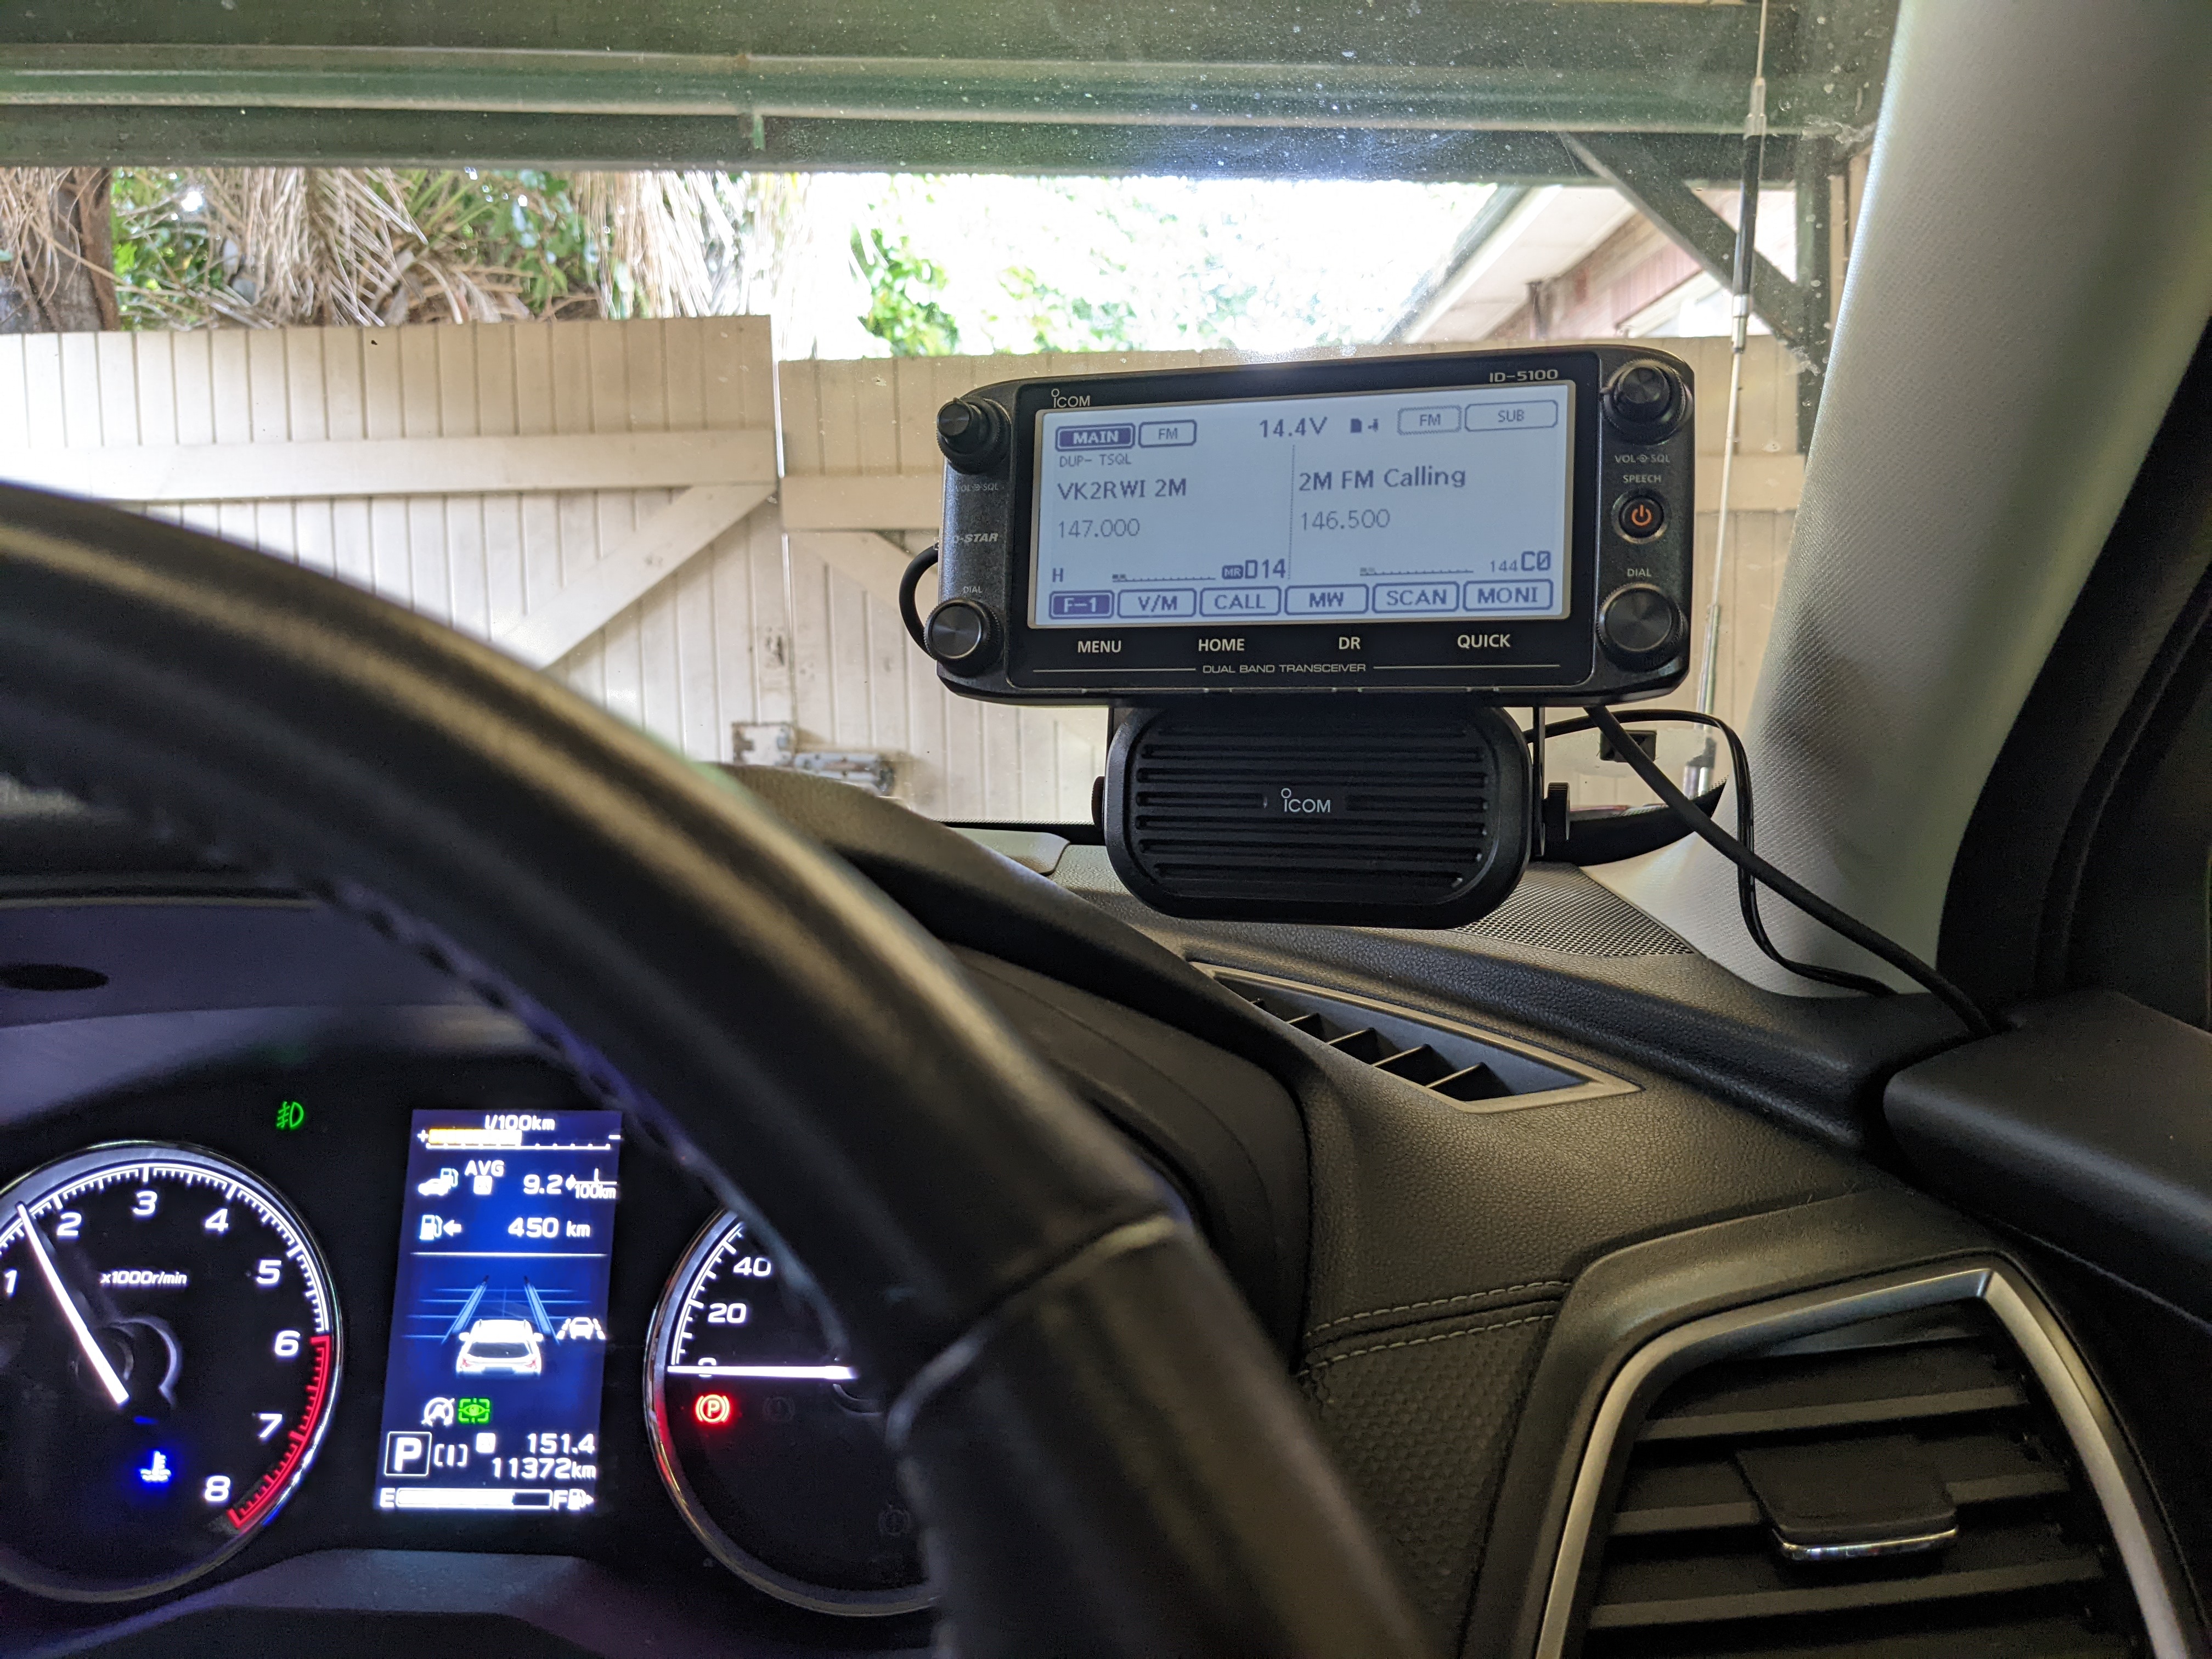
<p>For some time, I'd used a pair of zip ties to keep the SP-35 speaker attached to the suction cup mount for the Icom ID-5100 controller head, but this 3d printed bracket is a sturdier (and tidier!) solution.</p><p>You will need:</p><ul><li>The Icom ID-5100 (may worth with other radios, but I don't have any others to test)</li><li>The Icom MBA-2 magnetic mounting bracket, which should have come with the radio</li><li>The Icom MBF-1 suction cup</li><li>The Icom SP-35 speaker (again, may work with other Icom speakers; I don't know if the mounting hole pattern differs)</li><li>The printed parts - one copy of ‘ID-5100 Speaker Mount’, and two of 'ID-5100 Speaker Mount Plastic Washer)</li><li>Six M3 screws; six M3 nuts; two M3 washers</li></ul><p>Assembly instructions:</p><ul><li>Push the M3 nuts into the recesses in the bracket</li><li>Seat the controller head side of the ball mount adapter from the MBF-1 suction cup mount into the circle cut-out</li><li>Attach the MBA-2 magnetic mount to the other side of the 3d printed bracket, and tighten the MBF-1's ball mount adapter to keep the MBA-2 in place</li><li>Screw four M3 screws through the holes in the MBA-2 into the four nuts placed at the corners of the 3d printed bracket</li><li>Using the two remaining M3 screws, two M3 washers and the two 3d printed plastic washers, attach the SP-30 bracket to the other face of the 3d printed bracket</li></ul><p>The printed parts in the photos were sliced in SuperSlicer, and printed using eSUN PETG with a 0.3mm layer height on a Prusa MK3s+ running Klipper.</p>
With this file you will be able to print Icom ID-5100 controller head speaker mounting bracket with your 3D printer. Click on the button and save the file on your computer to work, edit or customize your design. You can also find more 3D designs for printers on Icom ID-5100 controller head speaker mounting bracket.