idler for jgmaker artist-D
thingiverse
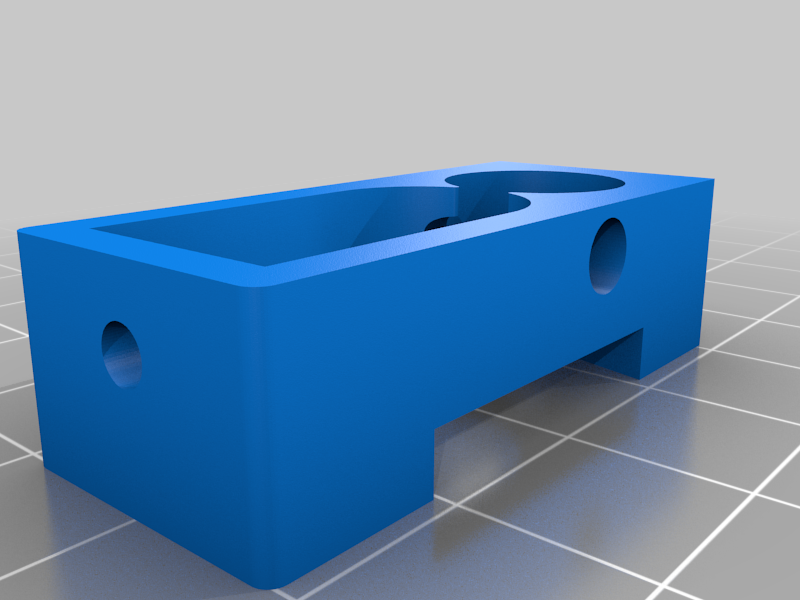
Pièce de remplacement pour les extrudeurs de l'imprimante jgmaker artist-D. la vis du roulement est changé par une vis M3x8mm. Replacement part for the jgmaker artist-D printer extruders. the bearing screw is changed by M3x8mm screw. - remove the nozzle by pressing the lowest push button. - remove the 2 push screws located on the side (for changing nozzle and for loading filament) - remove the filament -remove the tablecloth -remove the 2 screws above the carriage holding the belt -Unscrew the 4 screws of the extruder cover held on the mgn -all the block should fall -Unscrew the 2 screws located on the top (on either side of the pneufit -Unscrew the 2 screws located on the front of the cover (where there were the push buttons) -the cover should separate from the extruder block -Remove the 2 screws holding the connector plate -remove the connector from the nema -Remove the 2 screws holding the fan to the nozzle -Remove the 2 screws of the radiator cooling fan - unscrew the pneufit -Unscrew the 2 screws holding the nema to the radiator - remove the nema from the radiator - remove the part to be changed (pay attention to the spring). -remove the bearing and put it on the new part (I changed the screw for m3x8) -insert the part and the spring while maintaining pressure on the part and add the nema, make small rotations of the nema so that it fits correctly (the nema must come pressed against the radiator) - screw the nema back to the radiator - screw the fan back to the radiator -pass the filament by pressing on the new part, to test the insertion of filament - insert the tablecloth -fix the pneufit without the ptfe -insert the ptfe into the pneufit until it stops -insert the nozzle (the ptfe protruding from the nozzle may need to be cut because on all my nozzles almost all have a different height! If there is a cut, bevel the tip of the ptfe with a pencil sharpener so that it s 'fits well in the room) - make an extrusion test to see if it is good -if ok, screw everything back! NB: for the right extruder, there is a small complication since it is necessary to remove the screw located at the top of the carriage allowing the height adjustment. Removing it is easy, however, putting it back on less!
With this file you will be able to print idler for jgmaker artist-D with your 3D printer. Click on the button and save the file on your computer to work, edit or customize your design. You can also find more 3D designs for printers on idler for jgmaker artist-D.