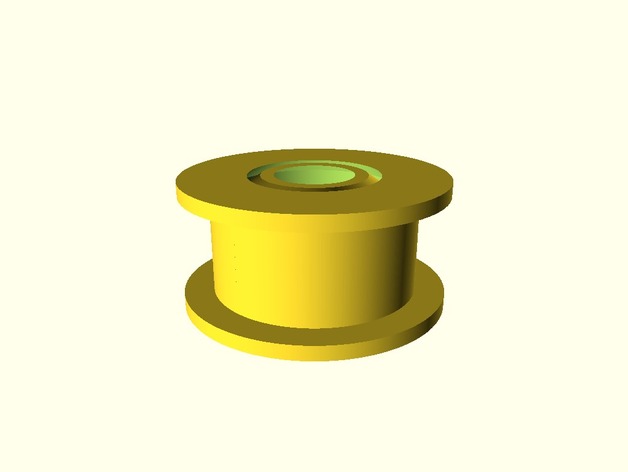
Idler Pulley Bearing, Prints Fully Assembled
thingiverse
This is a fully parameterized all-plastic bearing for use as an idler pulley which prints fully assembled. The provided stl file works with GT2 belts, but the OpenSCAD script should be easily adjustable for other sizes. I created this just to see if it could be done. I think it is sufficiently stable and sturdy that you could use it successfully on a printer and get adequate results. It rolls very smoothly, but it does not achieve the rigid stability of a well machined metal part. There is a bit of axial wobble that is a necessary consequence of leaving enough clearance for the part to print without fusing. The OpenSCAD script attempts to estimate the amount of this wobble for the given parameters. It is necessary to calibrate your printer before printing this, with particular attention to the effective extrusion width and extrusion rate. Errors in calibration will cause the bearing to fuse. The included stl file is for 0.5mm clearance, and there is an extra stl file for a looser bearing with 0.6mm clearance. I obtained similarly shaped metal bearings with rims for $2.20 each, while this fully printed piece requires about $0.03 worth of plastic. Perhaps someone out there has a use which will benefit from that cost difference. Print Settings Printer: HICTOP 3DP-11 Rafts: No Supports: No Resolution: 0.5 x/y, 0.2 z, 1.5 perimeter, 1.0 top/bottom Infill: 50% Notes: Calibrate carefully for the resulting line widths after extrusion. Post-Printing Conditioning the bearing If it printed slightly fused, you might be able to wiggle it out. If this does not work with a little pressure and twisting, then it is unlikely to do so without damaging the bearing. Try a larger clearance or try to better calibrate your printer. Smoothing the inside: 1) Take an M5 bolt with a corresponding nut and tightly clamp them through the bearing. 2) Place the protruding end of the M5 bolt into a drill. (Use safety goggles and other precautions! If you do not know how to do this safely, do not attempt it.) 3) Spin the inside of the bearing while the outside is held stationary. Needle-nose pliers can be used to hold the outside if you do not want to hold it by hand, but try not to scratch it. 4) Gradually increase the drill speed and make sure it has contacted all parts of the outside evenly while at high speed. This should smooth over any minor printing errors inside. 5) Unbolt it and then lubricate inside the bearing. (You can only lubricate after the drilling step, or the drilling step will not work as well.) How I Designed This I saw many bearing designs that attempted to make bearings by emulating the rolling friction or gear designs used with metal, but I think this is the wrong approach. PLA has very smooth sliding friction with circular surfaces that are rendered with a high polygon count, so this bearing uses this simpler principle.
With this file you will be able to print Idler Pulley Bearing, Prints Fully Assembled with your 3D printer. Click on the button and save the file on your computer to work, edit or customize your design. You can also find more 3D designs for printers on Idler Pulley Bearing, Prints Fully Assembled.