Ikea Dioder Clip-on Mount with Illuminated "UltiMaker" Letters
thingiverse
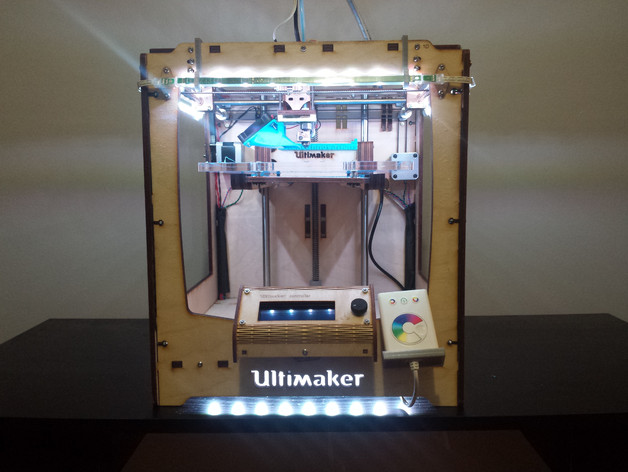
This mount needs only 2 screws for the complete kit. It uses no adhesives and can be removed in minutes. You will need: (6) - Ultimaker_Dioder_Mount (2) - Light_Bar (1) - Logo_Back_Plate (1) - Controller_Mount Instructions Instructions: 1 - Put 2 Ultimaker_Dioder_Mounts on 3 LED strips. 2 - Put the top of the bracket on the top edge of the Ultimaker. 3 - Push the bottom under the bottom of the frame - it should snap into place. 4 - Put 2 screws into the bottom 2 holes of the ultimaker 10mm work best. 5 - Place the remaining Dioder strip into the 2 LIght_Bar_Mount. 6 - Tip the Machine back and screw the screws through the bottom of the Ultimaker and into the holes on the Light_Bar_Mount. 7 - Push the Logo_Back_Plate nob from the inside of the bottom into the "i" hole to hold it in place. 8 - Connect up all the wires. 9 - Enjoy.
With this file you will be able to print Ikea Dioder Clip-on Mount with Illuminated "UltiMaker" Letters with your 3D printer. Click on the button and save the file on your computer to work, edit or customize your design. You can also find more 3D designs for printers on Ikea Dioder Clip-on Mount with Illuminated "UltiMaker" Letters.