IKEA Enclosure Wiring Channel
thingiverse
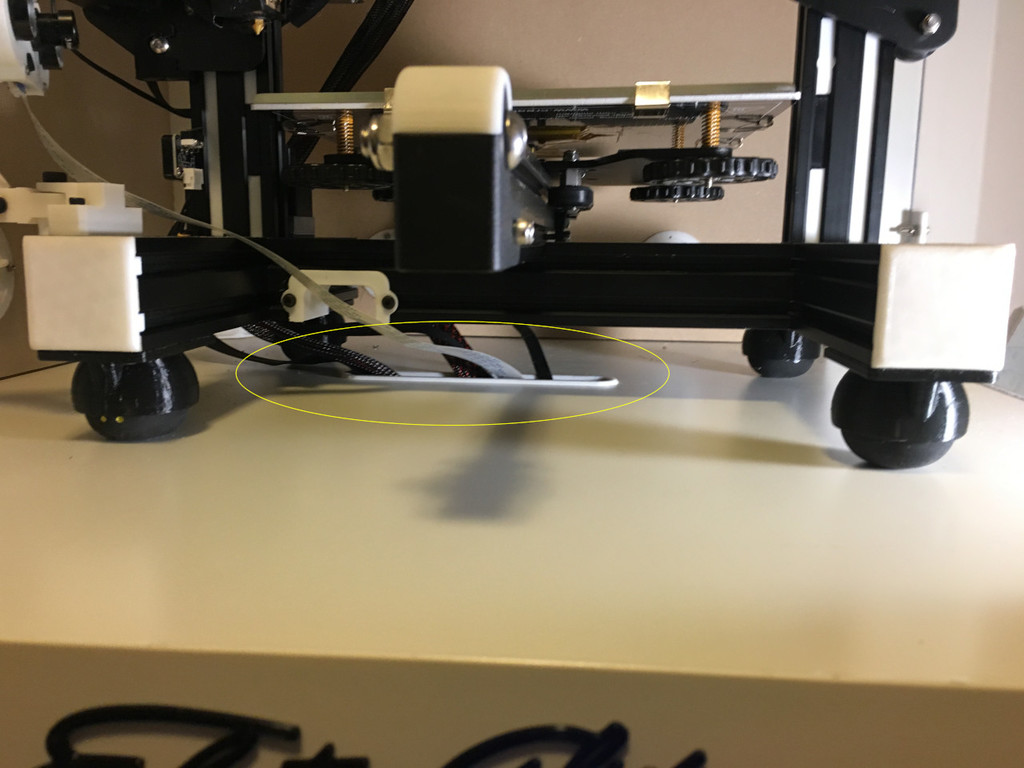
This is a wiring channel that I created when I moved the electronics to the outside of the IKEA enclosure. I hope you find it useful. The following parts were used: Printed parts: 1 each - Thing A 1 each - Thing B 2 each - Thing C Other parts: 2 each 3mm screws 2 each 3mm nuts Notes: The size of the hole to cut for the channel is 15 mm Wide X 150 mm Long; put it wherever you like in your enclosure. It's a tight fit however the channel should be snug enough to not move or rattle. Thing A and Thing B are held together with 2 - 4mm screws and 2 - 4mm nuts. The nuts are inserted into ThingA; you can see this in one of the illustrations above. There are also two small half-round dome-type pieces (ThingC), these allow the 4mm screw to counter-sink within these half-round pieces to cover up any sharp edges from the screw. The entire thing can be flipped horizontally with the 4mm screws on the top or the bottom; your choice.
With this file you will be able to print IKEA Enclosure Wiring Channel with your 3D printer. Click on the button and save the file on your computer to work, edit or customize your design. You can also find more 3D designs for printers on IKEA Enclosure Wiring Channel.