Ikea Navlinge Light Dimmer
thingiverse
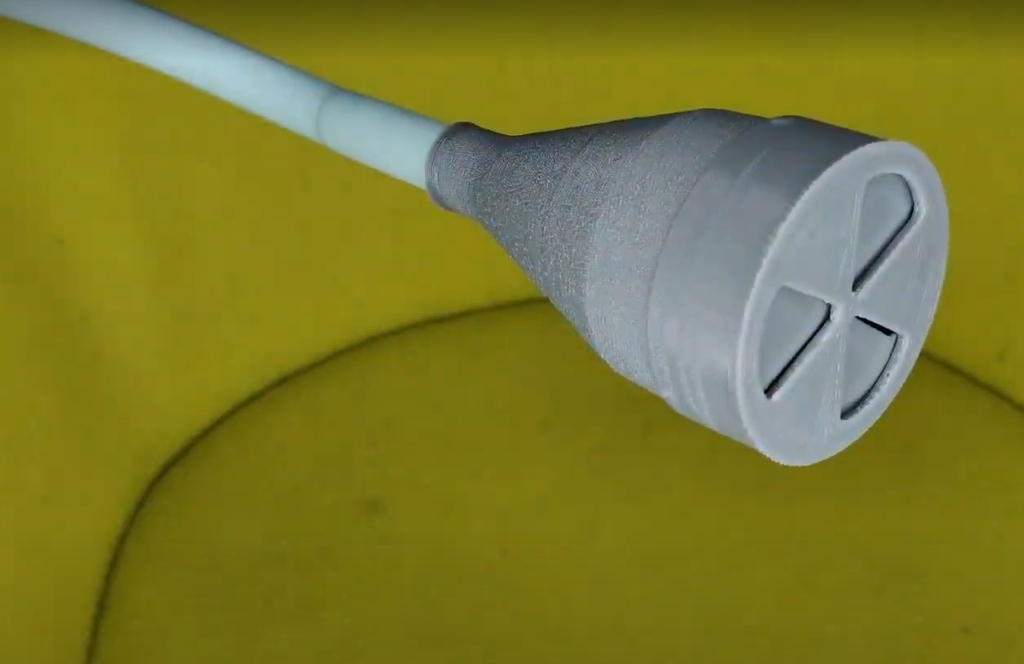
Ikea [Navlinge](https://www.ikea.com/it/it/cat/naevlinge-serie-45239/) light dimmer. Just rotate the moving part of 120° to dimmer the light from ~0% to ~100%. [Assembling video](https://youtu.be/hPaWQdvRIXA) Made of 3 parts: 1- the main body 2- the frontal insert 3- the rotating knob. *PRINTING INSTRUCTIONS* All parts are optimized for 0.8 line width (you do not need a larger nozzle, just increase extrusion with in cura using the standard 0.4mm nozzle) **Main body** - must be printed in spiralized outer contour - the shorter radius must be placed in the build plate (see blue surface in image) - add brim to achieve more stability - optimized for 0.6-0.8 line width (you do not need a larger nozzle, just increase extrusion with in cura using the standard 0.4mm nozzle) - set the bottom thickness to 2mm or more, this part is screwed together to the lamp **frontal insert** - must be printed in spiralized outer contour - the cavity part must be placed in the build plate with the locking mechanism on the upper part (see blue surface in image) - optimized for 0.6-0.8 line width (you do not need a larger nozzle, just increase extrusion with in cura using the standard 0.4mm nozzle) - set the bottom thickness to 2mm. This part is the one that guarantees the ~0% of light **rotating knob** - must be printed in spiralized outer contour - the cavity part must be placed in the build plate with the locking mechanism on the upper part (see blue surface in image) - optimized for 0.6-0.8 line width (you do not need a larger nozzle, just increase extrusion with in cura using the standard 0.4mm nozzle) - set the bottom thickness to 2mm. This part is the one that guarantees the ~0% of light *ASSEMBLING INSTRUCTIONS* > [assembling video](https://youtu.be/hPaWQdvRIXA) - Unscrew the *lamp* from the IKEA support - Insert the *lamp* in the *main body* and snap it inside it - Firmly holding the *body+lamp* assembly to avoid unwanted rotations screw back the lamp in the IKEA support until it is blocked - Snap in the *frontal insert* in the main body. You must lock the parts following the 3 locking pins - Snap in the *rotating knob* in the frontal part. - Now the knob should freely rotate 360° and the body should be locked in place [HERE](https://www.thingiverse.com/thing:4976693) you can find a similar project from jaroslavkovar ENJOY
With this file you will be able to print Ikea Navlinge Light Dimmer with your 3D printer. Click on the button and save the file on your computer to work, edit or customize your design. You can also find more 3D designs for printers on Ikea Navlinge Light Dimmer.