Ikea RIBBA Led Frame
thingiverse
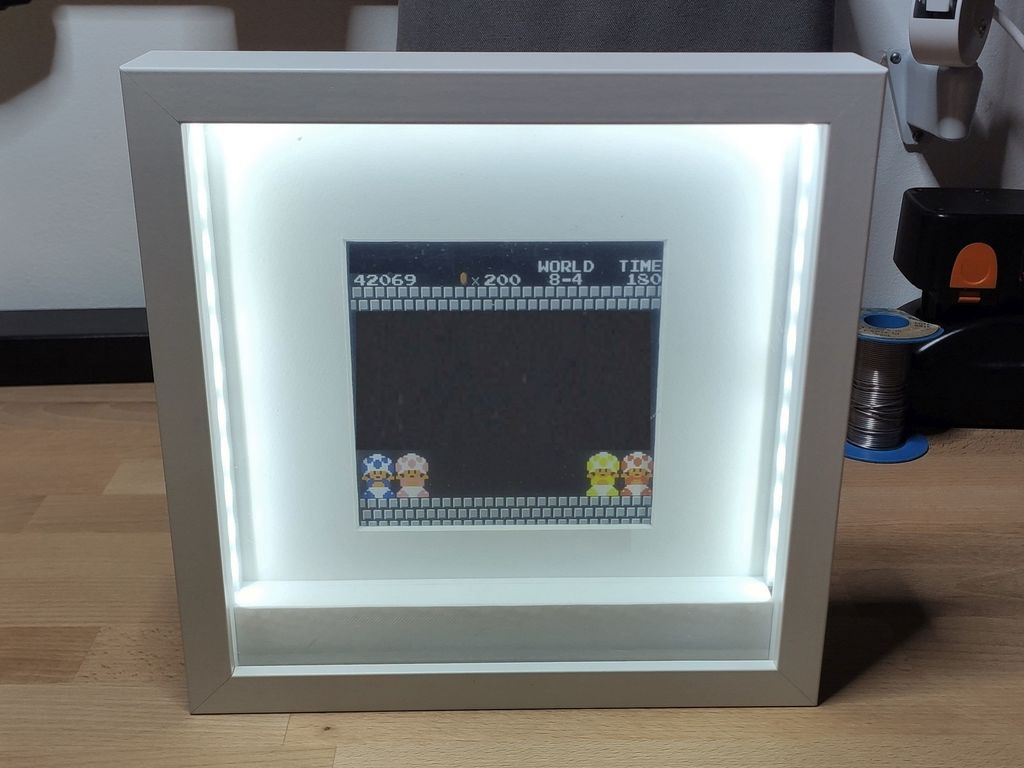
It started as a wedding present, but quickly got out of hand so that it would be a shame not to share it. Attention: You need a minimum buildplate of at least 235x235mm. <h2>Parts</h2> <ul> <li>a 18650 Cell</li> <li>Tp4056 Micro USB 5V 1A Charger Module</li> <li><a href="https://ebay.us/lrXt36">a LED-Stripe</a></li> <li>two M3 Brass Inserts</li> <li>some Wires</li> <li>Superglue</li> </ul> First of all: You need to disassemble the LED Stripe Battery Pack. It delivers the Switch and the Stripe for this Project. After Printing the Base, Insert two brass M3 fittings on the side of it. Scrape the battery poles free and solder two wires to the corresponding BAT+ and BAT- contacts of the TP4056. Be careful not to unnecessarily heat the battery. Then solder a new wire from OUT- to the negative pole of the LED strip. Between the positives and OUT+ you solder the switch. Be patient as you thread the wire to the switch, it's pretty tight. That’s it. Now glue the led strip in the edge of the frame. I don't particularly trust the adhesive strip, so I use a few drops of superglue on the corners. At the end, cut off the excess strip. If not already done, put the battery in the gaps, lay the cables and clamp the charging module in the base as shown in the pictures. If the charging module or the Battery wobbles, glue it in place with a little hot glue. Finally screw the Frame to the Base by 2 short M3 Screws. The rest is simple, put on the back cover, put on your most beautiful cat picture in and close the picture frame with the metal clips on the side.
With this file you will be able to print Ikea RIBBA Led Frame with your 3D printer. Click on the button and save the file on your computer to work, edit or customize your design. You can also find more 3D designs for printers on Ikea RIBBA Led Frame.