Ikea Samla Filament Container
thingiverse
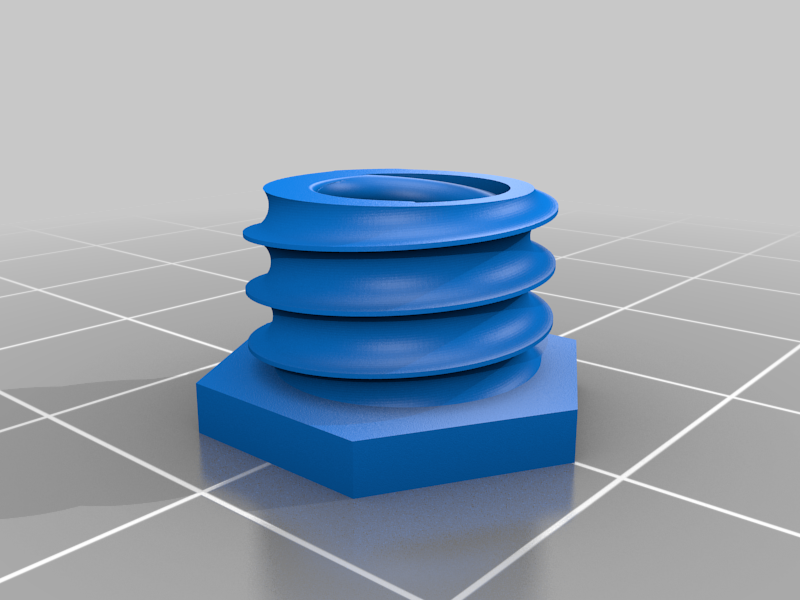
This is what I use to store my filament. There are four removable inserts for filament to feed through, and two end pins to cover a 6mm steel rod that acts as the axle. Printed parts: 4 x RearNut 4 x MainThread 4 x CorelessPlug 2 x EndPin Bought parts: 320mm length of 6mm steel rod 40mm PTFE tubing (4mm outside diameter used) Assembly: Remove the supports from the Coreless plugs if you wish to have them unsealed, and add 10mm of PTFE tubing. This should be quite tight. You can use a knife to cut it to a flush finish. Add the end pins to the 6mm rod Cut an 8mm hole at each end of the container Add four filament spools to the rod, then attach the rod to the container by inserting one end in, then sliding the other end into place. The container should flex outwards slightly. Cut 4 x 12mm holes along the long edge of the container where you want the filament exit holes to be. Adding the filament rolls in ahead of time helps line this up. Add the filament exit plugs by inserting the MainThread through the hole, attaching the RearNut, then adding the CorelessPlug to the middle. Add some form of moisture absorber to the bottom of the container (e.g. silica beads)
With this file you will be able to print Ikea Samla Filament Container with your 3D printer. Click on the button and save the file on your computer to work, edit or customize your design. You can also find more 3D designs for printers on Ikea Samla Filament Container.