Ikea Skadis to Raskog Adapter Assembly
thingiverse
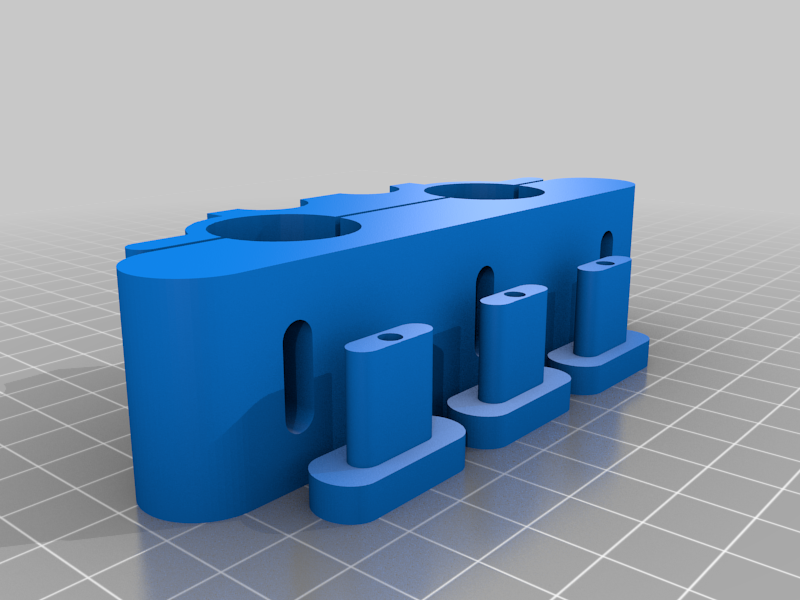
You got your Skadis on my Raskog! - Two great tastes that taste great TOGETHER! I wanted to add some more usability to my Raskog cart. I figured I can hang some of my longer or more used tools by attaching some Skadis panels to it. This assembly facilitates that in a fairly inobtrusive manner. Installation is pretty straightforward but I think I may modify the hardware size and right now the holes for the hardware need to be opened a bit more but they are usable and are gripping pretty well to the uprights on the side of the Raskog. I used two assemblies per panel but one might be sufficient if you mount the standoff that is included with the Skadis panels. Needed for full construction: 1x Raskog Cart 2x Skadis 14" panels 4x printed assemblies 12x M3 bolts (sizing varies) 12x M3 heat-press knurled nuts
With this file you will be able to print Ikea Skadis to Raskog Adapter Assembly with your 3D printer. Click on the button and save the file on your computer to work, edit or customize your design. You can also find more 3D designs for printers on Ikea Skadis to Raskog Adapter Assembly.