Illuminated Bling Ring
prusaprinters
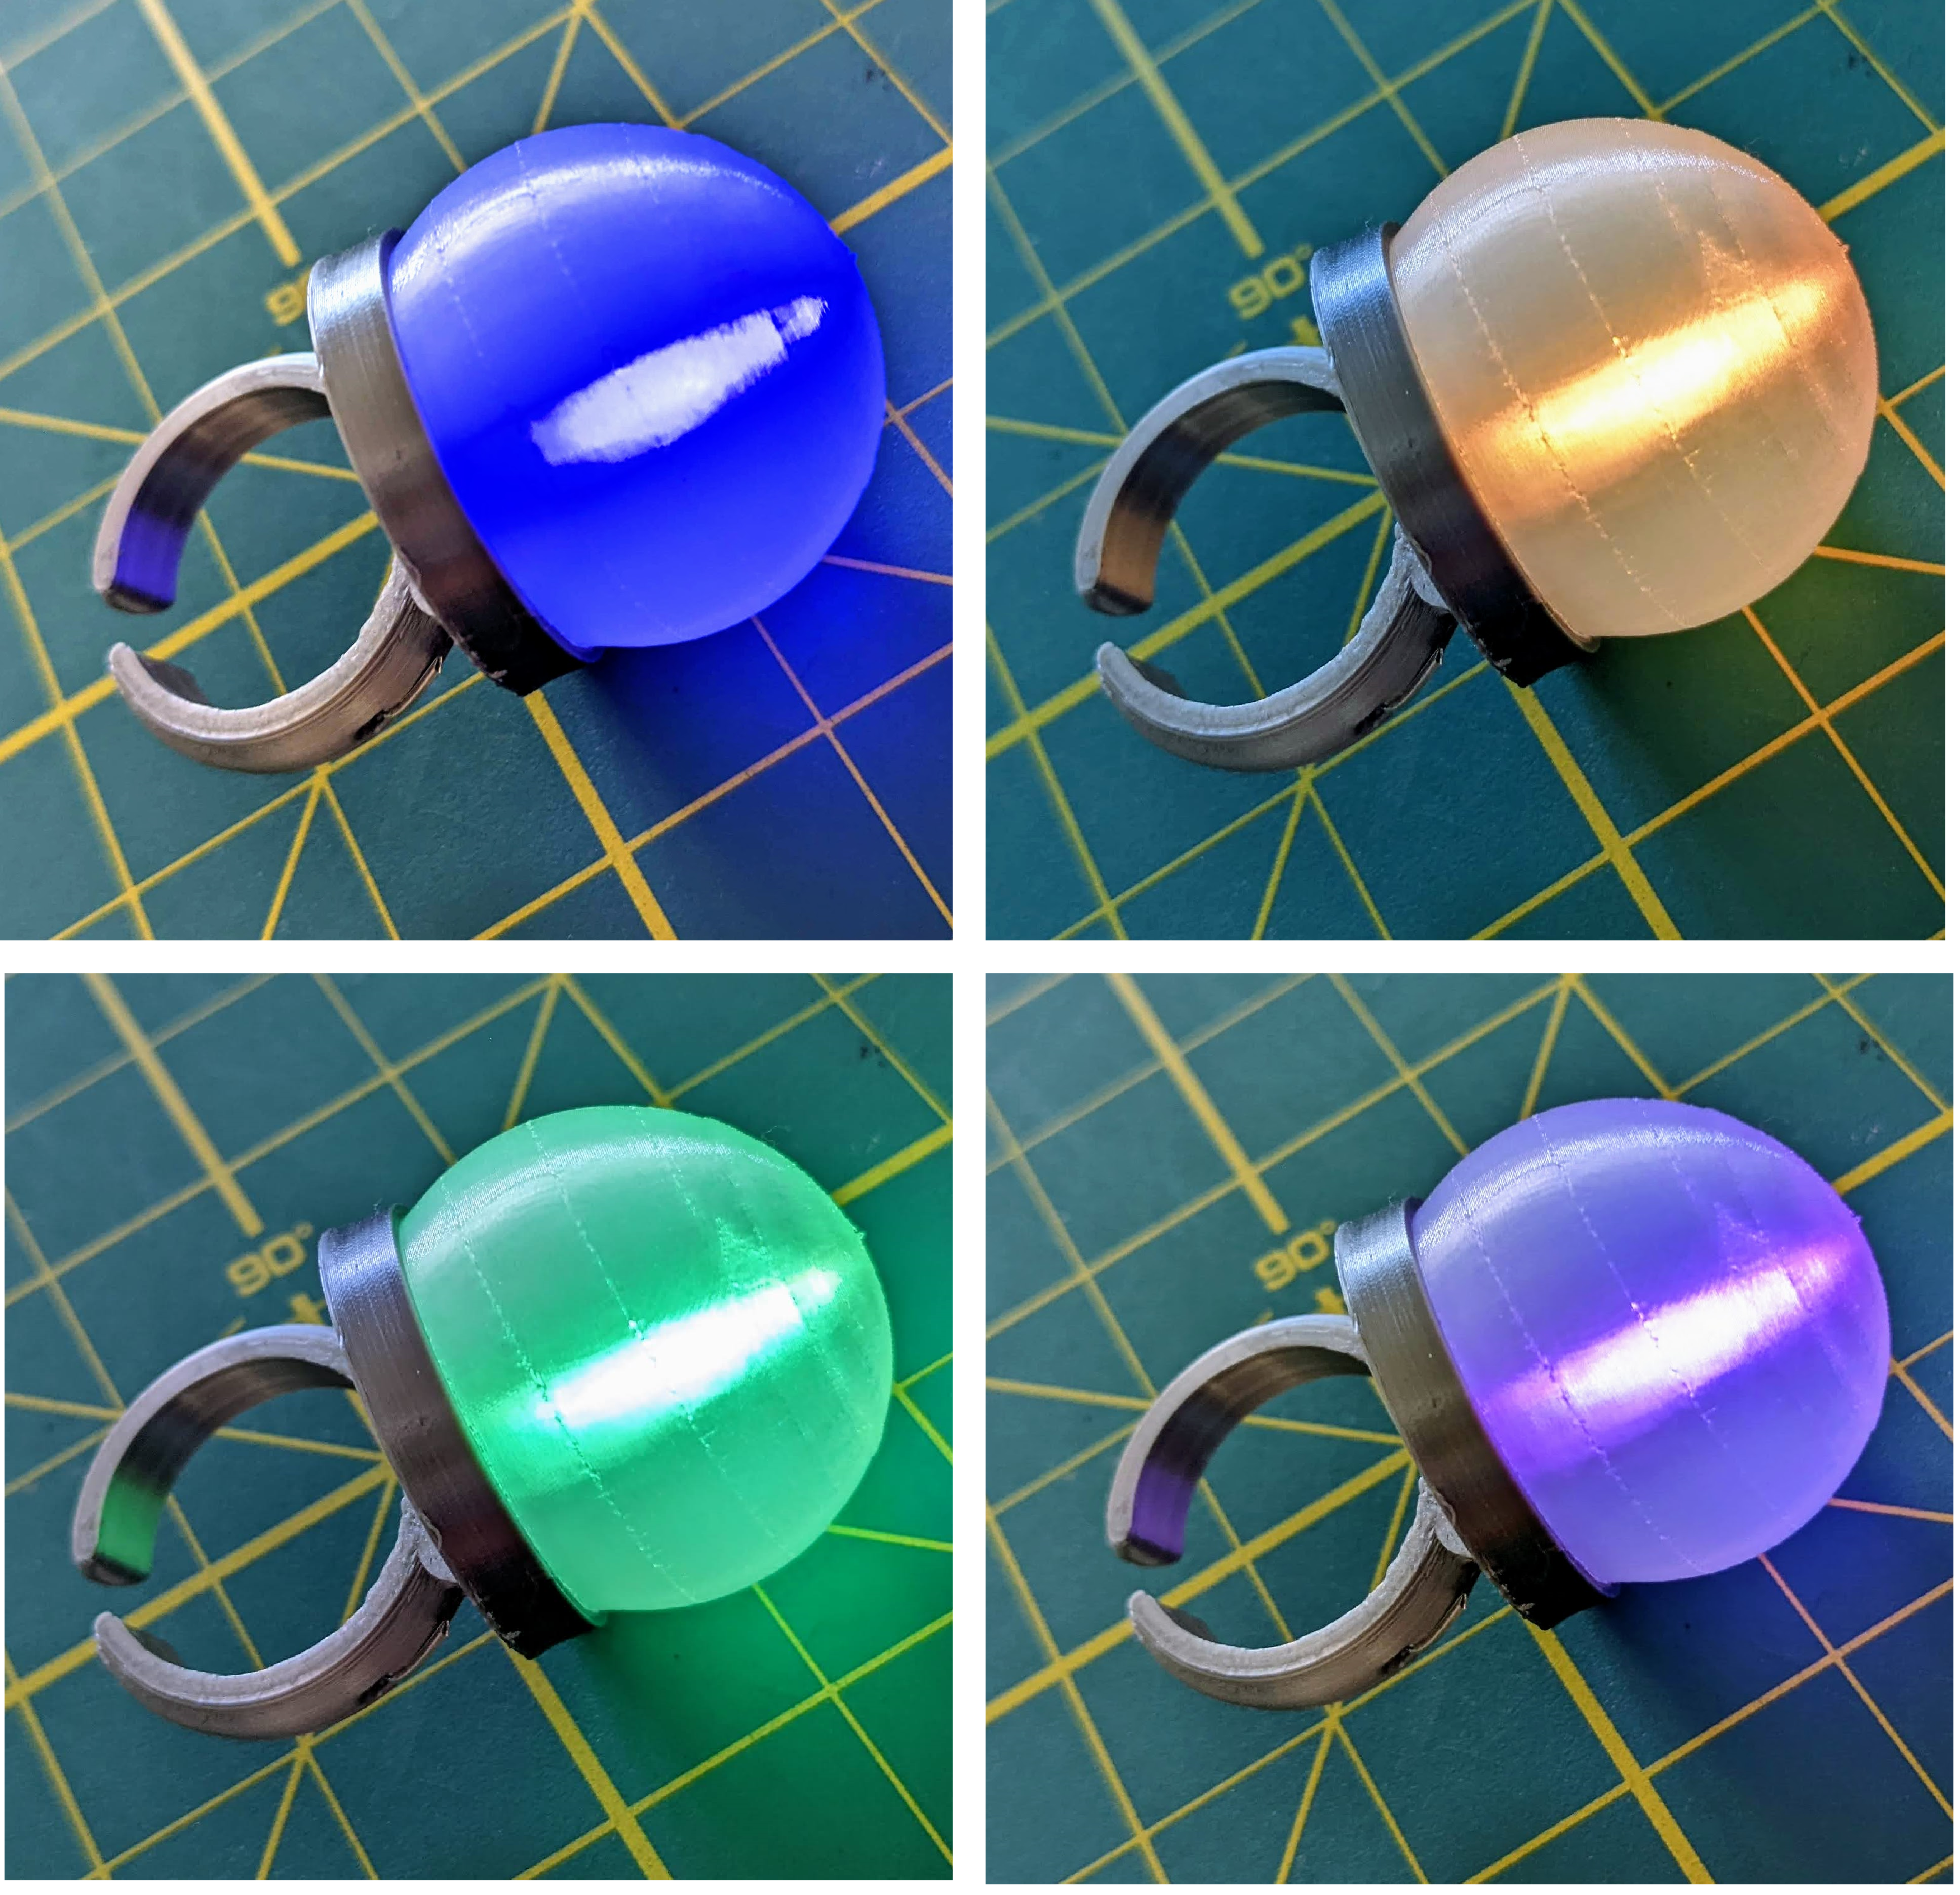
<p>This is a fun, modular ring print. The ring base and bottom portion (bezel) of the jewel should print in an opaque color, while the top portion of the jewel (above 4mm) should be printed in a translucent filament to allow the LED to shine through. The slicer model file for the round jewel has a built-in color change at that height.</p><figure class="media"><oembed url="https://youtu.be/9_KThEDKV3s"></oembed></figure><p>To complete this build, you will need a few extra parts and tools:</p><ul><li>CR1225 battery (or a few if you will wear it a lot)</li><li>Standard LED (3mm or 5mm) and the wearable is the most fun if the LED automatically changes colors, <a href="https://www.amazon.com/EDGELEC-Flashing-Multicolor-Automatically-Resistors/dp/B077X9Z3FW">like these ones</a></li><li>Fine nosed pliers (it will be very difficult to thread the LED legs correctly without them)</li><li>Wire cutter to trim the extra portion of the LED legs</li></ul><p>The ring base is an open ring, and should fit a variety of finger sizes without adjustment. The base has a slot to hold a CR1225 coin cell battery and holes for the legs of a standard (3mm or 5mm) LED. When installed correctly, the LED will illuminate when the battery is inserted.</p><p>Steps for installing the battery are shown in the images. ( <strong>Please note that the images use a previous prototype of the ring with slightly different shape, but the LED installation works exactly the same</strong>) The slot for the battery will be very snug at first, so it's a good idea to put a battery in and take it out a few times <strong>before </strong>installing the LED just to loosen it up. One trick to getting the battery in/out more easily is to set the edge of the battery on a table and push the ring slot down over it, using the table for resistance. </p><p>When installing the LED, be sure that the <strong>negative </strong>LED terminal (shorter leg) goes into the <strong>center </strong>hole in the top of the ring and the <strong>positive </strong>LED terminal (longer leg) goes into the <strong>side </strong>hole in the top of the ring. See images for clarification. Pull the leads through the holes with the pliers. The negative lead will wrap around the top of the battery compartment, as shown. The positive lead passes through the side of the battery compartment and down through the ring itself. Trim the excess wires that stick out once you have the LED well positioned.<br><br>Simply insert the battery, <strong>with the negative battery terminal facing the LED</strong> to turn the light on, then slip the jewel's bezel slots over the corresponding tabs in the ring to secure it in place.<br><br>Since the ring is modular, there can potentially be many different shaped jewel housings to go with a single base ring. As the contest entry deadline is only a couple of hours away, I don't have time to create any now, but hope to get to that eventually. If you want to create your own custom jewels, I've included the STL file for the jewel's bezel without any jewel attached. Simply add a shape to the top to create your own. Just be sure to print the jewel portion out of translucent filament.<br><br>Hope you enjoy wearing your LED Bling Ring!</p><p> </p>
With this file you will be able to print Illuminated Bling Ring with your 3D printer. Click on the button and save the file on your computer to work, edit or customize your design. You can also find more 3D designs for printers on Illuminated Bling Ring.