Illusionist Locket
thingiverse
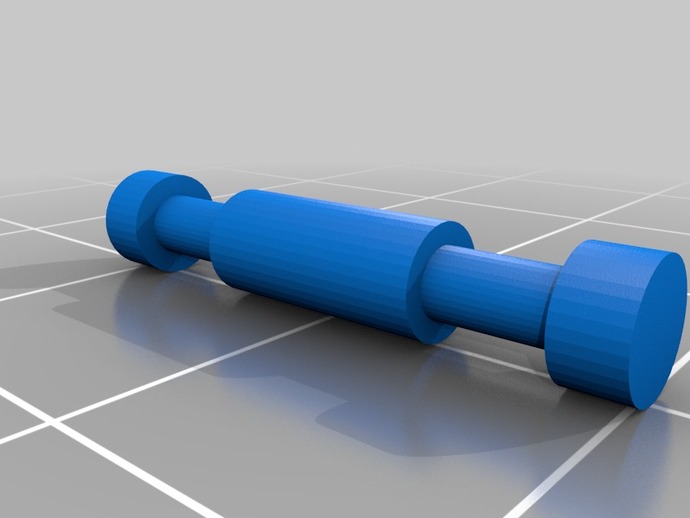
A modified derivative of the Illusionist Locket. This is a derivative of mctrivia's design. The original design needed a few adjustments for fit and finish. I added some geometric dimensioning and tolerance and reduced the overall required material a bit. Added a tab to connect to necklace or lanyard of your choice. Added 4 picture areas to the inside of the locket. (Roundish depressions) or enough room to hide something small like a microSD, hair clipping, jewel, etc. The doors may come off but the dimensions are tight enough that you almost need to remove them on purpose....which you can do if you want different pics in them. The plates won't come off once glued. Instructions Printed on Afinia 3D Printer. Fine, rafted. Print the locket body, doors, hinge pin, and picture panels. Install the hinge pin to the body. Carefully set one of the doors into the body partway open. LIGHTLY glue the corresponding picture panel in place securing the hinge pin to the main body and seating the door such that it is free to rotate. Excess glue may bind the hinge. Glue the other side, install the door. Gently work it back and forth, rotate the doors, and be sure it functions. Add polish to it- wearing gloves, dab a cloth or paper towel with acetone and rub the outside faces smooth.
With this file you will be able to print Illusionist Locket with your 3D printer. Click on the button and save the file on your computer to work, edit or customize your design. You can also find more 3D designs for printers on Illusionist Locket.
