Imperial Rulers
thingiverse
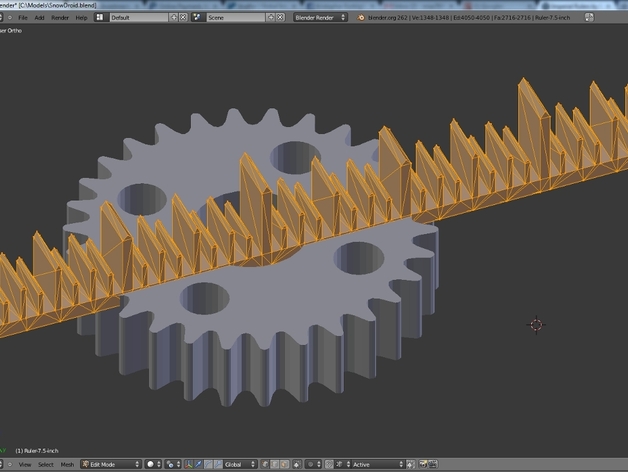
As I began to model in Blender more and more to create models specifically for 3D printing on my MakerBot Replicator, I continually ran into issues of not getting the models Exactly the right size. I finally broke down and created a set of imperial-unit rulers that I use more in Blender than as a 3D object. The point of the rulers is that they make modelling in Blender easier when your trying to get something to an exact size. I included some pics from Blender of me using the rulers while measuring a cog-gear I recently made, and I have found that I make at least 50% fewer sizing mistakes when using the rules in Blender round my models as I build them. Printing them allows you to judge the real-life printed thing versus a real copy of the ruler to see how things line-up. My hope is that these can help others learning Blender on how to get things to the right size as they have become invaluable to me! Instructions Overview: I have included 4 different sizes of rulers; 3, 6, 7.5 and 12 inches long. I added the 7.5 inch version because that's close to the maximum length of a MakerBot Replicator 1 build platform - which helps me understand my bounds in Blender before going to ReplicatorG and realizing it's too long/big/tall. Printing: I used a MakerBot Replicator 1 with ABS plastic, platform running at 115C. I am 100% sure that these would look Much better if printed at a finer resolution, like with a MakerBot Replicator 2XL - I must have one someday! TIP: I include my notes below on how to get them off the platform without damaging them (as they're quite thin on purpose - too fat and they get in the way of modelling in Blender: When each print is done, leave it on the build platform and let it sit there until the platform cools down to ~60C. Then turn pre-heat ON and wait until the build platform gets back up to > 100C. Your object should pop off the platform with just finger pressure. This works because at a molecular level the plastic will mold perfectly onto the platform and into every tiny crack, scratch, bump, and it's bonds to the klapton or surface. By first allowing the model to cool, and then re-heating the platform, you cause the platform to shrink and expand by a tiny fraction - it flexes - and this cooling/re-heating again will break that bond and allow the model to come off the surface with very little force. This does tend to bubble the klapton more than pulling a hot model off the build platform the moment it's done, but this method also prevents cooling-induced warping as well. Installation in Blender: Just import the ruler.stl file into Blender, and you can copy it, move it around and use it as often or as little as you need. :) Thanks for reading and printing! =) Kris
With this file you will be able to print Imperial Rulers with your 3D printer. Click on the button and save the file on your computer to work, edit or customize your design. You can also find more 3D designs for printers on Imperial Rulers.