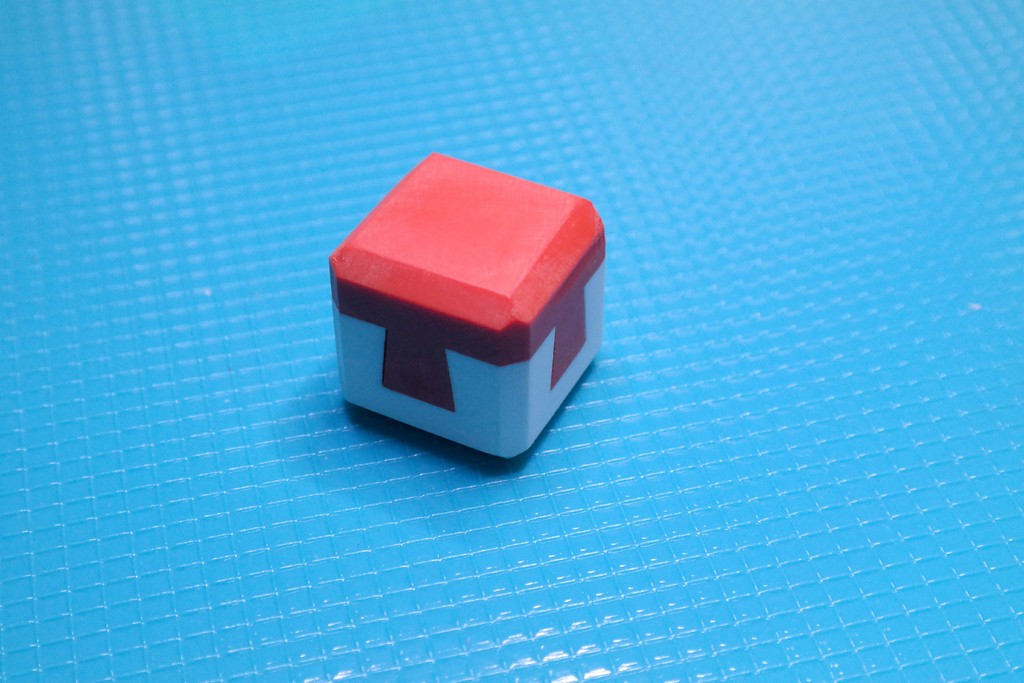
Impossible Cube
thingiverse
I'm fascinated by a puzzle concept I saw somewhere, though I can't recall where exactly. The idea captivated me because this object misleads the thinking process when trying to figure out how to separate the two parts. The model formed in our minds is based on what we see, and the brain completes the rest, including hidden features. So, I set off to design the object using Fusion360 and test it. I created several versions of the lock inside the object, but this one works best. This particular lock configuration disguises the orientation in which you need to hold and manipulate the object when unlocking it, making it less likely for someone to accidentally succeed. In my first design, this happened. It's also not easy for people to work out what the precise movement is even after a demonstration, which I performed theatrically. Now, here's what you'll need: This thing is made up of 7 pieces, with 4 printed and 3 that you'll have to source unless you happen to have them. You'll need: 2 rare earth magnets, 2mm in diameter, 1 or 2 mm thick, available from Amazon. https://www.amazon.co.uk/Magnet-Expert%C2%AE-2mm-thick-Neodymium/dp/B007JTKHR6/ref=sr_1_3?ie=UTF8&qid=1542635206&sr=8-3&keywords=2mm+dia++magnet A pack of 50 2mm dia magnets costs less than £5.00, and I suggest using 2 mm dia because larger diameter magnets might be too strong. 1 piece of 9 mm diameter steel bar. I used the un-threaded shank of a 180mm long M10 Coach Bolt, which has a shank diameter just under 9mm (8.94 to be precise), spot on for this purpose. You only need a small piece 11-11.5 mm long, which you can cut from the un-threaded section of the M10 Coach Bolt. You can buy these from Wickes, Screwfix, Amazon, etc. A pack of 2 bolts costs £2.57 at Wickes, but make sure there's an unthreaded section; some bolts are fully threaded. The other 4 components are printed from the STL files. Assembly: 1. The 2 large pieces that make up the cube need to be a tight fit, which is by design, so it's not easy for someone to figure out what's inside. Assemble the two main parts in the same way. 2. You need to drill out the 2mm magnet recess on pieces 30mm_puzzle_1.stl and 30mm_puzzle5.stl with a 2mm drill bit, push a magnet in each, and make sure it's flush with the inner surface. Glue the magnet in position with CA adhesive. 3. Now find the little triangle on one corner of the chamfer on the bottom of piece 30mm_puzzle_2.stl. The magnet inserted into piece 30mm_puzzle_1.stl should be nearest to the triangle. 4. Make sure the steel piece is inside 30mm_puzzle_1, push fit this into the base piece. There's no need to use adhesive; assemble the other two pieces in the same way. The magnets are there to hold the steel pin in place (locked or unlocked). Hold the cube in one hand and give it a sharp tap diagonally against the other hand should lock or unlock it. You'll hear and feel a click as the steel pin detaches from one magnet and gets captured by the other. Once it's unlocked, the two main parts can be slid against each other and separated. Use and demonstration: I suggest that you hand over the assembled and locked cube to others and challenge them to separate it. The vast majority will be busy trying to push, pull or twist all over the pieces. Make sure nobody uses force pulling and twisting and breaks the puzzle. I just tell people you have one clue: "do not use excessive force." Now, about how to conceal the unlocking action from your audience after they give up. Hold the cube and pretend that you're going to tap it against the other hand along a face rather than the diagonal. Just before your hands meet, twist the cube so that the force acts on the diagonal. It will be difficult for others to notice this. This is not the easiest project to make, but its worth it. Enjoy!
With this file you will be able to print Impossible Cube with your 3D printer. Click on the button and save the file on your computer to work, edit or customize your design. You can also find more 3D designs for printers on Impossible Cube.
