Improved IKEA Lack Enclosure Filament Conduit
thingiverse
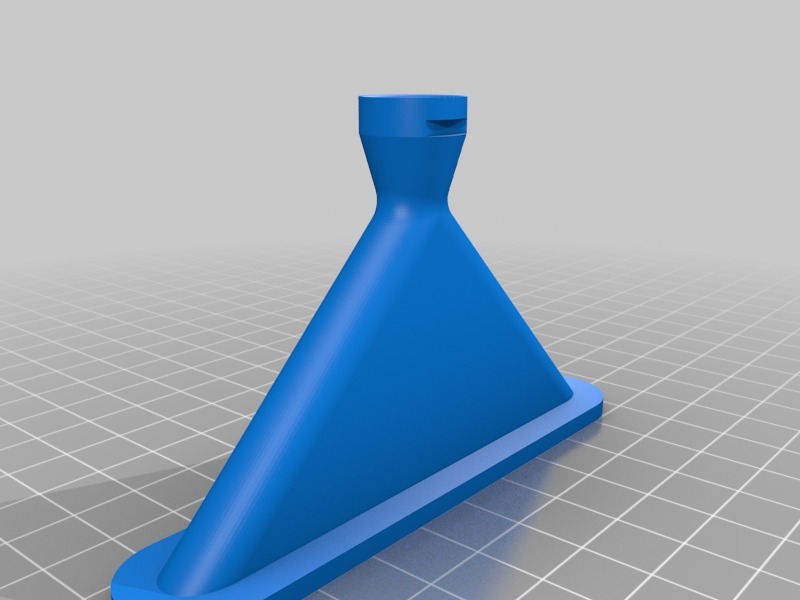
With my Prusa I3MK3S, the Lack enclosure's limited space at the top caused significant friction for the filament as the print head reached maximum Z height. To resolve this issue, I designed a customized filament conduit that enables the filament to follow the print head along the X-axis with ease. To install this innovative solution, you will need to drill a 15mm hole through the tabletop and create a 10mm slot on the underside of the table. Next, insert the conduit through the slot and secure it in place using a clip that attaches directly to the exposed top of the conduit.
With this file you will be able to print Improved IKEA Lack Enclosure Filament Conduit with your 3D printer. Click on the button and save the file on your computer to work, edit or customize your design. You can also find more 3D designs for printers on Improved IKEA Lack Enclosure Filament Conduit.