Infill 3D Bowden Direct Drive Extruder v2
thingiverse
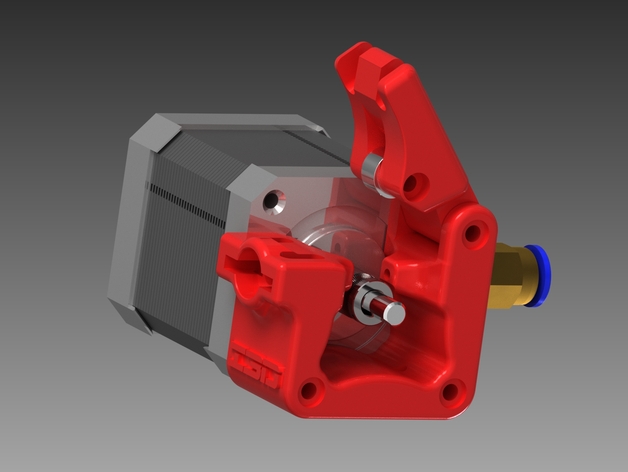
This is an upgrade for the Infill 3D Bowden Extruder. If you're not familiar with the initial version, it was designed specifically for use in Infill 3D Deltas, although the project remains incomplete as of now but it will be completed soon, and updates are available on infill3d.com. The primary changes from the first edition include: The walls of the body do not match perfectly with the NEMA17 motor; this could potentially create an issue depending on your specific setup. Also, threading Pneumatic fittings proved challenging due to differences in brands and fitting sizes - some 1/8 PT fittings fit very well while others are either loose or too tight. I'm currently searching for a better balance. Installing nuts that hold screws with springs is quite difficult as that area is weak and prone to cracking if over-pressed; I've increased the room around them to prevent this issue. Instead of using a separate dovetail STL file, there's now a single body part accompanied by a removable dovetail section which can be attached vertically or horizontally to the main body with M3 screws. If you don't plan on using the dovetail bracket, you can attach the body directly to your setup via its holes. The idler used to fail to reach the drive gear as intended; I had to trim some material off it to achieve this now. As of right now, I think these updates are final but there could be additional modifications down the line that escape my memory for now.
With this file you will be able to print Infill 3D Bowden Direct Drive Extruder v2 with your 3D printer. Click on the button and save the file on your computer to work, edit or customize your design. You can also find more 3D designs for printers on Infill 3D Bowden Direct Drive Extruder v2.