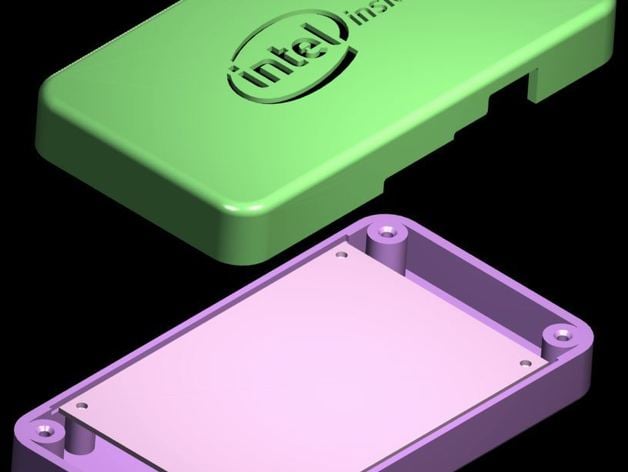
Intel Galileo Arduino Enclosure
thingiverse
To ensure a proper fit, drill an extra hole to accommodate the signal wires. Secure the board with four #8 tap-tite screws on the lower portion. Assemble the case using two halves held together by four more #8 tap-tite screws. The printing process takes approximately 4 hours on a Makerbot X2 machine. Prior to printing, scale up your .stl file by 1mm in length within Makerware and let it autoscale the width and height for optimal results. ABS filament is recommended for this project.
With this file you will be able to print Intel Galileo Arduino Enclosure with your 3D printer. Click on the button and save the file on your computer to work, edit or customize your design. You can also find more 3D designs for printers on Intel Galileo Arduino Enclosure.