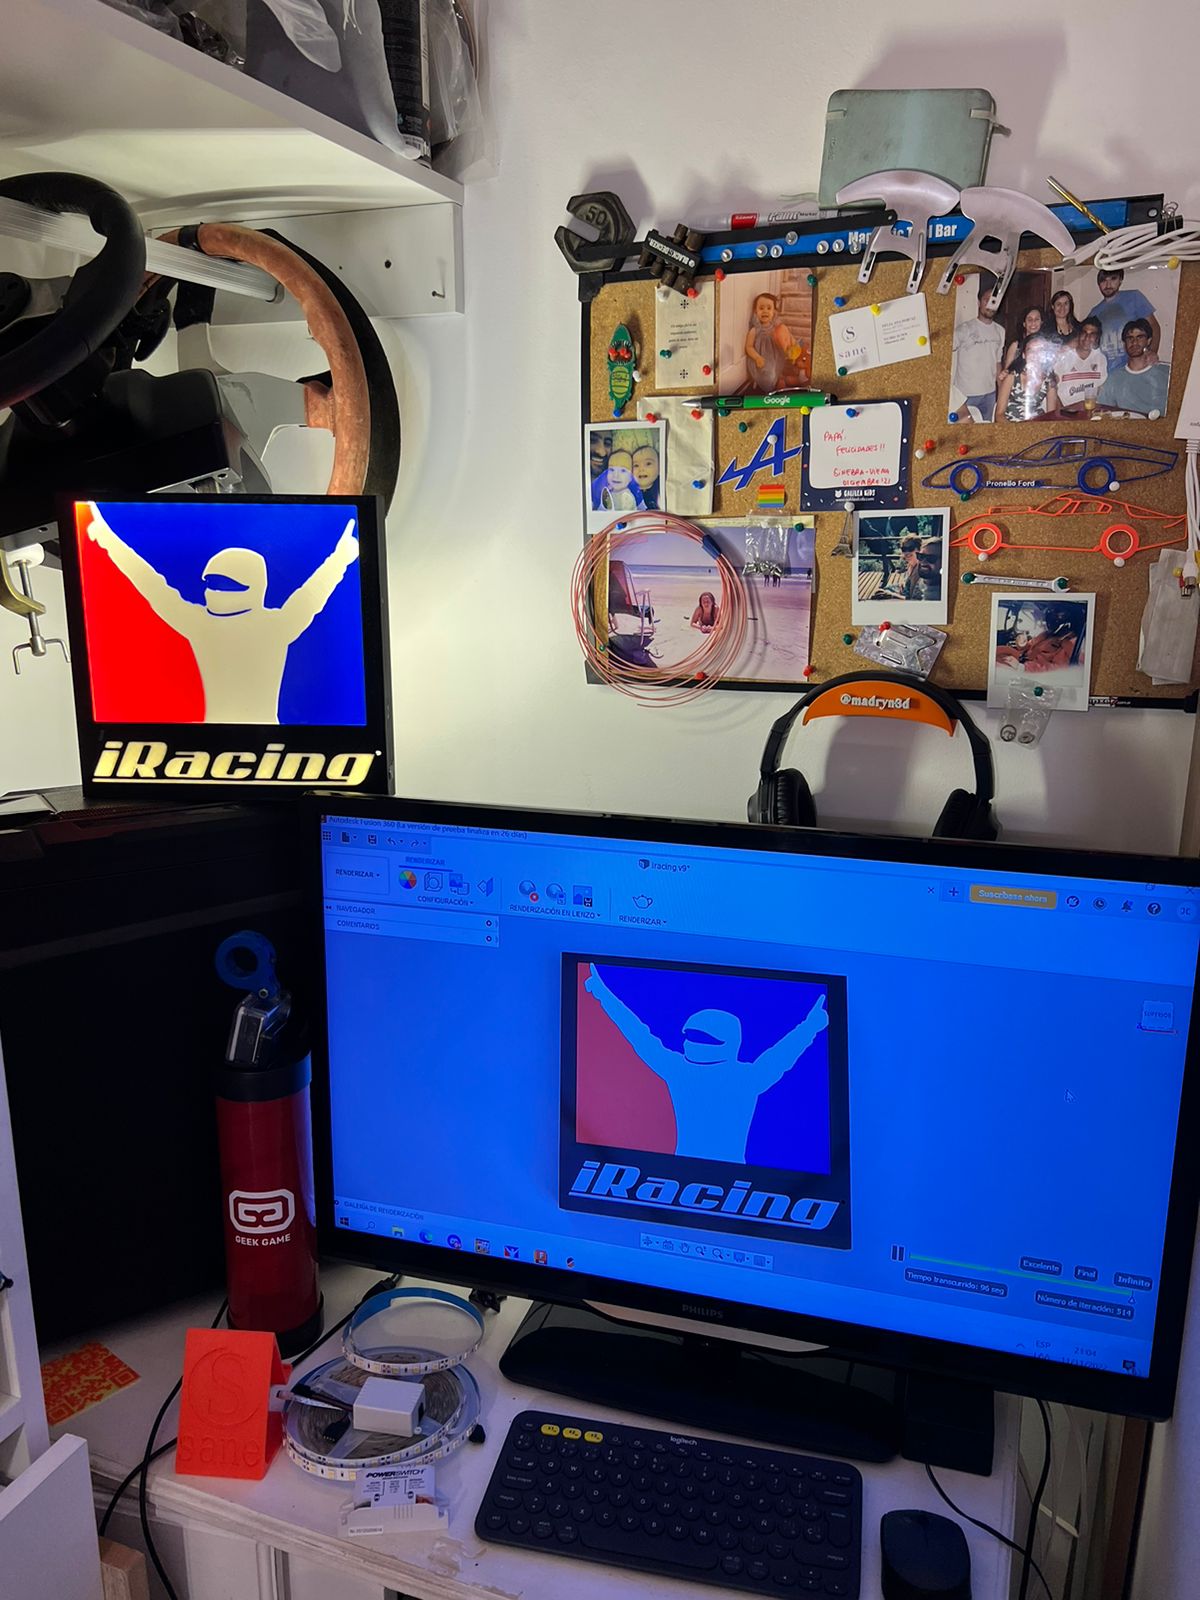
iRacing Logo Lamp Led
prusaprinters
<p>This is a lamp that I had been looking for for my design / simulation cave. I did not find anything like it and I had to get down to work.</p><p><br>I really didn't spend a lot of time on the design because I didn't want to wait, I had little time to do it and I wanted to have it by yesterday.</p><p><br>The print consists of <strong>9 files</strong>.</p><p><br>1. <strong>iNegro Caja</strong> is the outer casing, the frame. I chose black, but it can also be done in blue.<br>2. <strong>iRacing </strong>is the logo, it contains the letters without the interiors.<br>3. <strong>iNegro rag</strong> is the center of the letters.<br>4. <strong>iRojo, iBlanco, iAzul Derecha, iAzul Arriba, iAzul Casco </strong>is the central part of the image.<br>5. <strong>iNegro Tapa</strong> is the back cover, you can also choose not to print it and make it from a cardboard box and paste it with adhesive, it would fulfill the same function.</p><p>It is a basic print, there is nothing that is difficult to do, it just prints the files in the worst possible quality without supports or anything like that, just looking for the plane of the piece in the slicer.</p><p><br>I did it choosing the layer thickness 0.28 with a 0.4 nozzle with 2 perimeters and 15% infill with the model you want, but the rectilinear one was fine.<br>Use PLA filament brand <a href="https://www.instagram.com/3n3.nth/">3N3</a>, <a href="https://www.instagram.com/grilon3/">Grilon3</a> and <a href="https://www.instagram.com/printalot/">Printalot</a>. I don't remember what makes each color but I have no problems or differences when printing..</p><p>Something to take into account are the tolerances, which I didn't take into account... :D What I did was print the small parts first, and do a little post-processing while printing the box and the lid. Just assemble the puzzle by placing quick-drying adhesive between the pieces.<br>The most difficult and time consuming thing is to place each IRACING letter in the box, I recommend starting first with each letter center, then gluing the letter G, since it gives strength to the box to be able to hit IRACIN better..</p><p>For the light I used a white led strip, I didn't really measure it, I guess it was about 2 meters long, a 12V 2A source and a power button that was there. The key is placed in the <a href="https://www.iracing.com/">iRacing</a> trademark place.</p><p>Any questions about the work I am here to help you, you can thank me with a like and follow me on my instagram account.</p><p><a href="https://www.instagram.com/madryn3d/">Madryn 3D (@madryn3d) • Fotos y videos de Instagram</a></p><p>And if you don't know what to do with your money… here you can invite me a <a href="https://cafecito.app/madryn3d">coffee</a> at South American value... 300 Pe$os = 1 U$D</p><p>Thanks for looking and for helping.</p><p> </p>
With this file you will be able to print iRacing Logo Lamp Led with your 3D printer. Click on the button and save the file on your computer to work, edit or customize your design. You can also find more 3D designs for printers on iRacing Logo Lamp Led.
