Iris quadcopter long legs (Picatinny rail)
thingiverse
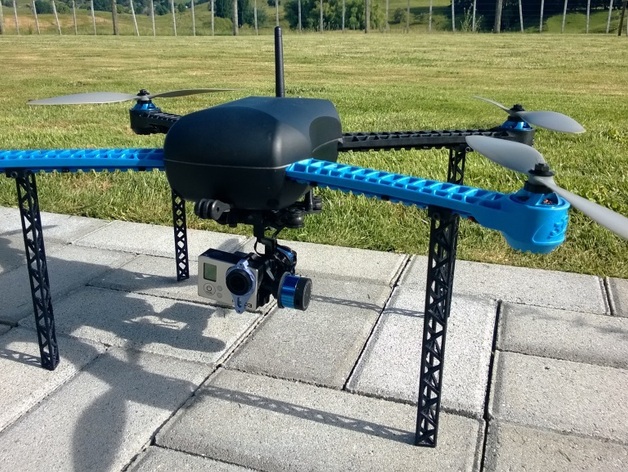
Long legs designed for mounting on a Picatinny rail as used on the 3DR Iris quadcopter. Two files are provided: a mount and a long leg. These are separate to allow each object to be printed in the best orientation for strength. For the Iris, these legs should give about 150mm clearance under the body (plenty for a Tarot or similar gimbal) Sketchup file is included in the downloads so feel free to remix. In particular the mount can be easily adopted to attach other items to the Picatinny rail arms.Update 19 July 2014: Added a "springy" leg option originally designed for my T Copter series. An example can be seen in the later part of this video.Update 26 Nov 2013: Added another style of leg - triangle girder-type construction. This leg is much more rigid that the flat one which might be preferable.Update 27 Nov 2013: I realized that, unlike the flat leg, the triangle leg could be printed in one piece. Also a short mount still attaches quite firmly so I've included a Tr iLeg v2.stl and updated the sketchup file.Update 30 Nov 2013: Version 3 of the triangle leg is 20mm shorter and has a bit more bracing where the leg meets the mount. These legs weigh less that 6 grams each (plus another 2 grams for nut and bolt if desired) ...that's about 1/5 the weight of the genuine 3DR long legs. Instructions I printed this using 3 shells which on my printer filled the typical 2.4mm widths used. There's not much infill but for what it's worth I used 30%. I printed in PLA but I'm sure ABS or nylon would be fine/better. Once printed slide the leg into the mount and run a 3mm drill bit through the holes so they are nice and clean for the bolts. Notice that one side of the mount is sharp and the other is rounded. Attached the mount to the Picatinny rail by inserting the sharp side first and the press to clip in the rounded side. The mount should clip on quite firmly making the bolt almost optional. If you need to remove the mount from the rail then lever the rounded side off with a flat screwdriver. If you want to use bolts then you'll need a 3mm x 30mm bolt for the mount and a 3mm x 16mm bolt for the leg. NOTE: only tighten the bolts very lightly or you may split your print. Particularly for the mount, the bolt is really just there to stop the mount from spreading rather than clamping it hard to the rail.
With this file you will be able to print Iris quadcopter long legs (Picatinny rail) with your 3D printer. Click on the button and save the file on your computer to work, edit or customize your design. You can also find more 3D designs for printers on Iris quadcopter long legs (Picatinny rail).