Iron Man Arc Reactor for Osram Dot-it LED
thingiverse
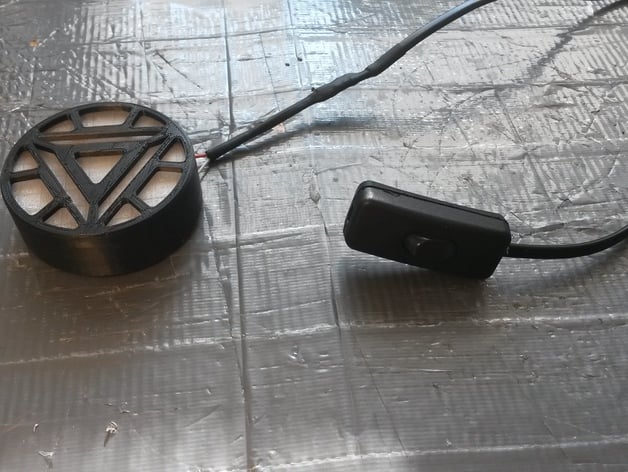
I scaled the original to fit these cheap LED lamps. 1: Remove the silver front cover by cutting along between the cover and the plastic base, cutting the glue and forcing the cover off. 2: Cut off the soldering between two of the battery compartments. 3: Remove the battery cover and batteries and jam two pieces of uninsolated wire behind the battery contacts. Once you put the batteries back in and the battery cover on, they will stay quite well. Now the LEDs will switch on when you connect the wires, just make sure the switch in the center is on. 4: Put the arc reactor on along with a cover you either print in transparent filament or cut from something. I hot glued the reactor and cover together and stuck it on the base with double-sided tape for easy removal. I leave to you to figure out your prefered switch mechanism. I just had the old light switch lying around so I soldered it onto the wires. As for sticking to your clothes, the lamps I bought came with some mounting accesories; some sticky material, some magnetic sheet and piece of magnetic metal with a ring for putting it on a hook. I hotglued some magnet to the battery cover and stuck them to the metal piece through my t-shirt.
With this file you will be able to print Iron Man Arc Reactor for Osram Dot-it LED with your 3D printer. Click on the button and save the file on your computer to work, edit or customize your design. You can also find more 3D designs for printers on Iron Man Arc Reactor for Osram Dot-it LED.