Iron-on Logo Test
thingiverse
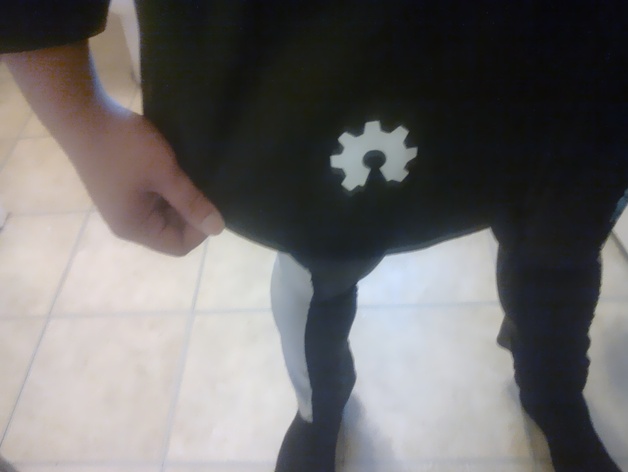
Works with ABS. After going through the wash, the sharper corners can get nicked off and thinner isthmuses can develop cracks. Rounded, convex areas are awesomely robust. I'm sure printing a thinner decal than the relatively thick one shown here would further improve results. Instructions 1) Generate a decal For all you other blender scripting users out there, I'm including the simple python script I used while creating this test decal from a svg. Invoke it like: svg="import.svg" stl="output.stl" ./blender -P blender_decaler.py Any thin model will work, just make it as thin as your printer is calibrated to print 2) Put some wax paper on your HBP. The wax will melt and adhere to the bottom just enough so that you don't have to clip it down for short prints. (If you try to print anything taller, you'll have to tension it down!) 3) Print your decal. I've gotten some pretty awesome surface quality as the wax paper peels right off, but surface quality doesn't matter... we're going to remelt it in a second.... 4) Place wax paper on ironing board, put decal on top, then place fabric on top. ONLY USE 100% COTTON! Poly and elastine were not so good >_< 5) Heat a cast-iron frying pan on your stove, then use that to iron it down. Keep going until you smell the ABS melt. 6) Wear and wash until it gets damaged, re-ironing will fix most problems!
With this file you will be able to print Iron-on Logo Test with your 3D printer. Click on the button and save the file on your computer to work, edit or customize your design. You can also find more 3D designs for printers on Iron-on Logo Test.