Jedi Holocron Lighted
myminifactory
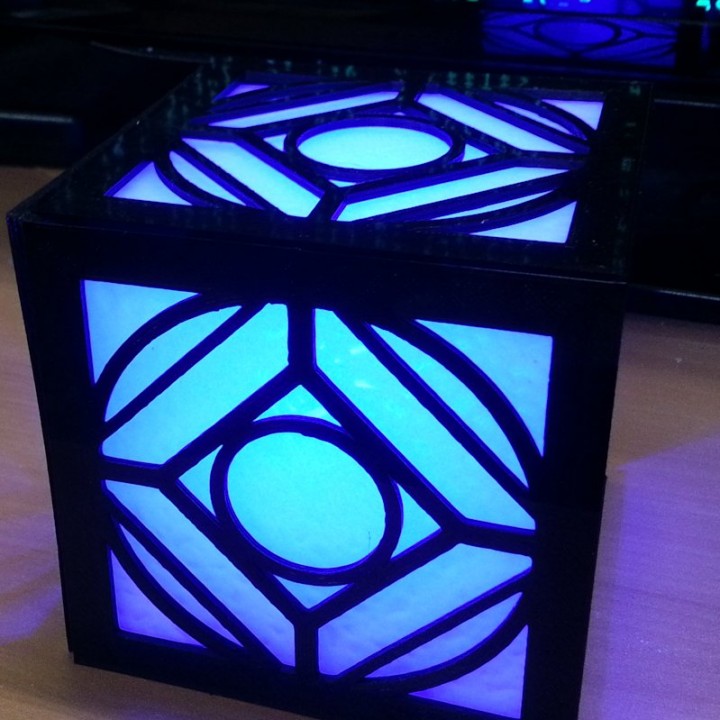
My Lighted Jedi Holocron. Face design taken from http://www.thingiverse.com/thing:672161 So credit to Hambone for that. All other pieces were designed, printed and test fit by me. Item required for build: (1) #194 12volt automotive LED bulbs. Can be bought on ebay very cheap. I used this as they have an led facing each side of the cube and are bright. (1) foot of 22ga wire (2 colors, usualy red/black) (1) Small sheet of "translucent" 2mm thick plexiglass that is big enough to cut (4) 85mm x 85mm squares out of. A scoring tool or very sharp utility knife to cut the plexiglass. Soldering Iron and solder. 5min Epoxy to glue all the pieces together. Super will work, but the fumes mark up the finish. Unless you paint it. Print all pieces.To assemble base:1: Start by glueing the battery box centered over the opening.2: Next, with switch installed, glue the switch mount to the base with the switch facing down. Having the switch mounted helps keep it centered.3: Next, solder your wire leads to the LED bulb. 22ga is best as it will easily fit into the channel of the led mount.4: Install the LED bulb into the mount, press the bulb firmly to seat it all the way down, while guiding the wires through the channel at the bottom.5: Glue the LED mount on top of the battery box, keeping it centered.6: Solder or tape the black\negative wires from the 9volt connector to the black\negative wire from the LED bulb.7: Solder the Red\Positive wire from the 9bolt connector to one terminal on the switch.8: Solder the Red\Positive wire from the bulb to the other terminal on the switch.9: Connect battery and test connections. Cut out 5 pieces of plexiglass 85mm x 85mm. It MUST be 2mm thick as that's what allowed for on the faces. Test fit them all before glueing. Each face of the cube has guides on the inside. There is only one way to put them together.The top also guides in each corner that fit into the tops of each face.Assemble the faces one by one. Making sure the glue sets. Place assembled and glues cube over base and glue. Viola! You now have a nice little portable night light. PRINT SETTINGS:20% infillAll settings at 50mm/sec speed (can increase to lower time)No support needed on base. Just print it upside down (45degree angle needs no support) Upside aso eliminate the need for support for ledges that the battery door sits on.12hour total print time44,300mm filament used.Total filament est cost $3.60 (calculated by " 3d Printer Calculator" at a cost of $27 for a 1kg\2lb spool.Radionshack switch $3Epoxy $4LED bulb $2 (ebay)9 volt battery $4 (any store or $1 walmart)9 Volt battery wire $1 radio shackPlexiglass varies (local Tap Plastics shop has scraps for very cheap. got 5 sheets for $1)
With this file you will be able to print Jedi Holocron Lighted with your 3D printer. Click on the button and save the file on your computer to work, edit or customize your design. You can also find more 3D designs for printers on Jedi Holocron Lighted.