JGAurora A5 Raspberry Pi Zero Mount (Octoprint)
thingiverse
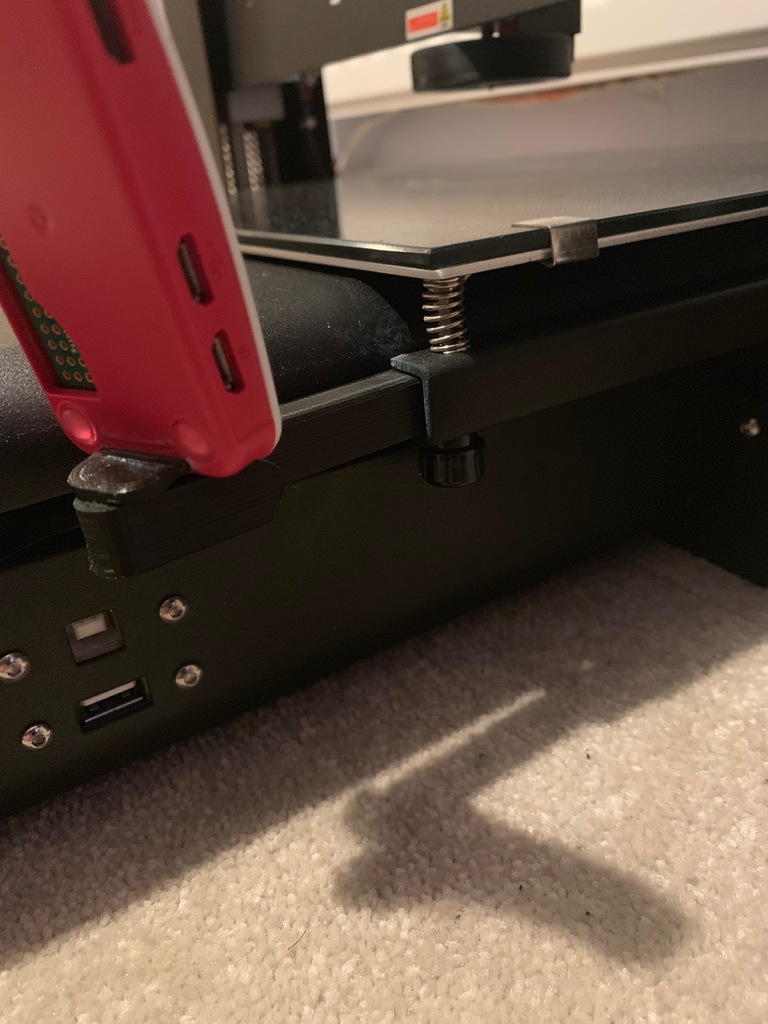
This straightforward bracket is designed to fit snugly onto the JGAurora A5's frame using the bed level screws as secure attachment points. Simply unscrew one of your levelling screws, preferably the front right one, slide the long arm piece into the bed frame, and then re-tighten the bed screw. To ensure a tight hold, apply a small amount of superglue to keep the arm firmly in place. Next, it attaches to the official Raspberry Pi Zero (and Zero W) case using the slot on the rear that's designed for the camera ribbon cable - a simple friction fit. The bracket offers flexibility thanks to the circular pins, allowing you to adjust the tilt angle and left-right direction the camera faces. Once you've found the ideal angle, just squeeze the pin into the hole. Both pins are exactly 6mm wide, ensuring another secure friction fit. Every detail has been carefully measured to ensure that in any reasonable position of the Pi, it shouldn't come into contact with any of the axes or the frame. However, be cautious when adjusting the tilt and rotation of this bracket - if you put it at an extreme angle, you could risk hitting the Z-axis or the frame. Regarding power and data for the RPI, you can run them internally using a 24v to 5v converter by unplugging the internal USB connection. Alternatively, I opted for a simpler approach: connecting an external wall-powered USB charger via a short OTG to USB Type B cable plugged into the side printer port. As long as the bed can still travel its full distance, this setup is perfectly fine and won't cause any issues.
With this file you will be able to print JGAurora A5 Raspberry Pi Zero Mount (Octoprint) with your 3D printer. Click on the button and save the file on your computer to work, edit or customize your design. You can also find more 3D designs for printers on JGAurora A5 Raspberry Pi Zero Mount (Octoprint).