JJRC Q60 / WPL Upgrades
prusaprinters
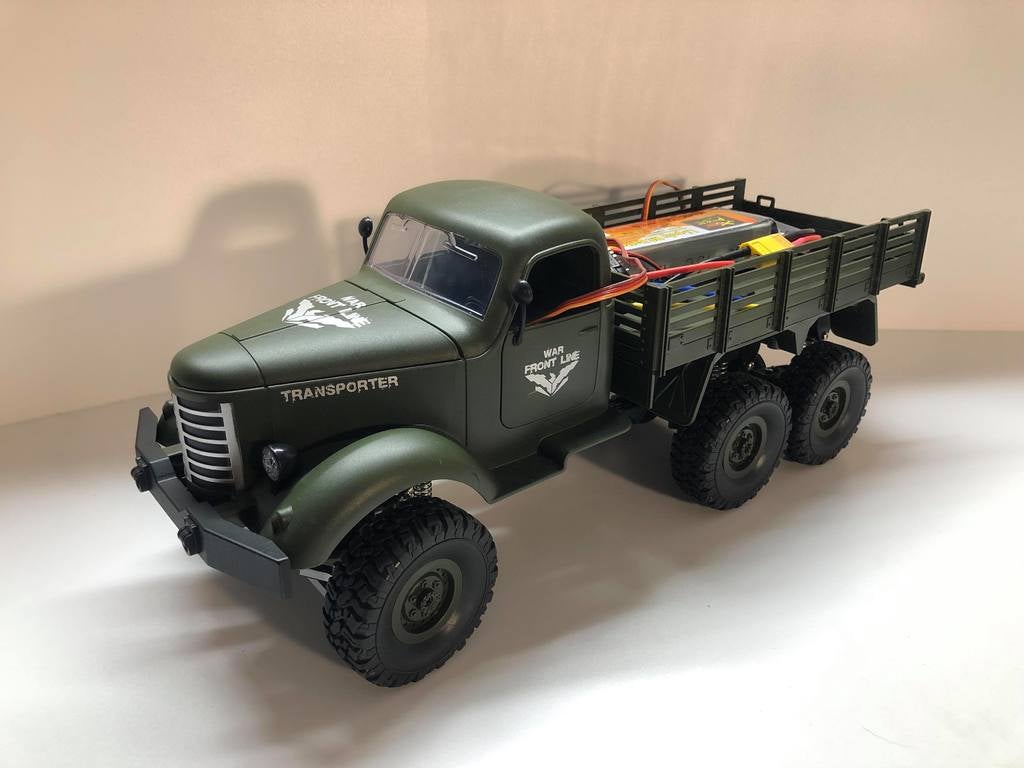
<p>[Update 15-5-2019]<br/> I bought some lights for this truck and updated my files to allow for easy instalation/wire management.<br/> I redesigned the "Spacer" and the "Servo Tray", which now has 2 versions, for a 9g or a 55g servo; with the 9g one, it's possible to fit a smaller battery in the hood.<br/> I also added some new parts which I hadn't required yet, such as the "Front and Rear Bumpers" and the "Double Spacer".</p> <p>[Original Post]<br/> I got a JJRC Q60 truck and some WPL upgrades (metal gears and axles) on the internet. Unfortunately, the metal axles aren't a straight swap, so I had to design and print new housings. Then, one thing led to another, and most of my truck is 3D printed!</p> <p>Up to Now:</p> <ul> <li>Front and Rear Axle Housings and Covers;</li> <li>Spring Suspension;</li> <li>Steering Servo Tray;</li> <li>Gearbox Servo Stopper;</li> <li>Chasis Spacer;</li> <li><p>Axle Lifting Mechanism.<br/> After re-doing the axle housings I had to redo the suspension, the leafs on the original suspension kept bending and the transmission axle upgrade wouldn't fit properly (had to distance the axles by a few milimeters).<br/> Then, I wanted to upgrade the steering servo, maybe I went overkill, but it does the job. Although, to fit the servo I had to remove the cabin seat and floor and I added fittings to attach the cabin to the tray.<br/> The screw holes on one of the chasis spacer got stripped, so I made one with tigther holes.<br/> In the middle of prototyping this, the truck wouldn't turn properly, I supposed it was for having 2 rear axles, the front wheels would slide sideways. So, I made a mechanism to lift one of the rear axles. I've since realized this problem was due to having the battery placed too much back, but since I already designed this mechanism, I made it available.</p> <p>Next I want to improve these parts, make a cover for the battery that doens't look out of place, and finally, order some lights and design housings for them.</p> <p>As with most my projects, I made no permanent changes to the original parts, so if you wish to go back, it's just a matter of swapping parts.</p> <p><a href="https://youtu.be/TqZIsPAdDnI">https://youtu.be/TqZIsPAdDnI</a><br/> <a href="https://youtu.be/me_efXpOuFU">https://youtu.be/me\_efXpOuFU</a></p> </li> </ul> <h3>Print instructions</h3><p>[Update 15-5-2019]<br/> I bought some lights for this truck and updated my files to allow for easy instalation/wire management.<br/> I redesigned the "Spacer" and the "Servo Tray", which now has 2 versions, for a 9g or a 55g servo; with the 9g one, it's possible to fit a smaller battery in the hood.<br/> I also added some new parts which I hadn't required yet, such as the "Front and Rear Bumpers" and the "Double Spacer".</p> <p>[Original Post]<br/> I got a JJRC Q60 truck and some WPL upgrades (metal gears and axles) on the internet. Unfortunately, the metal axles aren't a straight swap, so I had to design and print new housings. Then, one thing led to another, and most of my truck is 3D printed!</p> <p>Up to Now:</p> <ul> <li>Front and Rear Axle Housings and Covers;</li> <li>Spring Suspension;</li> <li>Steering Servo Tray;</li> <li>Gearbox Servo Stopper;</li> <li>Chasis Spacer;</li> <li><p>Axle Lifting Mechanism.<br/> After re-doing the axle housings I had to redo the suspension, the leafs on the original suspension kept bending and the transmission axle upgrade wouldn't fit properly (had to distance the axles by a few milimeters).<br/> Then, I wanted to upgrade the steering servo, maybe I went overkill, but it does the job. Although, to fit the servo I had to remove the cabin seat and floor and I added fittings to attach the cabin to the tray.<br/> The screw holes on one of the chasis spacer got stripped, so I made one with tigther holes.<br/> In the middle of prototyping this, the truck wouldn't turn properly, I supposed it was for having 2 rear axles, the front wheels would slide sideways. So, I made a mechanism to lift one of the rear axles. I've since realized this problem was due to having the battery placed too much back, but since I already designed this mechanism, I made it available.</p> <p>Next I want to improve these parts, make a cover for the battery that doens't look out of place, and finally, order some lights and design housings for them.</p> <p>As with most my projects, I made no permanent changes to the original parts, so if you wish to go back, it's just a matter of swapping parts.</p> <p><a href="https://youtu.be/TqZIsPAdDnI">https://youtu.be/TqZIsPAdDnI</a><br/> <a href="https://youtu.be/me_efXpOuFU">https://youtu.be/me\_efXpOuFU</a></p> <h3>Print Settings</h3> </li> </ul> <p><strong>Supports:</strong></p> <p>Yes</p> <p><p class="detail-setting resolution"><strong>Resolution: </strong> <div><p>0.2</p></div><strong>Infill:</strong></div></p> <p>20</p> <p><strong>Filament:</strong> GEEETECH PLA Black <br/> <p class="detail-setting notes"><strong>Notes: </strong> </p><div><p>It's just a matter of orienting the parts in a proper way and using supports when necessary.</p></div></p></p>
With this file you will be able to print JJRC Q60 / WPL Upgrades with your 3D printer. Click on the button and save the file on your computer to work, edit or customize your design. You can also find more 3D designs for printers on JJRC Q60 / WPL Upgrades.