Joy Con box with magnetic cover
thingiverse
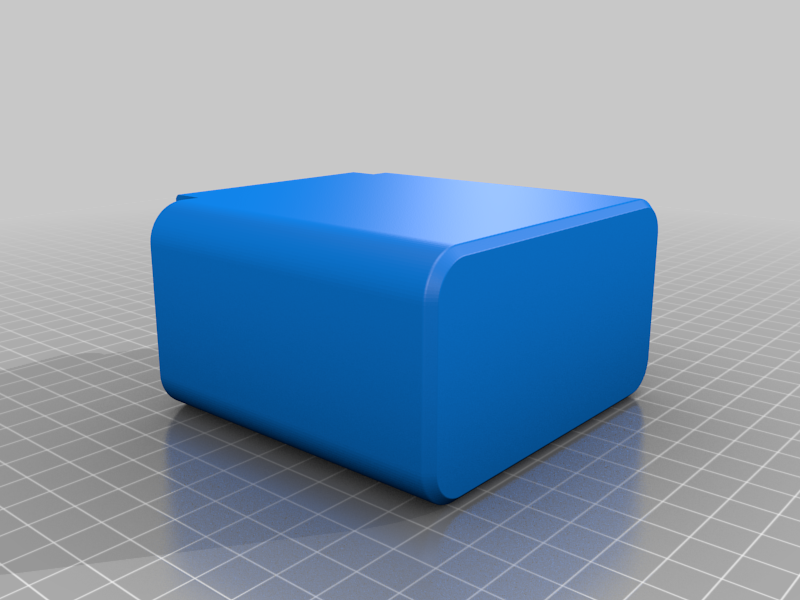
I was asked to make a Joy-con case for my friend Aubrey. She had issues with her Amazon bought case being too loose and causing the buttons to be pressed; draining the batteries. My 9 year old son also didn't object to "helping" by letting me borrow his controllers for fitment. (Yes, I made him one too). I couldn't find a thingy that held 2 joycons with straps, prevented battery drainage, and was simple in design. Not to mentioned pretty to look at for hours on end. So I made my own. I had M3 screws/nuts and a few magnets at my disposal. Time to fire up Fusion 360! I designed a "bump stop" to keep the top buttons from hitting the lid, and used design cues and curves from the joycons to match..see pictures! I used the Prusa Slicer "change color" feature at 95.00mm Z height so I can permanently hide the M3 square nuts (hex nuts ok) in the cavity and then resumed printing to bury them under a few layers of filament. IF YOU WANT TO INSTALL NUTS AFTER PRINT: For those who don't have that "pause" feature or don't mind having hideous gaps and holes in their projects and/or just lazy, I will make a file with holes on top to drop them in afterwards. NOTES: - .20mm first layer and layer height - Paused printing at 95.00mm to drop in square/hex nuts using "change color feature" on Prusa Slicer. - Extra file named "Joycon_case_Bottom_with_holes" for installing nuts after printing. - Another option if you don't have nuts is to super glue the M3 screws in after assembly. could be a little loose and a little ghetto. Materials needed: - 2 pcs M3 nuts (square preferred, hex ok) - 2 pcs M3 socket head cap screw 20mm or 25mm long - 4 magnets sized 3/16 dia x 1/8 thick. ($.29 cents each) Links to buy below - 2 M3 washers** **OPTIONAL I made enough clearance to push in washers between the joints. You can fit M3 washers with a small drop of super lube for buttery-smooth action! IMPORTANT TIPS!!!: - When gluing the magnets, MAKE SURE THE POLARITY IS CORRECT!! You want the magnets pulling at each other NOT pushing. GLUE ONE at a time. The way I did it: - assemble the box and install the magnets on one side (bottom or cover) - then stick the next 2 magnets onto the freshly installed magnets. This guarantees the correct orientation. - Put some glue in the next hole and close the box so that the magnet is seated in the hole. - Then tap flush with surface. repeat. - The cavity for the magnets are deeper than the 1/8 thick magnets. I did this so I can make sure the magnets are perfectly flush with the surface with room for glue underneath. I used a small hammer to lightly tap the magnets in place. Be careful not to crack the magnets! - If using HEX NUTS, make sure a flat side is down. flat to flat distance is the same as the square nuts. Links: Where to buy the $.29 cent magnets: https://www.kjmagnetics.com/proddetail.asp?prod=D32-N52 You can get M3 screws and nuts from: [Click here Amazon](https://www.amazon.com/Stainless-Assortment-Precise-Beautiful-Printed/dp/B0714FLXND/ref=sr_1_2?child=1&keywords=M3+Stainless+Steel+Hex+Socket+Head+Cap&qid=1586924713&s=hi&sr=1-2). I highly recommend them to use with 3D printing. Many designs use this size.
With this file you will be able to print Joy Con box with magnetic cover with your 3D printer. Click on the button and save the file on your computer to work, edit or customize your design. You can also find more 3D designs for printers on Joy Con box with magnetic cover.