JST Plug and Chassis-Socket
thingiverse
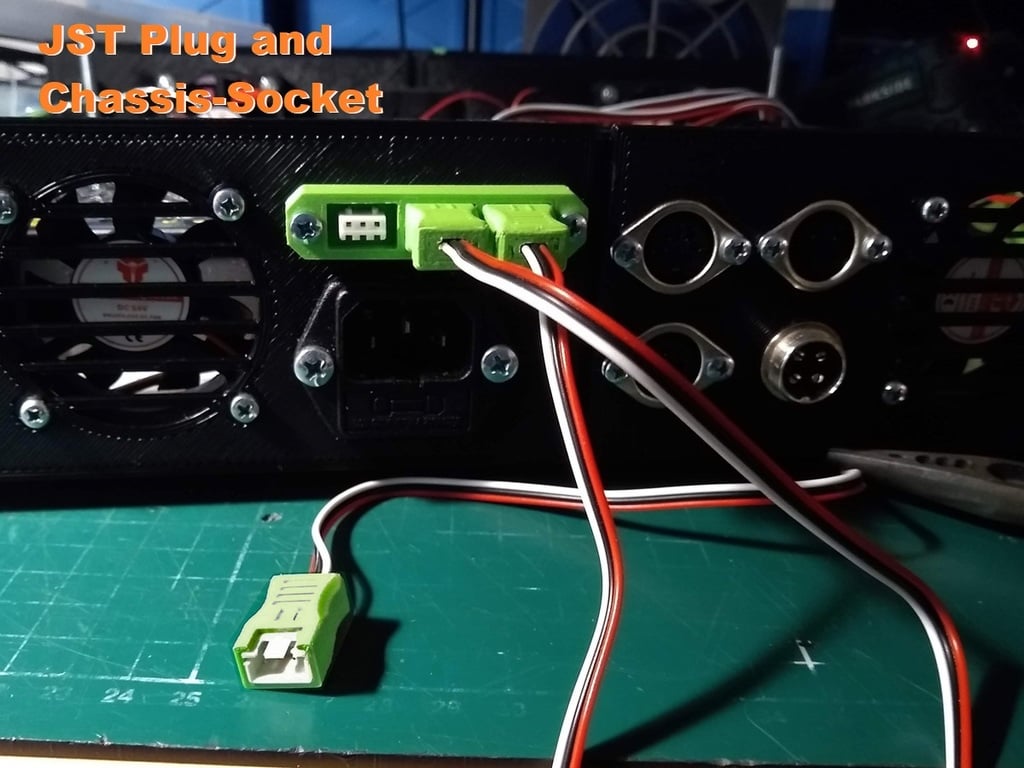
JST Plug and Chassis-Socket Turn your JST connectors into a plug and Chassis-socket. Included are parts for 2- to 6-pins connectors. Chassis-plate: Press the female part into the back (the not flat side) of the chassis-plate. It is a very tight fit (of course that also depends on your printer) so a little filing can be necessary Plug: Fit the male part first before proceeding. It is also a tight fit. When it fits, put the plug part over the wires. Solder your wires to the male part of the JST-connector. Put the part over the connector. It is designed to be a tight press-fit, so glue shouldn't be necessary. Collar: The collar-part is recommended. It makes the connection a lot stronger and durable. In the files here the height of the collar is 3 mm. You can make it higher if you want, makes the whole stronger. Backplate: The backplate is optional. Put it at the other side of the chassis if you need to reinforce the connection. The Files: A few examples are added as STL. Use them if you don't want to create your own. With the DIY-file (STL,STP,123DX) you can create your connectors to your needs in your favorite program. Just slide and snap the different parts together. There are two types of plugs, the basic one that you can alter easily and a "sculpted" one which give you a little grip. Happy Plugging:) PS. In the photo's you can see that i used primarily Din-plugs in my home-brew case. This was before I designed these connectors for my end-stop. If I should do it again I surely would use this connection type.
With this file you will be able to print JST Plug and Chassis-Socket with your 3D printer. Click on the button and save the file on your computer to work, edit or customize your design. You can also find more 3D designs for printers on JST Plug and Chassis-Socket .