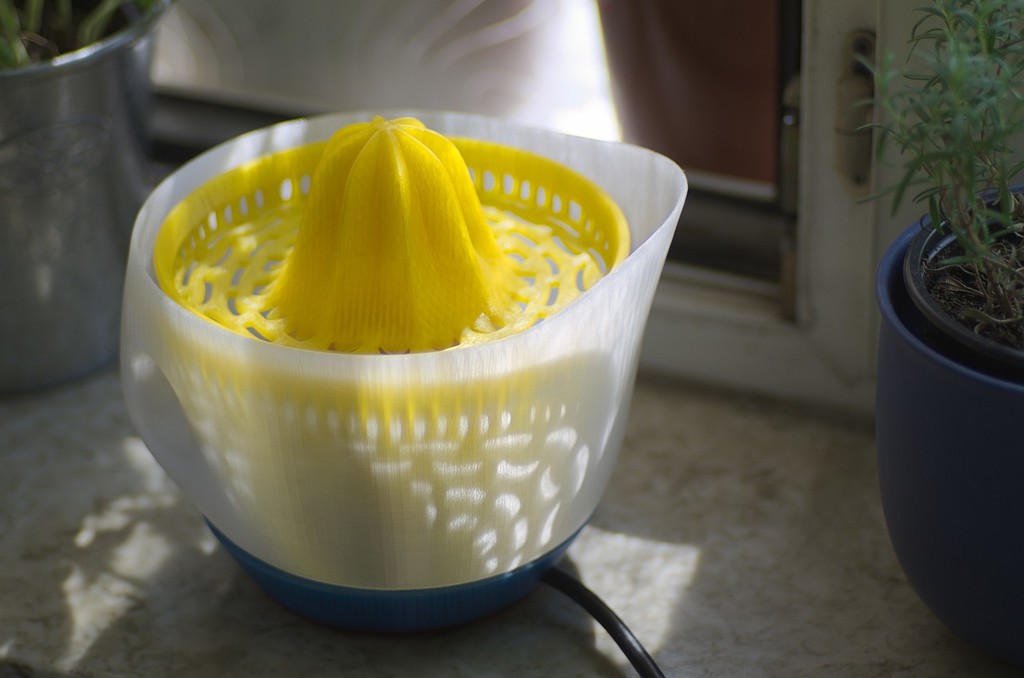
juice squeezer
thingiverse
###The story: When life gives you Lemons... ...print an electric lemon squeezer. It actually started with a big sack of oranges I bought on a budged a while ago. They were too much for me, so I decided to make some juice. But there was no squeezer. Obviously this is one of the ever-growing number of problems in life that can only be solved with 3d-printing. ###My goals: * 1: Design a squeezer for ~1/2l of juice * 2: Make it motorized because why not? * 3: Use a graceful way to activate the motor * 4: Make it reproducable (e.g. only use widely available standard-parts) * 5: Don't kill people with an extremely unsafe design * 6: Make it look fancy * 7: Make it printable on a 20cm buildplate * 8: Make it simple This resulted in a design based on cheap and very simple KTYZ50 motors with a sophisticated translation based on inner/outter gears. I'll upload that one later in a series of failed designs (but I've added a rendering to the images list). Why "failed"? This motor just hasn't got enough torque for this job... probably I should have done the math before. So this is the second attempt with no gears at all but a rather strange activation mechanism. ###Goals achieved: * 1: check, it easily fits 2/3l of liquid. But better empty the bowl after 1/2l for safety reasons * 2: check * 3: check * 4: check, but it's rather expensive * 5: half-check; it could be done with less potential harm but yet I haven't killed anyone * 6: half-check; actually it looks rather strange * 7: check * 8: check; i guess it could be done even more simple if one of my goals would say "cause as much harm as possible" ###Before you start: * make sure you have a soldering iron and know how to use it * you'll need some basic knowledge about electricity and it's hazards * make sure you have the equipment and ability to crimp some wires ###The BOM: * A60KTYZ motor with ~30rpm. I bought this one but it's not very cheap: https://bit.ly/2qPNFmr Watch out if your country's line voltage differs from 220/230VAC! * 4x Springs l=10mm, w=6mm. I used some from a 200pc sring set: https://bit.ly/2vACToF * 2-terminal biscuit connector (is this the proper term? Dictionary says yes, brain says no). Something like this (with a maximum height of 14mm): https://bit.ly/2vC3Mso * Maybe some hot-glue or superglue (optional) * 4x M3x10 screws (any length up til 20mm will do), preferrably with a flat head * A power cord with crimped strands (I'm just assuming you have the equipment and knowledge needed to prepare that) * 4x self-adhesive rubber feet: https://bit.ly/2HiDf4Y These are just suggestions. You definitively can have it much cheaper if you spend some time in sourcing or just buy the exact amount of parts needed. ###How to assemble: * Prepare an unplugged power cord with crimped strands * Stick these strands through the motor holder (motorhalter.stl) * Connect the wires and capacitor of the motor according to the manufacturer information (an example for my setup can be found in the pictures section) * Insert the motor into the motor-holder with it's 4 holes stuck on the 4 pins * Solder a ~1mm² insulated wire of ~10cm lenght to the "NO" and "NC" pins of the microswitch * Connect one of the wires to the N-line of the motors biscuit connector * Screw the N-Line of the power cord to another 2-pole biscuite connector * Connect the other wire of the switch to the connector of the power cords N-Line * Connect the L-Line of the power cord to the connector of the motors L-Line * If you have a PE-Line on your power cord just screw it into the 2nd empty terminal of your 2-pole connector. This one will stay unconnected. * Now insert the switch into the "switch-cage" on the bottom plate (bodenplatte.stl) until it bottoms out * Arrange this mess of cables in a way to prevent squeezing the cables insulation and secure the power cord with a zip-tie as a strain relief. It also makes sense to hot-glue the line-cord terminal and the switch. * Use the 4 M3 screws to attach the bottom plate to the motor holder and stick the rubber feet on it to prevent the squeezer from rotating * Lift the motor a little to attach the 4 springs to the pins of the motor holder * Now test if you hear a switching noise when applying gentle pressure to the motor * Attach the motor-plate onto the pins of the motor holder - it's supposed to leave no gap * Attach that gyroscopic looking pin-thing (aufsatz.stl) to the motors shaft. Mind the D-shape! * Now just attach the bowl and the squeezer. That's it. ###Warning: THIS IS NOT A VERY SAFE DESIGN! SPILLING TOO MUCH LIQUID INTO THE MOTOR BASE CAN CAUSE INJURIES AND/OR DEATH!!! DON'T BUILD THIS IF YOU'RE NOT FAMILIAR WITH LINE VOLTAGE! On the other hand: Juice is quite healthy. BTW: here you can see the squeezer in action: https://gph.is/2K70r8b
With this file you will be able to print juice squeezer with your 3D printer. Click on the button and save the file on your computer to work, edit or customize your design. You can also find more 3D designs for printers on juice squeezer.