Jump wire maker 7.5/10 mm
thingiverse
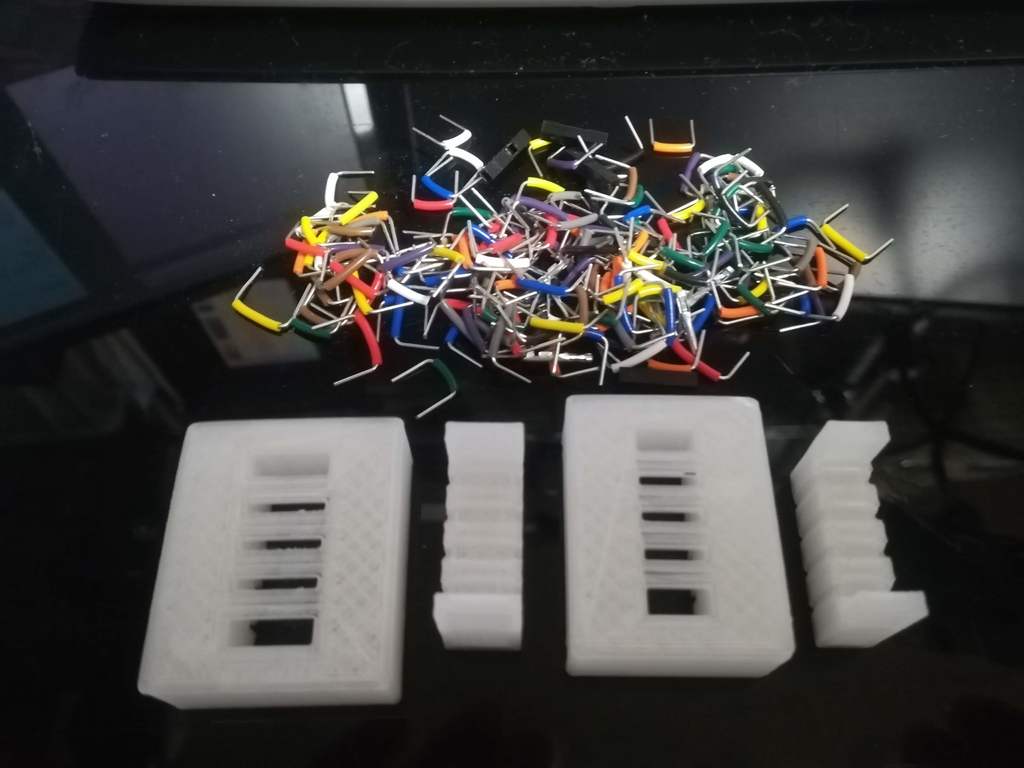
I bought a jump wire set to do electronic work using a breadboard but only 7.5 mm and 10 mm decrease. It was a waste to purchase additional for that alone, so I made it myself, but it was quite a big deal to measure lengths one by one. So, when I made this tool I got a little easier. ^ ^; 1. Prepare vinyl coated single wire of AWG 22 (0.65 mm). 2. Cut to about 17 cm when making 7.5 mm, about 19 cm when making 10 mm. 3. Pull the covering with a radio pliers or the like and divide it from the core wire. Be careful not to break it as vinyl covering is used. 4. There is a groove with one side open at the top and bottom of the scalpel. Please put the core wire in the long groove and cut it into 8 equal parts with nipper etc. 5. Place the vinyl covering on the shorter groove and cut out 8 pieces. I do not use the rest. 6. Place the vinyl covering in the center of the cut core wire. 7. Arrange 6. in the grooves where four of the tools are lined up, and if you put the male, the jump wire will be completed. ※ This description machine-translated Japanese into English with Google translation.
With this file you will be able to print Jump wire maker 7.5/10 mm with your 3D printer. Click on the button and save the file on your computer to work, edit or customize your design. You can also find more 3D designs for printers on Jump wire maker 7.5/10 mm.