Jung AS500 Spacer DE/GER (customizeable)
thingiverse
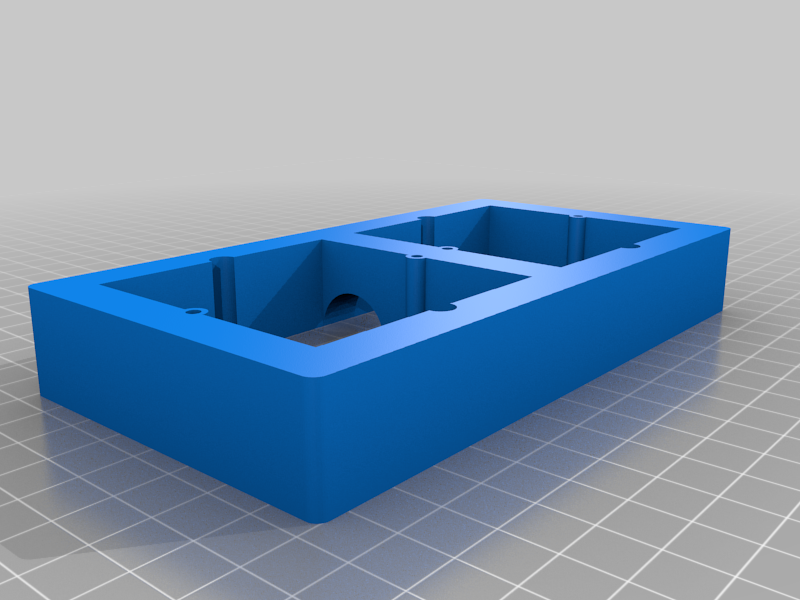
I have Jung AS500 switches and wanted to use smart switches mounted behind the actual visible switch. Unfortunately, the recess in the wall was not quite deep enough. I designed this spacer to move the old switch forward and allow space for the smart switch underneath. The spacer has holes for mounting it on the sides - use the regular screws you would use to mount a switch ("Geräteschraube" in German). The holes are slighty tight, the screws will self-tap enough to not fall out during the mounting process. It also features mounting holes for switches, sockets and whatnot along the center. I use them with M3 countersunk screws. Although self-tapping might work, I recommend to pre-tap the M3 holes. Note that the mounting holes are designed for mounting in vertical orientation. If you want to mount the spacer horizontally, all you have to do is swap the device mount holes and spacer mount holes in the .scad file - so far, I dod not bother to make this configurable. The Design is customizeable for an arbitrary number of switches in a row (se top of the .scad file), although I believe that Jung does not sell rows of more than five. I have posted STL files for one and two-gang.
With this file you will be able to print Jung AS500 Spacer DE/GER (customizeable) with your 3D printer. Click on the button and save the file on your computer to work, edit or customize your design. You can also find more 3D designs for printers on Jung AS500 Spacer DE/GER (customizeable).