Junkyard Drone
thingiverse
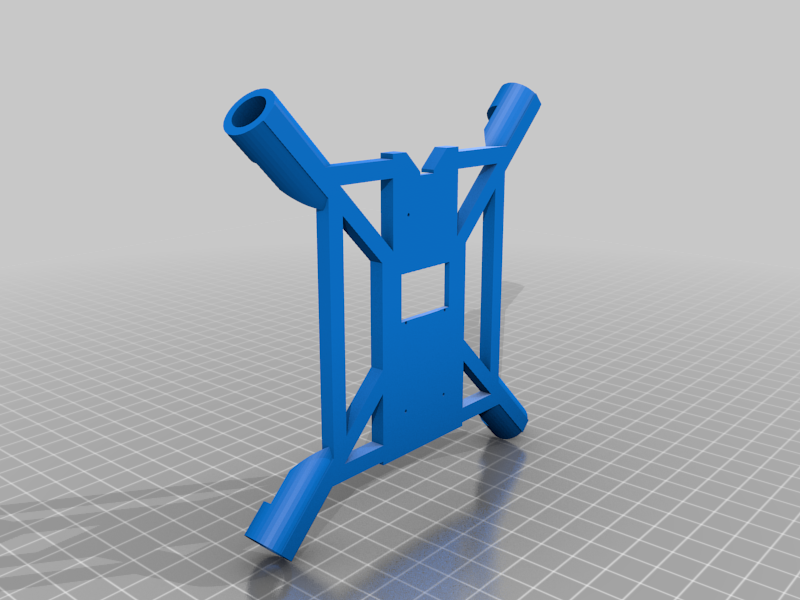
!! I do not recommend that you purchase this drone just to make this.!! With that being said. I purchased a drone from wish, knowing it did not accomplish 4k video, nor would it compare to any other brushless drone. However, this is a great small drone to learn on and fly in the house. After only a few days i notice the drone had a hard time lifting off. I removed the camera and housing and the drone flew fine for a few more days. The drone again would not lift off and fly. I created a frame that was a portion of the weight of the original case. I also removed the batteries from the housing. All of the parts fit into place using only 2 of the screws from the stock heli. The other parts were attached using a 3d pen as a glue gun. The results were amazing. The small drone flies once again and is very agile with its new small form factor and removal of most of the weight. Here's the file I used, I will leave it to each individual to figure out how to power it and place the battery. Good Luck and Happy Flying. Build Tips Small jst connectors wer used to lengthen the battery leads. charge port from one battery becomes the new stand alone battery charger Charge port from another battery becomes the power that is permanently attached to the heli by soldering wires to the main board power and a jst where the battery leads used to be. This becomes the power module and can charge the battery while attached to the heli. Wish/Geek.com E88 Drone: https://www.wish.com/~/gadgets/camera-drones/product/5ef6b41bab220e155a68307a?source=browse_page&position=0&share=web
With this file you will be able to print Junkyard Drone with your 3D printer. Click on the button and save the file on your computer to work, edit or customize your design. You can also find more 3D designs for printers on Junkyard Drone.