Just another Cap Shooter
thingiverse
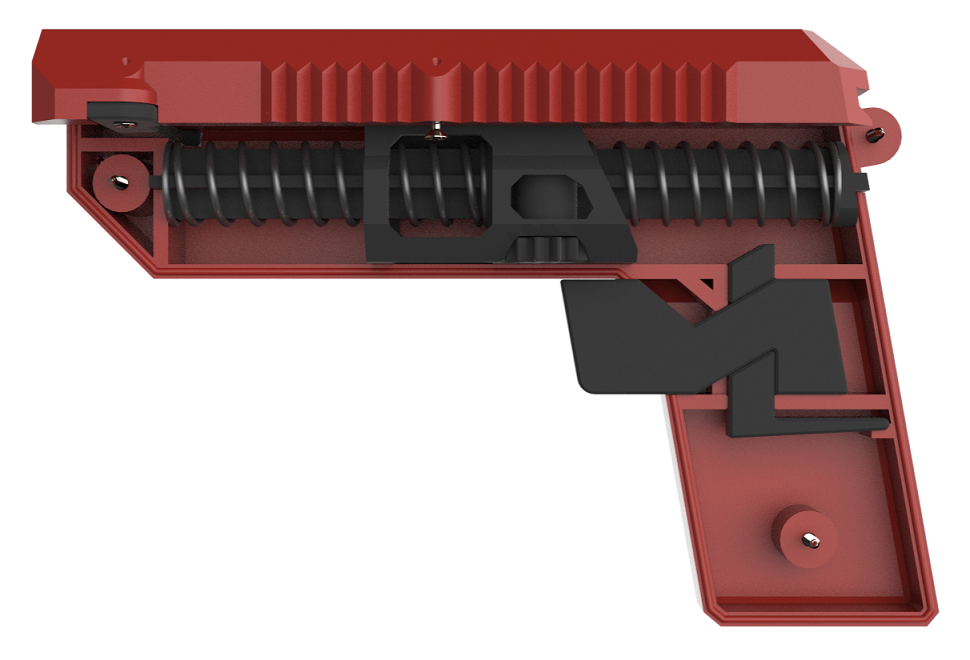
Update: 05 July 2022 - Updated Slide - Strength improvements of casing left/right, catch and triger - screwholes added to attach rubber bands for top casing reset Update: 10 March 2022 - Video added - Slide data including Support uploaded: SLIDE_WITH_SUPPORTS.stl - Slide supports deleted: SLIDE_SUPPORTS.stl The special thing about this Cap Shooter is that the cap will not only be translational but also rotatory accelerated. This causes the cap to float like a frisbee. Assuming all moving parts are printed with 100% infill made of PLA and there is no friciton, the cap will have a kinetic energy of about 0.4 Joule, a translational speed of 15.25 m/s (55 km/h / 34 mph) and a rotation frequency of 10400 rpm. Supports are barely necesssary. Most of the parts can be printed with low infill (I used 50% infill) but you should print the SLIDE.stl as solid as possible to increase its strength (I used 70% infill). <h4>Bill of quantities</h4> Two compression springs with specifications as shown in the picture (https://products.alfer.com/de/produkte/druckfeder-29886.html) (In Germany it's available at the DIY superstore) Six screws ø2x6mm or ø2.5x6mm (depends on how accurate your printer prints the small holes) <h4>Assembly</h4> 1. Put the shaft of the gear part through the holes in the slide. Make sure that the gear is at the side of the notch 2. Put the disk onto the square end of the gears shaft and fasten it with the a screw 3. Put one compression spring on the guide 4. Put the slide on the guide. Make sure that the thicker part of the guides rear end shows in the same direction as the notch of the slide 5. Put the other compression spring on the guide. 6. Compress this sandwich on the guide until both ends of the guide can fit into the slots of the right casing 7. Insert the catch into the right casing 8. Insert the trigger into the right casing 9. Put the left housing onto the right casing. Make sure that the smaller slots in the left casing also match the guides ends. Fasten the casing with 3 screws. 10. Insert the top casing from the rear side and slide it to the front end. 11. Put the driver through the left and right casing and fasten it to the top casing with two screws. 12. Lubricate inside moving parts with silicone spray There is a ø5mm cylindrical pocket at the inside of the top casing where I glued a small magnet to prevent the cap from falling out
With this file you will be able to print Just another Cap Shooter with your 3D printer. Click on the button and save the file on your computer to work, edit or customize your design. You can also find more 3D designs for printers on Just another Cap Shooter.