K40 laser engraver aim assist
thingiverse
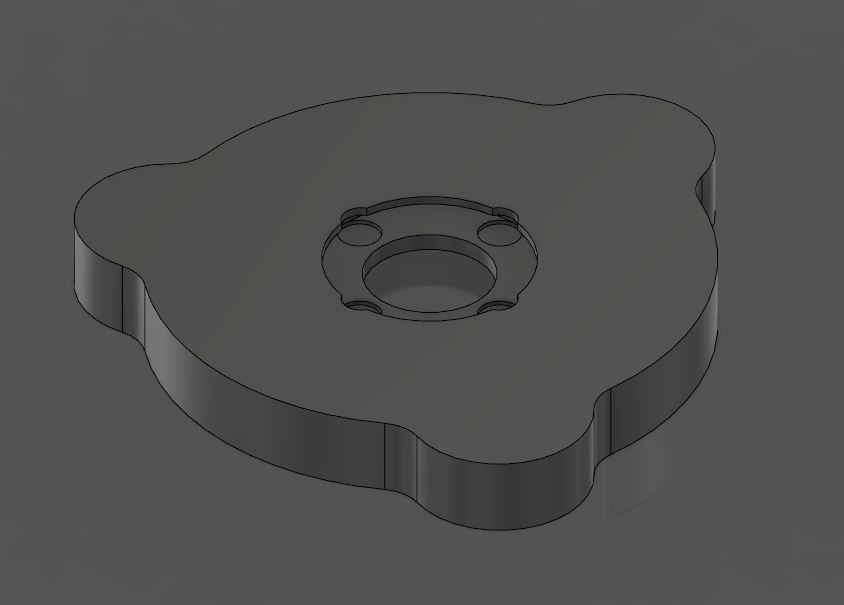
This is the K40 laser cutter "aim assist" module. Other than the laser pointer module this one is in line with the actual laser beam and thus independent to the bed and workpiece height. it can be mounted directly to the steel back plane with some magnets. Also it is not adding any weight to the moving lens head. The only minor downside is that the aiming dots are a little bit bigger at the home position of the laser cutter and getting smaller the longer the beam path is. but that is not a real problem. Additional parts required. - 3x magnet Ø10mmx2mm - 4x white LED 3.0V to 3.2V (if you are using a different LED forward voltage the protective resistor value(s) have to be calculated accordingly.) - 560ohm (1W) resistor - some red and black wires. Optional parts: - 2x 330ohm (1/2W) resistor Installation options. Drill a 4mm hole in the center of each LED. Put the LEDs leads through the holes and bend the leads outwards. Do not pull the LEDs tightly to the main body they have to be able to move a little bit. Then you can solder the positive and negative leads of the LEDs directly together and connect all four or two in series depending of the power option you choose. Connect all four LEDs in series with the 560ohm resistor and connect this directly to the 24V main bis in your K40. The resistor is dissipating 0.46W and warming up slightly. Second option. Connect two LEDs in series with the 330ohm resistor and make them two pairs parallel. You can connect this to a 12V power supply or a step-down converter if you have one. The resistor in this configuration will dissipate 0.1W. Final assembly: After soldering your LEDs cover the wires and the leads of your LEDs with some hot glue for electrical insulation. Then glue the magnets in their holes with epoxy glue. Finally put the top cover over your assembly. This cover will angle the LEDs inwards a little bit to aim them at the second order mirror. Press the top cover all the way down to make the rear flush with the main body. Make your electrical installation as required. Since my K40 came with a 24V LED strip for illumination i connected my aim assist module to the light switch on my control panel. Alignment: Move your laser head to the center of your laser cutter and make a test fire dot on a pice of paper. The snap the laser assist module to the back plane over the actual laser hole. You should be able to see the dots immediately. Move the laser assist module around until you see all four dots and lights line them up with your test hole. and you're done. =) Happy lasing
With this file you will be able to print K40 laser engraver aim assist with your 3D printer. Click on the button and save the file on your computer to work, edit or customize your design. You can also find more 3D designs for printers on K40 laser engraver aim assist.