K40 Paint Rack
thingiverse
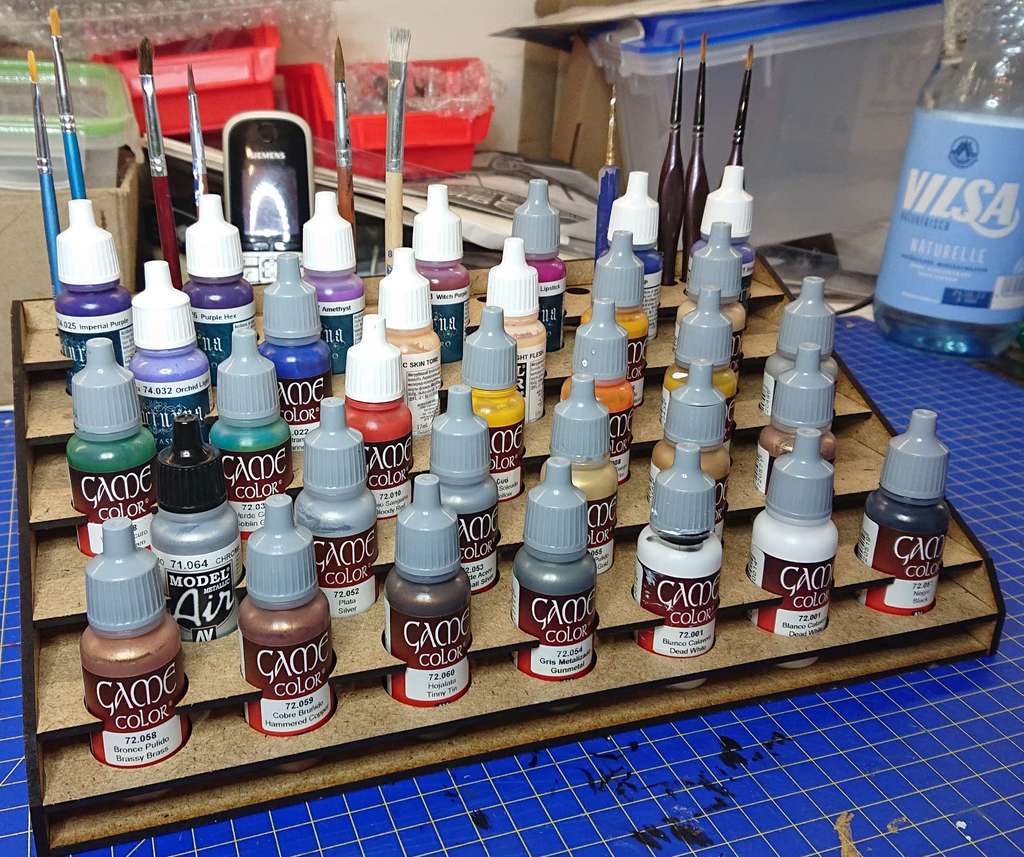
K40 Paint Rack I recently started painting sla printed miniatures. Soon a lot of 25mm paint flasks crowded my workspace. So I was in need of some paint rack. I searched thingiverse but found none that appeals to me and whose parts will fit in my K40 Laser. So I started constructing my own rack. I can fit a DINA4 sheet in my laser cutter. So no part should exceed 210x297mm (roughly 8.3x11.7 inches). I was able to fit all parts in five DINA4 sheets. Sadly later I discovered that the cutting area is little bit smaller due to a unoptimized bed. At 295mm length I can only use 45% of the height. Furthermore the cutting area is centered around the middle of the sheet. So even if I would get the parts to fit the smaller area there would have been a lot of wasted wood. In the end I rearranged the parts so that they fit in a 105x295mm area and precut the DINA4 sheets in half. Two of the sheets fit in the 45% height DINA4 so I did not change them. My next goal was that the flasks are hold secure in the rack, even when tilted. So I want them to stand on one board and held by two additional planks. Because I´m new to miniature painting I want to see the labels on the flasks without pulling them from the Rack. So the first plank is right under the label and the second one is cut open so that the view is not obstructed. Under these conditions 33 flasks with a 25mm diameter (standard vallejo / armypainter flask) will fit in the rack. Because meanwhile I have six flasks with 34mm respectively 36mm diameter I designed optional planks for the first row so that 4x34mm and 3x36mm will fit in. Cutting I used 3mm thick MDF boards, but any 3mm material, that you can cut, will do. The *.svg files are for the K40 Whisperer Software. Red Lines are meant to be cut. Black is for raster engraving (part numbers etc.). The *D4* files are meant to cut out of a DINA4 sheet 210x295mm (roughly 8.3x11.7 inches). The *D12* files are meant to cut out of a half DINA4 sheet 105x295mm Two *D12* files will fit on a DINA4 sheet, if your printer has a cut area this size. The two files with a trailing "o" are optional replacement parts for a first row with greater diameter holders as described above. You will need one cut of each file to complete the paint rack (ok - not including the optional files of course) Assembly I used superglue for the assembly, but any suitable glue will do. You just have to fix the parts and wait for them to cure. Because most parts are interlocked I recommend the following build order. First you have to locate the rear wall, board 4 and the "support stair" as seen in Build Picture 01. Before you start gluing, some advice: All parts of the paint rack can be used normal or flipped. I prefer to face the "burned" side of the parts inwards. While the orientation of the parts is up to you all parts with holes for the brushes needs to be glued with the same side up or down, because there are three different sizes of holes. So if you mix orientation with these parts the holes will not line up correctly to their counterparts. No glue the three parts together as shown in Build Picture 02. These three parts should be built as rectangular to each other as possible. Next you have to find board 5 and 6. See Build Picture 03. Glue board 5 next board 4. Then insert board 6 like in Build Picture 04. Mind the orientation :-) Now regarding the first sidewall. I choose the left one but the right one will work as well. You must not glue both sidewalls yet. See Build Picture 05. Now locate the rest of the boards as shown in Build Picture 06. Note: For the boards 1&2 there are optional version where the first row has two different types of holes with bigger diameters. As with the holes for the brushes mind the orientation, if you use these parts. Lay the rack on the sidewall. Then, beginning with board 3 push each board in the sidewall from above and tilt it over the "nose" as shown in Build Picture 07 for board 1. Test the process without glue first. You will have to somehow fix the board exactly in place until the glue has cured. The boards tend to slip off the nose if you are not careful. Now we need the rear bottom part and the other sidewall as shown in Build Picture 08. Glue the bottom part in place. Don´t forget to put some glue on the edge of the "support stair". Up to now everything was easy. Now comes the annoying part. The paint rack should look like in Build Picture 09. Now the sidewall must be put in place with all boards slipping in the notches of the sidewall. I prefer to lay the rack on the side and try to put the side wall in place from above as seen in Build Picture 10. I recommend to not use any glue yet, especially if you use superglue. Only after the part is completely in position I use some highly fluid superglue and let it flow in the seams. Build Picture 11. After that is done and cured glue the front bottom part in place and you are done. See Build Picture 12.
With this file you will be able to print K40 Paint Rack with your 3D printer. Click on the button and save the file on your computer to work, edit or customize your design. You can also find more 3D designs for printers on K40 Paint Rack.