Keystone keys
thingiverse
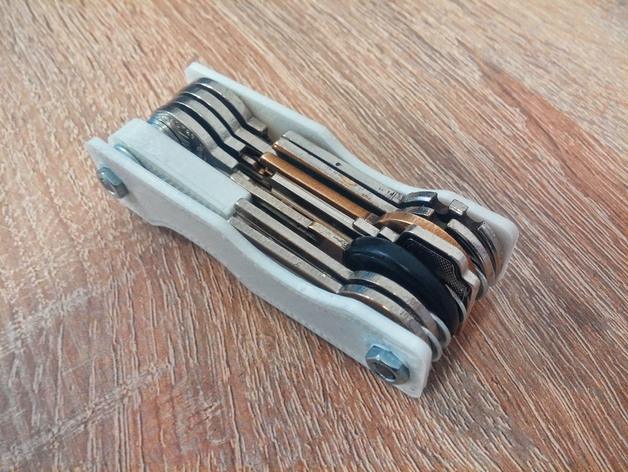
Do you find yourself with too many keys that are uncomfortable in your pocket? This project is inspired by keystonesingapore's innovative design: http://www.facebook.com/keystonesingapore http://www.keystonesawait.com https://www.kickstarter.com/projects/2097483958/keystone To assemble the Keystone, you will need to download the keystone_simple print file. If you have regular keys, look in the keystone_inserts file for inserts that fit your keyholes, as the screw size is smaller than the hole size in standard keys. If your keys are non-standard sizes, creating your own insert will prevent them from wobbling on the screw, but it's not necessary. To begin assembling, you'll need two M4 screws and two M4 matrixes, along with a lot of washers to place between the keys and on both sides inside. Start by inserting two screws into one Keystone part - the one with rounded holes - and add a washer on each screw. Next, insert a key with its corresponding insert, then another washer, repeating this process until all your keys are used up. Finish by adding one last washer for space between the last key and the Keystone's end. Then insert the Keystone's other part, which features hexagonal holes, followed by arranging the matrixes to match the actual holes in the Keystone. Finally, start tightening the screws. You can arrange your keys as you like, but it's recommended that you add at least one washer between each key for stability. If you have a USB drive similar to mine, consider printing keystone_usb_kingston_datatravelerSE9 for an added layer of convenience.
With this file you will be able to print Keystone keys with your 3D printer. Click on the button and save the file on your computer to work, edit or customize your design. You can also find more 3D designs for printers on Keystone keys.