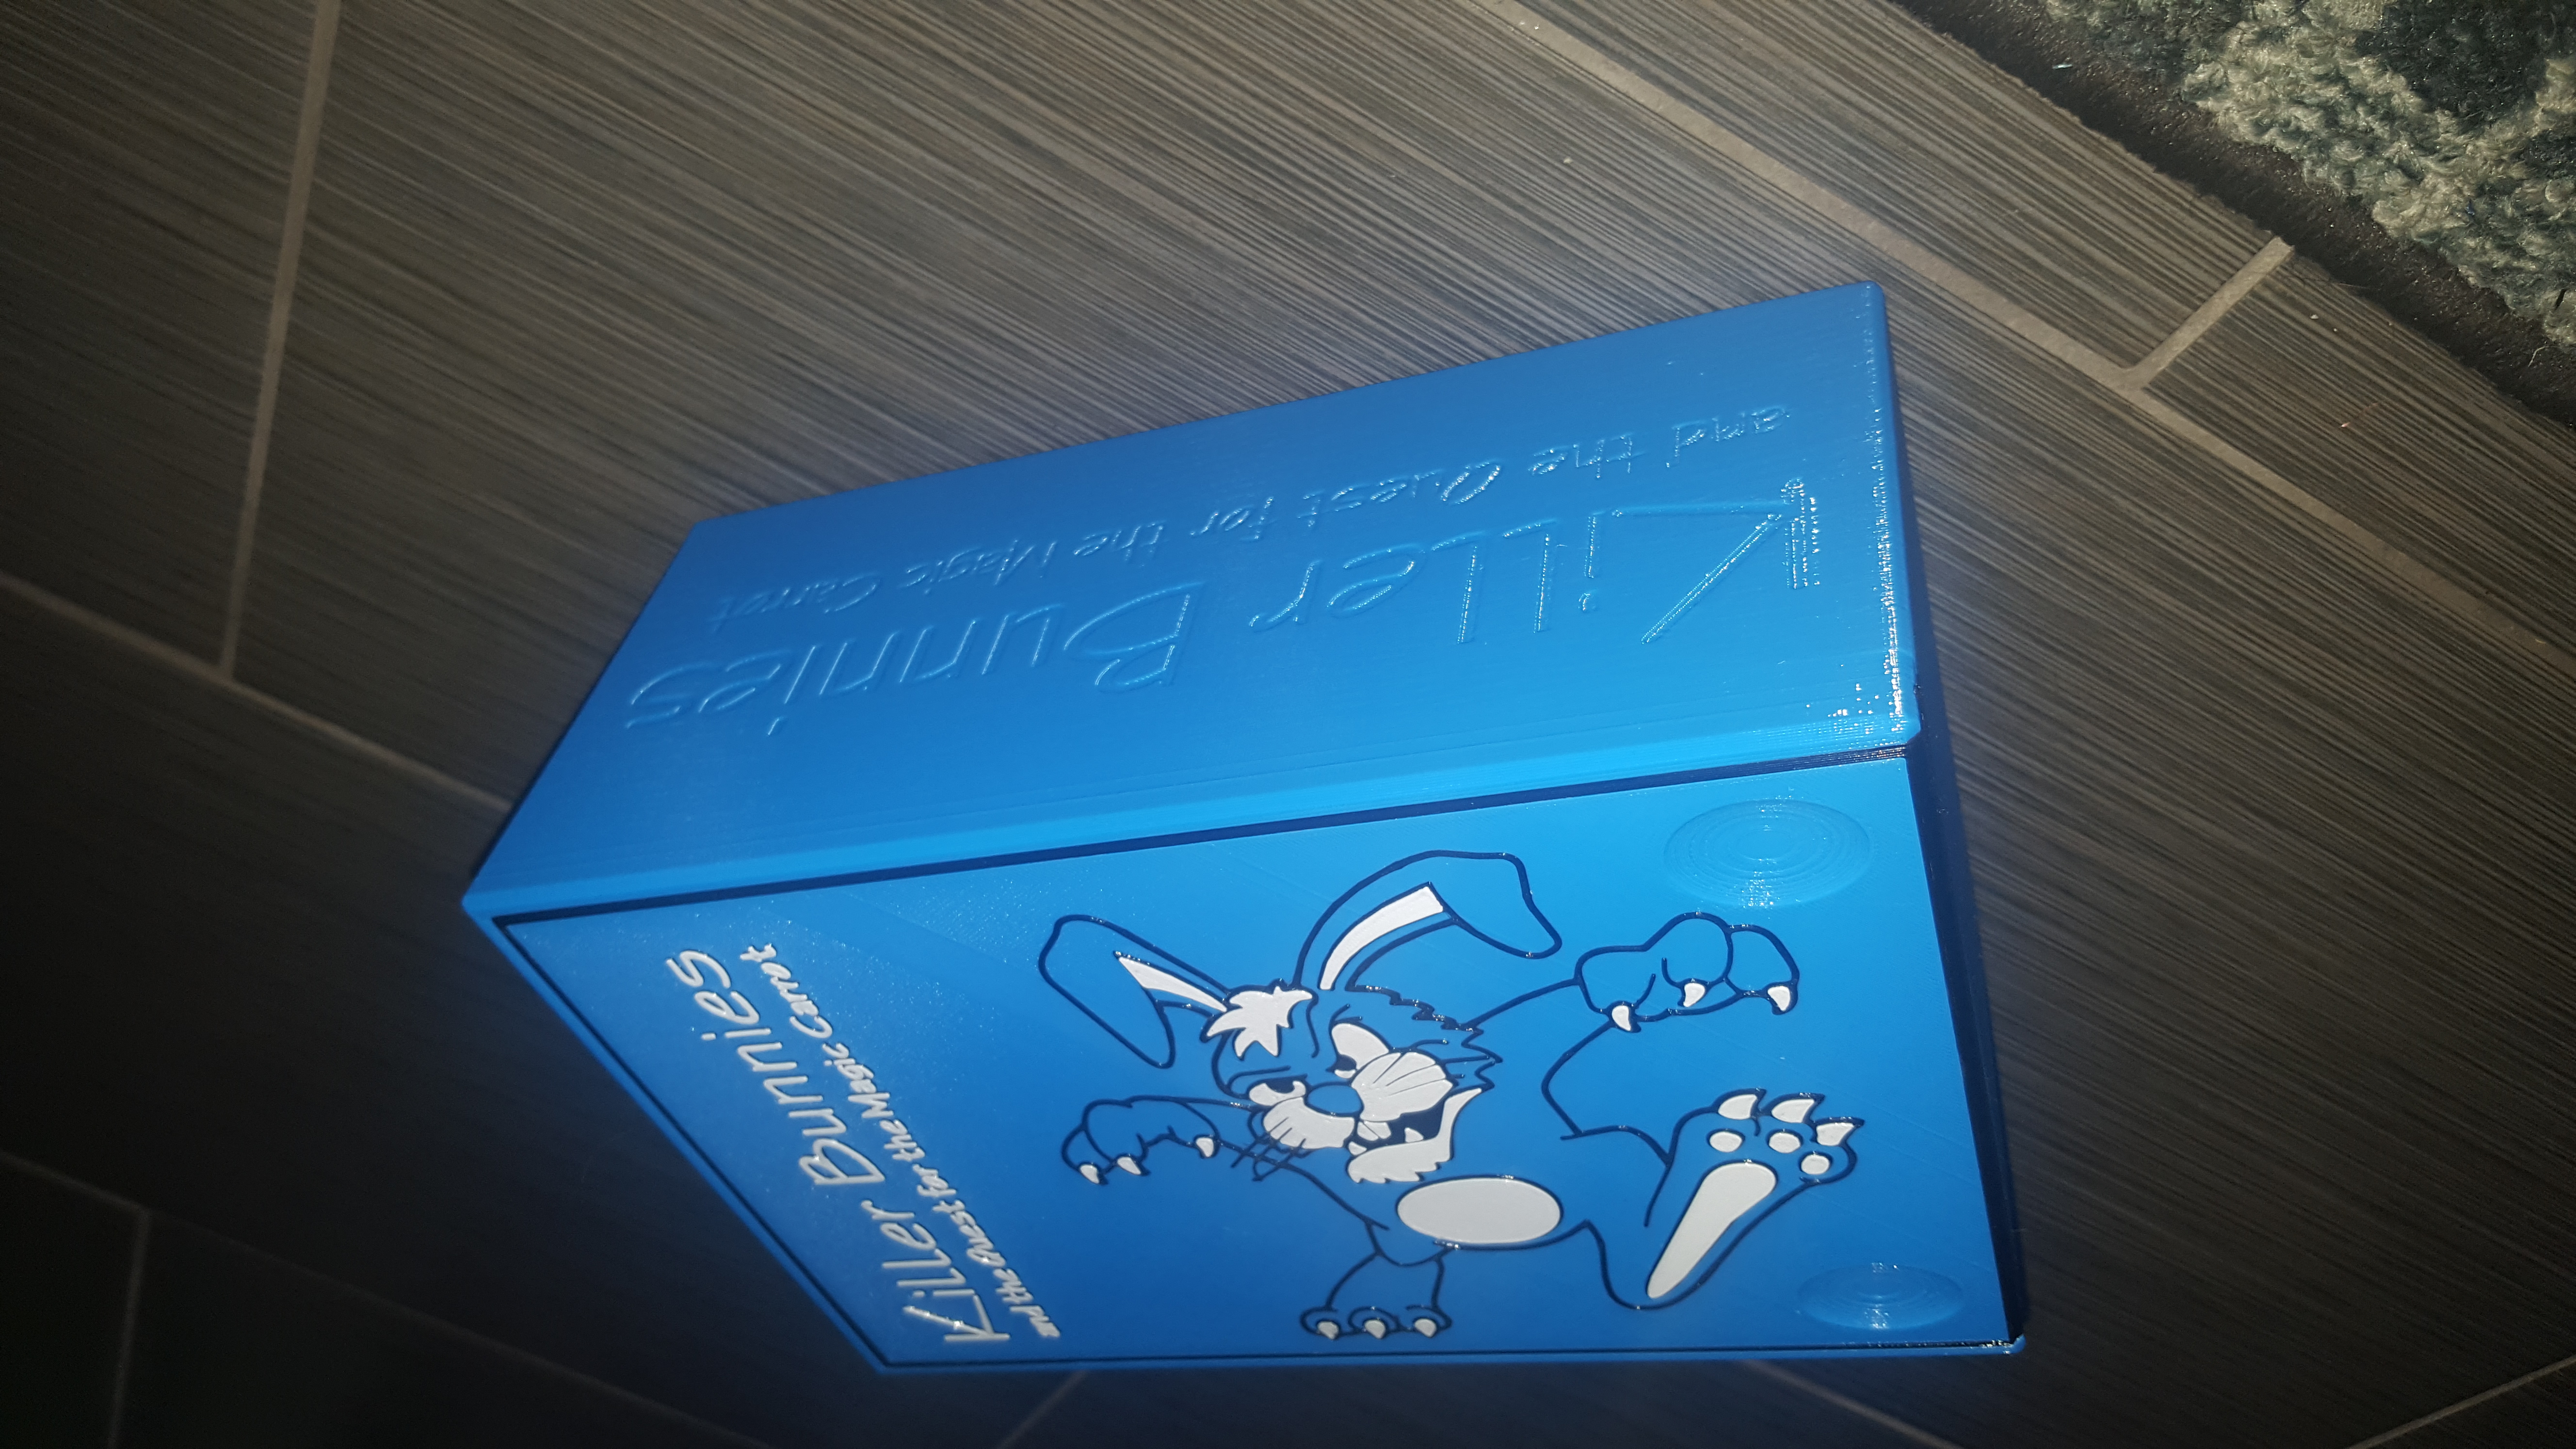
Killer Bunnies Storage Box
prusaprinters
<p>Hey! A Killer Bunnies Storage Box! It's not cardboard. And won't disintegrate. And won't spill everything out every time you try to move it.... :(</p><p>This is made to hold the main Killer Bunnies set plus 9ish main expansions. It is unknown as to if it will hold any other expansions because I don't have access to them.</p><p>NOTE!</p><p>This thing is quite large and took ~60 hours to print everything on a Prusa MK3.</p><p>Most everything can be printed with your material/colors of choice except the bin insert.</p><p> </p><p>01 - Main Box</p><ul><li>Recommend using PETG. Sainsmart makes the perfect color blue PRO-3 PETG for it on Amazon. It will use slightly more than half of the spool.</li><li>0.30 Height and rectilinear infill (Slic3r) will make it strong with a nice look to the side words and will take ~21 hours.</li></ul><p> </p><p>There are 2 types of lids, one for a multi-material unit and one for those without. </p><p>The Multi-material version is 02 and has the lid frame integrated and the bunnies logo will be flat.</p><p>The non MMU will need part 03a and 03b to be glued together</p><p> </p><p>02, 02a, 02b, 02c, 02d - Lid MMU version</p><ul><li>Print face down.</li><li>This takes up most of the print surface so you'll have to move it down and widen the purge block to around 150mm to make it fit above the part.<br/>Color: Blue, Black, White</li></ul><p>03a - Lid Top - Non-MMU</p><ul><li>Print face up.</li><li>A manual color change at Z Height 4.2 to black and Z 4.6 to white will make the bunny and words POP!<br/>Color: Blue, Black, White</li></ul><p>03b - Lid Frame - Non-MMU</p><ul><li>Non-MMU - Probably need a brim to keep the corners from lifting on this one. I did.<br/>Color: Black</li></ul><p>04 - Lid Inner</p><ul><li>Color change at Z 2.6<br/>Color: Black, Silver</li></ul><p>05 - Bin</p><ul><li>No special instructions<br/>Color: Red</li></ul><p>06 - Bin Insert</p><ul><li>Optional. Use TPU or don't bother to print. It's designed to fit snugly into the bin to absorb dice throw impacts.<br/>Color: Clear</li></ul><p>07 - Big Carrot Box</p><ul><li>Print 2 of these. They will fit into each other to hold the Big Carrot cards.<br/>Color: Orange</li></ul><p>08, 09 - Small Box</p><ul><li>Print 6 sets of these. There is a window in the top to see what cards are inside if you don't use different colors for each set.</li><li>Can be tricky/stiff to open at first. See picture for finger placement to make it easier until they've been worn in a bit.<br/>Color: Red, Orange, Green, Blue, Purple, Black</li></ul><p>10, 11 - Storage Boxes</p><ul><li>Print 1 each of these. I use the long box to store unused/unwanted cards and the short box to store all the little bits and pieces that come with all the sets.<br/>Color: Copper, Silver</li></ul><p>12 - Storage Box Upper</p><ul><li>Print 2 of these. One for each storage box.<br/>Color: Copper, Silver</li></ul><p>13 - Card Box</p><ul><li>Optional. 1-2 will fit in the Main Box depending on how many expansions are there and how many cards are kept in the Large Storage Box. These can be used to hold a stack of cards whilst you play.<br/>Color: Blue</li></ul><p>14 - Pawn Bunnies</p><ul><li>I remixed <a href="https://www.thingiverse.com/thing:1666705">https://www.thingiverse.com/thing:1666705</a> Evil snow bunny and use them as pawns.</li><li>Print in TPU if you're able and the ears won't break from rough/child use.<br/>Color: One for each of the pawns</li></ul><p> </p><p>Have fun! Post your prints!</p><p>Post-Printing</p><p> </p><p>Slight knife work or sanding maybe necessary on the Card Box, Non-MMU Lid words, bunny and pawn ears to remove burs/stringing.</p><p>The non-multi-material Lid Top will need to be glued to the Lid Frame. Gel Superglue works perfect.</p><p>The Lid Inner slides into the frame and acts both as a cover to hold all the instruction booklets and a staging area for your starter cards and pawns while playing.</p><p>The whole Lid Assembly slides in and out of the Main Box with thumb divots for opening but can be stiff until its worn in a bit. If it's too stiff then shave the bumps slightly.</p><p>All the boxes will fit as shown with wiggle room for fingers to remove them.</p><p>Thingiverse link: https://www.thingiverse.com/thing:3529208</p>
With this file you will be able to print Killer Bunnies Storage Box with your 3D printer. Click on the button and save the file on your computer to work, edit or customize your design. You can also find more 3D designs for printers on Killer Bunnies Storage Box.