Kilner Jar Sprouting Lid
myminifactory
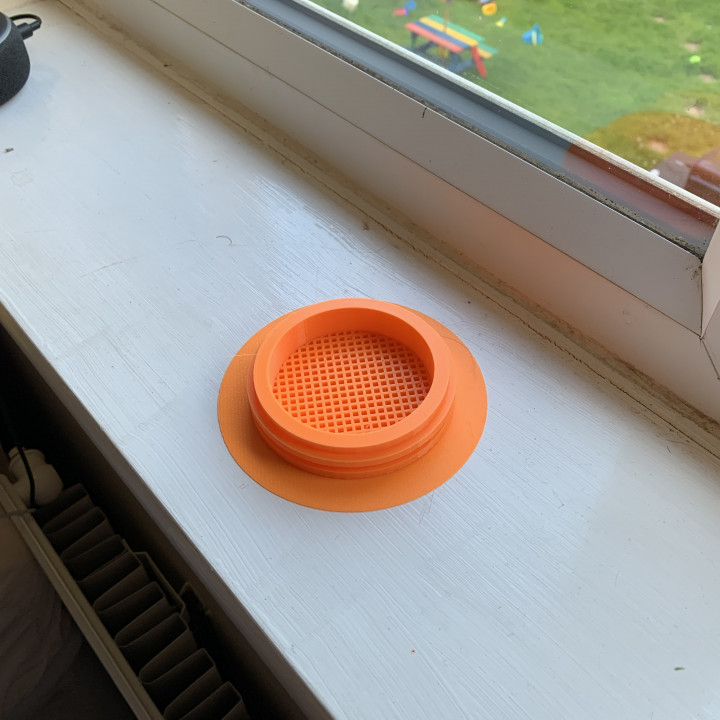
Just copying what I wrote on Thingiverse here :) SummaryThank you to @ianlinux for his kilner jar sized strainer insert and @HTSL for his Kilner Debowler Lid. I have been able to combine these two designs to ensure I got the correct Kilner lid to allow the wire fastener to still work and produce a working strainer for sprouting my mung beans. This is my first ever design, so if you know ways to improve it, please let me know or remix it :)Print SettingsPrinter brand: Creality Printer: Ender 3 Rafts: Yes Supports: No Infill: 20% Filament_brand: Unknown Filament_material: PLA Notes: I printed this with the strainer side facing down and with a raft. I just used whatever the default raft was on Astroprint. I used a printing temperature of 220˚C and a bed temperature of 60˚C. I also used z-hopping but I don’t know if this is necessary. It printed first time so didn’t feel the need to experiment further. Took a little over 7 hours to print at 100% FR. Post-PrintingHow to grow bean sproutsAfter you’ve got this all set up and onto your kilner jar. Just add 2 tablespoons of mung beans and fill with water. And good plastic free refill shop will have them :) Stick it in a dark cupboard overnight (or at least 8 hours). Pour out the water, rinse with clean water, tip it out. Put it back in the dark cupboard to do its thing (yes, no longer in water, just wet). Repeat the rinsing two or three times a day until the beans are as long as you want them. I was satisfied with them after six days but I know many are happy with them sooner.How I Designed ThisI just downloaded the two files linked to in the remixes here and got remixing in Shapr3D on my iPad Pro.
With this file you will be able to print Kilner Jar Sprouting Lid with your 3D printer. Click on the button and save the file on your computer to work, edit or customize your design. You can also find more 3D designs for printers on Kilner Jar Sprouting Lid.