Klipper ADXL345 Standalone MCU Case
thingiverse
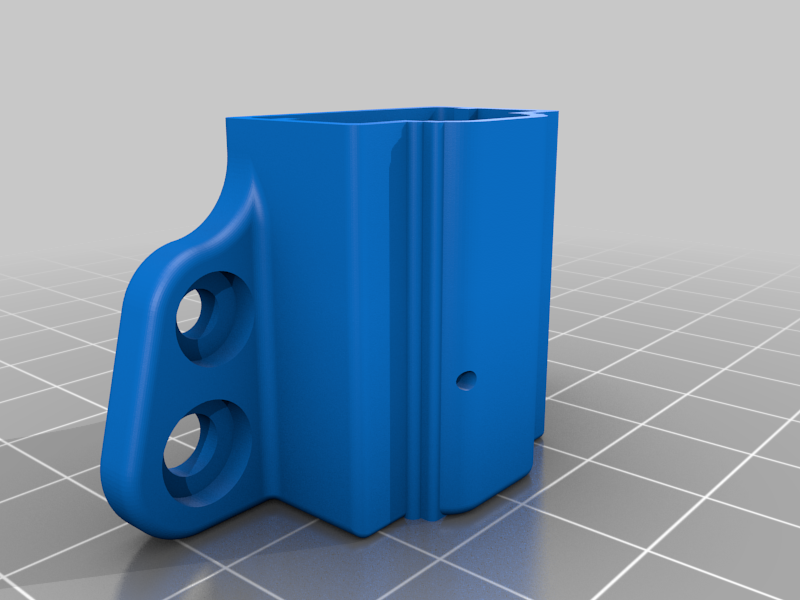
A simple case for an ADXL345 and WaveShare RP2040-Zero https://www.waveshare.com/wiki/RP2040-Zero with an interface adaptor that guides wiring. I used 2 pins to attach power and ground from the ADXL345 to the RP2040-Zero and then four solid core breadboard jumper wires bent into shape following the guides in the interface layer. Not all holes need to be drilled out - generally one hole per wire needs drilling - but it doesn't hurt anything if you do. Only GND, 3.3v and pins 0-4 are used on the RP2040-Zero. The adxl345.cfg file is a template to use with your board. The specific device ID of your RP2040 MCU needs to be substituted into the file. I recommend putting the file onto your RP2040 so you have it with you whenever you have the device - this is why the Boot button is accessible through a hole in the case. Follow Klipper directions for flashing a new firmware on the MCU and flashing it. Once you've set the device id correctly, add [include adxl345.cfg] into your printer.cfg anytime you want to calibrate resonance. Comment it out when you are done or you will be required to have that MCU constantly attached. I bought a 10ft USB-A to USB-C cable from Amazon which works great. I do not see any impact on resonance values from the cable or the attached accelerometers/MCU. The case is made to take a press fit M4 bolt so that on a bed slinger you can attach it to a bed screw. The smaller holes fit M3 screws and can attach to a 4010 fan mount (the spacing is correct for 2 screws).
With this file you will be able to print Klipper ADXL345 Standalone MCU Case with your 3D printer. Click on the button and save the file on your computer to work, edit or customize your design. You can also find more 3D designs for printers on Klipper ADXL345 Standalone MCU Case.