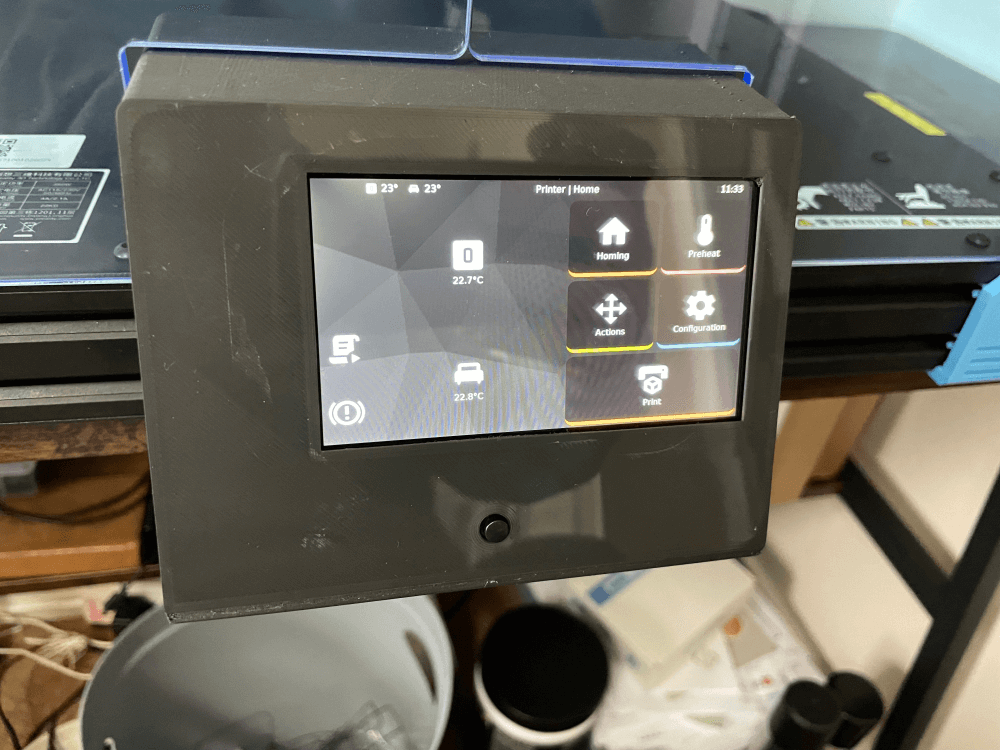
Klipper wave share pi screen ender 6
thingiverse
recent update. due to a new klipper update, i realised its a pain in the buttocks to have to remove the housing to reattach the original screen and have access to the memory card reader. so i have now updated the housing to retain access to the memory card holder. i suggest leaving the original ribbon cable tucked into the bottom of the housing so you can pull it out to plug the original screen in, keep the pi powered off, flash new firmware to printers motherboard via the easy access sd card cover. unplug original screen and tuck cable back into the opening in the bottom of the housing This replaces the original ender 6 screen and facia, mounting a Waveshare 4.3 touchscreen, direct on a pi4 board in place of the stock screen. There are 2 mounting choices. If you prefer to use the stock 3d printed pi housing that comes with the Waveshare screen, then print the screen mount for “no fan” and this will give the correct offset for the whole assembly to be mounted into the screen facia. Though personally I think it has better air flow without the supplied housing from Waveshare and my pictures show the “with fan” mount I do suggest using some fabric tape where the screen meets the facia. I used generic “automotive dash board anti squeak/rattle tape”. You will need a couple 90 degree usb adaptors as there is not enough real estate for standard usb connectors to exit directly from the pi. One usb runs over the top of the screen to then route a cable direct to the printers motherboard. One which exits the bottom of the facia if you run a cam. The good thing about this is most places sell 90 degree usb adaptors in kits of 2 with each one facing the opposite direction to the other so you don’t need to by 2 kits and only use 1 cable from each kit. Power supply for the pi/screen runs out the bottom of the facia, under the printer. The fan/pi is attached to my mount using the supplied fixtures and fixing for mounting the pi into the Waveshare enclosure. The mount itself to the facia and the on/off button backplate are all attached using m3 cap heads. It uses the original ender 6 fixtures and fittings to attach the facia to the printer Don’t judge me on the quality of my print, but the quality of the fit!!! Rapid prototyping is exactly what it says on the tin!
With this file you will be able to print Klipper wave share pi screen ender 6 with your 3D printer. Click on the button and save the file on your computer to work, edit or customize your design. You can also find more 3D designs for printers on Klipper wave share pi screen ender 6.
