Knife storage
thingiverse
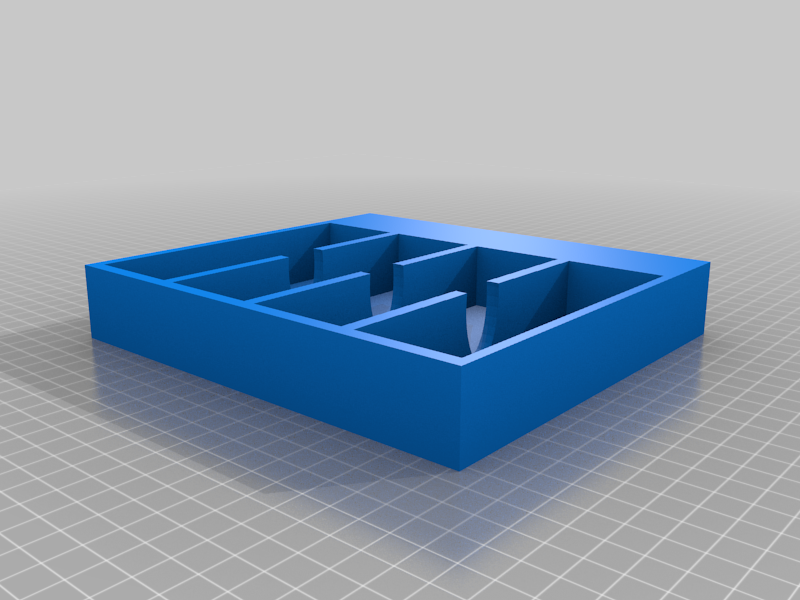
Modular Pocket Knife Storage ==================== ### About --------------------- It's a modular pocket knife storage solution that uses magnets and a bearing for a very unnecessarily complicated yet satisfying way to store knives when they aren't in your pocket. This is the brainchild that resulted from a bunch of bearings I had sitting around that were left over from the great fidget spinner craze of 2017 and a bunch of pocket knives unorganizedly thrown in a random bedside table basket. <br> <br> <br> ### Status and quirks --------------------- It's not without its flaws but I have a bad habit of getting something "good enough" and when it works "fine" I move on. So I doubt I spend much more time on this to work out some small bugs, but I do utilize daily it and it works well with three layers as is. In theory you should be able to print as many as you need and stack them up to satisfy how ever many layers that you need to hold all your knives. In practice, however, 4 is probably the max as the more layers you add the more weight it adds to the first pivot point and the front begins to sag. It also will result in tipping over if you're trying to get to the bottom layer and swing the tops around to the back. With that out of the way, here are the details to get your own: <br> <br> <br> ### Hardware --------------------- 608 Bearing(s) (TONS of places to get these, probably out of that fidget spinner that you no longer use) 10mm x 20mm rare earth magnet (Had these laying around from another project but they can be sourced from Ebay) <br><br> ### Additional details and printing tips: --------------------- I went through a LOT of iterations trying to negate the afore mentioned "sag" that you get when all of the weight is centralized to that one small peg that the bearing sits on. One of them was to extend the peg through the bearing and in to the next layer above it, another was to make the tolerances so tight that there would be no play between the bearing center and outer mounting points. Because of all of the variables, i.e. plastic bending and cheap bearing tolerances, I had to just embrace *some* tsag and make the gap between the two layers a little larger. <b>An important note on printing</b> Use the feature of your slicer to make infill 100% around the pivot point where the bearing goes. Just make a good size "square" around that whole area and set the infill to 100%. You could of course just print the whole thing in 100% infill if you really like wasting plastic, but this thing is large and I would certainly recommend against that. This will add strength and rigidity to the area that is bearing all of the weight. CURA and Prusa slic3r both do this natively, I can't speak to any other slicers as these are the only two I've ever used. One of the downsides to the design is that you're limited to the size of the inside of the bearing to bear the weight of the tray and knives but I was hellbent on using these bearings because I had so many laying around, and they are the most common bearing of this size. So this is a limitation that I had to work around and the above recommendation is almost a must in order to combat it as much as possible. <br> <br> <br> ### Assembly --------------------- Print off as many of the Knife Storage Knife_Storage_Latest.stl that you need, one or two, and then one Knife Storage top.stl for the top most layer. Probably should be pretty self explanatory but basically you just insert the bearing either on top of the bottom most layer peg, or inside of the hole on the bottom of the upper layer. It seems to me that inserting it in the upper-most layer first is the best way to go about this as you can get it seated nice and level in there, and even in some cases you may want to epoxy it in there so that it doesn't slide out as plastic and the bearing are both pretty slick and will move on you if you put any downward force on the upper layers. Keep in mind that any "tilt" to the bearing in any direction once you get it seated will result in an undesirable tilt to the tray. It will look small when you seat the bearing but will be quite noticeable in the gaps between the layers once you assemble them. It's near impossible to move the upper layer enough to combat this after you assemble so just take the time to make sure that it's seated level before hand. Once you have the bearing inserted in the bottom of the upper layer then you can insert the peg from the bottom layer in the center of the bearing. I used a rubber mallet to CAREFULLY tap the upper layer on to the bottom layer. Again the tolerances here are really tight. You may even want to be sure that your printer didn't make a noticeable "seam" on the peg that inserts in to the center of the bearing. Use one of your pocket knives to clean that up if necessary. Rinse and repeat.
With this file you will be able to print Knife storage with your 3D printer. Click on the button and save the file on your computer to work, edit or customize your design. You can also find more 3D designs for printers on Knife storage .