Knob with captive nut
thingiverse
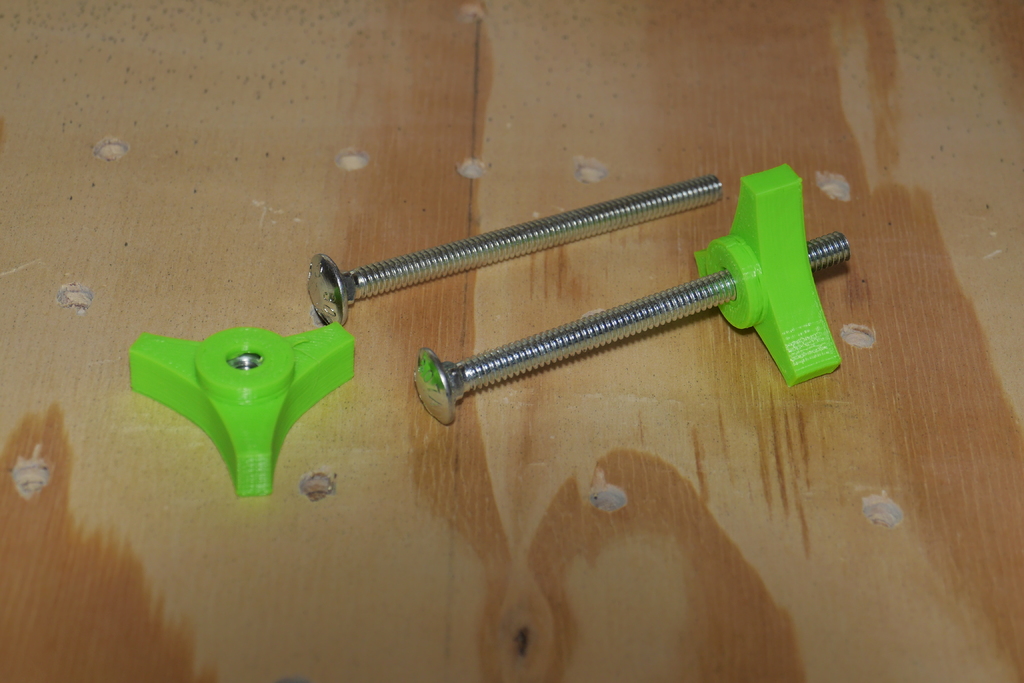
This is yet another adjustable handle / fastener nut. By default, it has a securely held nut inside. Just pause your print when the nut cavity is almost complete (check in your Slicer preview the depth at which it finishes) and insert the nut. It should fit well as the filament will be soft and pliable. And then continue printing. You will get a bit of tangled filament probably, but threading the bolt through the handle will clean up any mess. One thing I tried in my recent print is to put some adhesive on the top surface of the nut, using the same purple glue stick that I use for bed adhesion, to make the filament bond more neatly to the metal. It seemed to make a significant difference. The STL files are for a 1/4 inch bolt and the standard size nut going with it. With the default sizing, pause the print in the last layer before z equals 11.5 millimeters. **Feb. 22, 2019 update:** Minor adjustment made to handle design. **Feb. 16, 2019 update:** Added beveling, thickened horizontal walls for added strength.
With this file you will be able to print Knob with captive nut with your 3D printer. Click on the button and save the file on your computer to work, edit or customize your design. You can also find more 3D designs for printers on Knob with captive nut.