Koomus Magnetic AMP Bolt Pattern Cellphone Mount
thingiverse
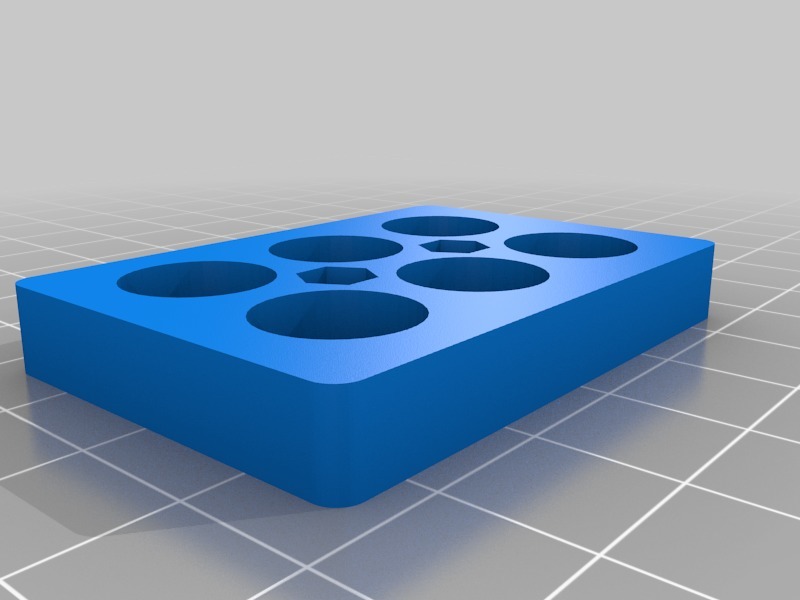
Koomus Pro Stick-M Universal Magnetic Smartphone Car Mount Holder AMP Bolt Pattern Modification Kit Disassemble the Koomus mount and set aside the following components. a) 6 high-powered 12MM X 4.5MM Magnets b) Koomus Rubber Cover c) Rubber Cover Retainer Plate 3D Print the Kit Parts a) Magnet Plate b) AMP Bracket Adapter Plate c) Mid-Spacer Plate d) M3 X 14 Socket Head Bolt (2) e) M3 Hex Nut (2) f) M4 X 4.7H Plastic Melt Inserts (4) Assembly Press the magnets into the Magnet Plate. The magnets must be a firm press-fit. You don't want the magnets coming out of the plate. If too loose, scale the model and re-print, or use a small strip of paper around the circumference of the magnet and re-press in. Press in the M3 hex nuts (2) into the Magnet Plate. Place a small strip of electrical tape over face to keep hex nuts from falling out if the hex nuts are loose. Fit Koomus rubber cover over the Magnet Plate assembly. Orientate the Mid-Spacer Plate with the circular boss facing outward. Fit Koomus retainer plate to fit firmly over boss and engage with rubber back cover slot. Using insert heated-iron, install the M4X4.7 brass threaded inserts into the AMP adapter plate. Use the M3X14 socket head bolts (2) to assembly the components together.
With this file you will be able to print Koomus Magnetic AMP Bolt Pattern Cellphone Mount with your 3D printer. Click on the button and save the file on your computer to work, edit or customize your design. You can also find more 3D designs for printers on Koomus Magnetic AMP Bolt Pattern Cellphone Mount.