Kossel Mini Prime Line Roller Carriage - With More Compression
thingiverse
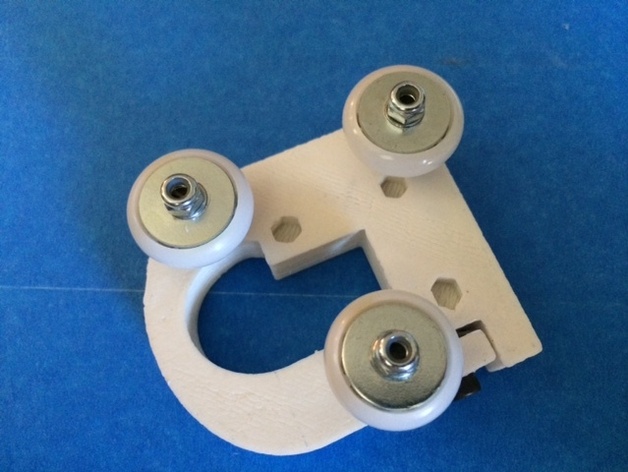
Haydn Huntley has revamped his carriage design for Delta Printers or Graber wheels, which utilizes cheap nylon rollers. Check it out on YouMagine at this link: [https://www.youmagine.com/designs/improved-kossel-carriage-for-deltaprintr-or-graber-wheels-and-1515-extrusions](https://www.youmagine.com/designs/improved-kossel-carriage-for-deltaprintr-or-graber-wheels-and-1515-extrusions). The original carriage, featuring nylon rollers, can be viewed on Thingiverse: [http://www.thingiverse.com/thing:215438](http://www.thingiverse.com/thing:215438). Note that the new version is intended for Grabber rollers or Delta Printer rollers. Unfortunately, due to an offset issue in the bolt mount holes, Haydn has temporarily removed the files. He plans to repost with a corrected file once it's ready. Having enjoyed ElectronicHacks' "Kossel Mini Prime Line Roller Carriage," user Wing created a modified version to address slack issues when printed straight up. The model was remade from ElectronicHacks' SketchUp file, allowing the compression arm to come in 1mm further. The carriage is designed for HFS3-1515 aluminum extrusions like those sold by Misumi. Instructions for printing, tools needed, and assembly are provided in detail. However, due to an offset issue in the bolt mount holes, Haydn has temporarily removed the files. He plans to repost with a corrected file once it's ready.
With this file you will be able to print Kossel Mini Prime Line Roller Carriage - With More Compression with your 3D printer. Click on the button and save the file on your computer to work, edit or customize your design. You can also find more 3D designs for printers on Kossel Mini Prime Line Roller Carriage - With More Compression.