KP3S PRO S1 Dual Rail Z-Axis MOD
thingiverse
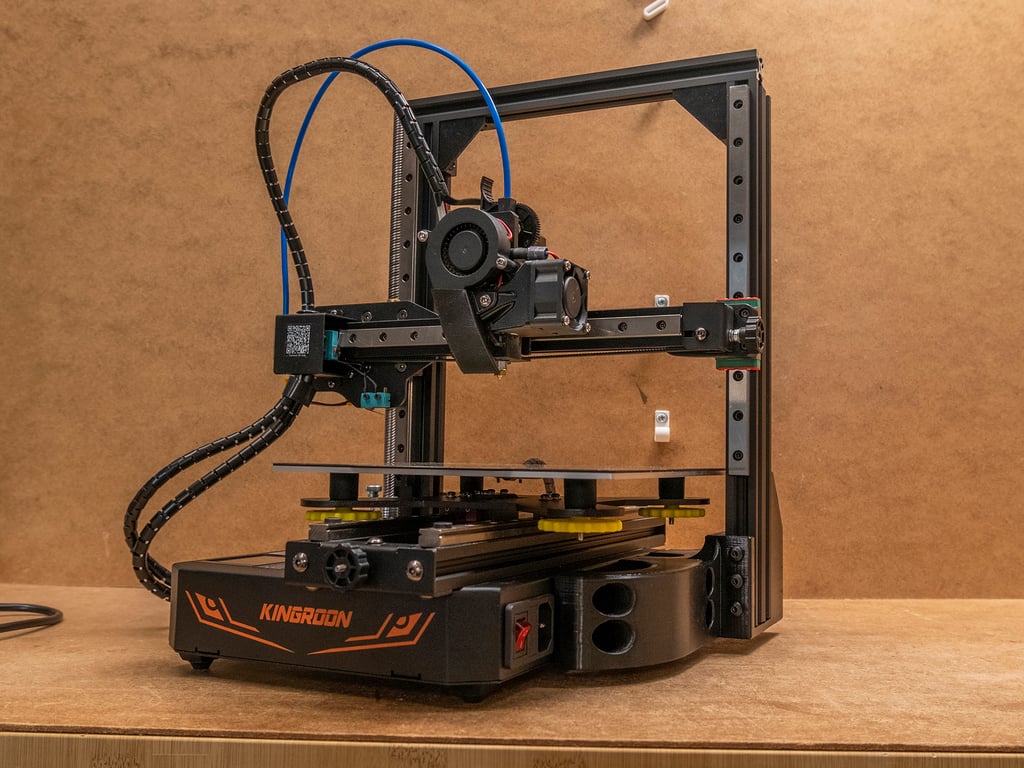
WARNING! IT IS A HARD MOD TO MAKE! WARNING! Only tested with KP3S PRO S1 that has Y-axis linear rails and not v-wheels. This modification requires removing the power supply to attach extension screws to the side of the printer. But to remove the power supply's screws you need to remove the 2020 profiles that hold the heat bed as two heads of the screws go slightly under them. The MOD is designed with bigger screws so it will need drilling to widen the ends of the side vents where the M5 bolts go. You could use M4 bolts, they don't require drilling but can be harder to align things. Plus you will require a narrower X-axis belt tensioner knob. It is a hard mod to make (recommended only for advanced modders)! PARTS: 1x 2040 profile 350mm 1x 2020 profile 280mm 2x 2040 corner angle bracket 1x 250mm MGN12H (must slide without binding) HARDWARE: To attach the 2040 profile to the printed bracket: 3x M5x45mm ISO7380 Hex Socket Button Head screw 4x M5X16mm ISO7380 Hex Socket Button Head screw 7x M5 T-track sliding block square nut for 2020 profile To attach the main printed part to the 3d printer frame: (Using M5 screws here will require widening ends of the vents by drilling, M4 doesn't but could be harder to align) 6x M5X16mm ISO7380 Hex Socket Button Head screw 12x M5 nuts 18x M5 wide washers To attach the carriage of linear rail to X axis: 4x M3x16mm DIN912 socket head screw 2x M4x10 DIN912 socket head screw 2x M4 regular washer 2x M4 lock washer To attach all profiles with the corner brackets: 8x M5X10mm ISO7380 Hex Socket Button Head screw 8x M5 T-track sliding block square nut for 2020 profile
With this file you will be able to print KP3S PRO S1 Dual Rail Z-Axis MOD with your 3D printer. Click on the button and save the file on your computer to work, edit or customize your design. You can also find more 3D designs for printers on KP3S PRO S1 Dual Rail Z-Axis MOD.