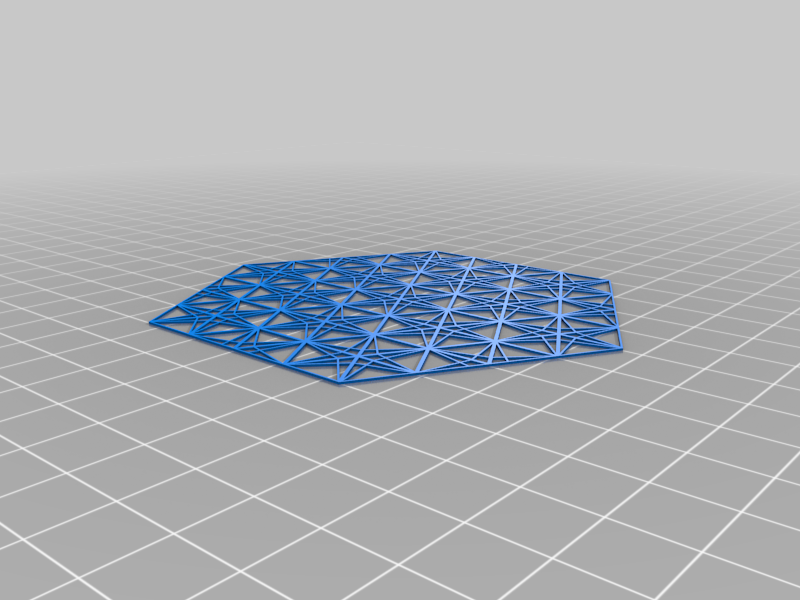
Kumiko Coaster - Rindou
thingiverse
When slicing slice the base first, then add the body and adjust it so it they form one sold piece before removing the base to slice the body. **The body needs to be sliced with z-hop enabled**, I used .6 mm z hop for myself, the base layer should be .4 mm high. You likely don't want wall optimization on or the nozzle will spend too much time in one place melting the base layer a bit and throwing off the lines. You'll probably want to modify the Gcode for the base at the end to disable turning off the bed. I think it should be obvious that this can't be printed with any kind of skirt or brim but I'll mention it anyways Make sure you bed is dead level, good first layer adhesion will make or break this print. Print the base and change the filament while the bed is still hot to avoid peeling, then print your (*z-hop enabled!*) body over top of the base to complete the coaster. I'll be posting more of these I'm sure, I regret not printing this in blue (Sapphire in 3DXTech nomenclature) given this pattern is supposed to represent the Gentian flower but for a first attempt it turned out quite nicely.
With this file you will be able to print Kumiko Coaster - Rindou with your 3D printer. Click on the button and save the file on your computer to work, edit or customize your design. You can also find more 3D designs for printers on Kumiko Coaster - Rindou.