Kylo Ren Lightsaber Shtokcustomworx npxl connector
thingiverse
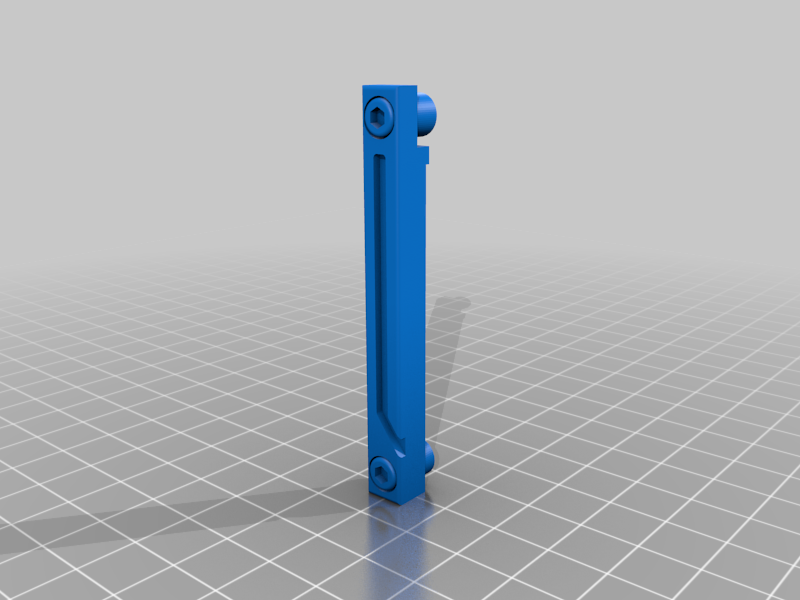
Assemble using grub screws. Enabled you to alter the design as you wish or replace damaged parts. This version can be used to do the wiring as you wish but its specifically designed for npxl neopixel led connectors. On the internals.stl mount a 20mm speaker on the bottom. Proffieboard v2 or verso on the middle, wires through slots and cable tied on the back, charge port in between, you just have to punch out the hole. 18650 battery holder glued into the top part, wires from holder and above run down the groove. Break off the ends of the metal bits from the battery holder and flatten the back to glue in place. The aux momentary button goes below the activation button. Shorten or lengthen kylobutton.stl as needed and glue to aux button. (Not too much glue or you could stick it to the point that the button wont press). Killswitch.stl you may need to alter depending on which switch you use. With this design the only visible button is the activation button which i personally prefer. You can print or buy a holder for the npxl and then just glue in place.
With this file you will be able to print Kylo Ren Lightsaber Shtokcustomworx npxl connector with your 3D printer. Click on the button and save the file on your computer to work, edit or customize your design. You can also find more 3D designs for printers on Kylo Ren Lightsaber Shtokcustomworx npxl connector .