Kyosho Ultima ST/RB EP/GP 3D printable oil filled shocks.
thingiverse
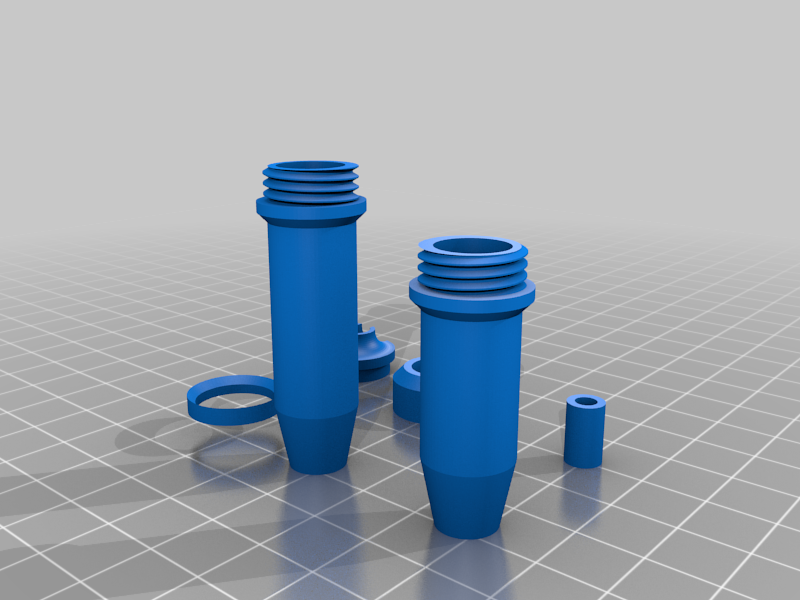
This is my version of the stock plastic shock body. There are two version included. The first one is 10mm shock body cylinder diameter and the second one is 10,2mm cylinder. I recommend the second one for new pistons, but if you are using used pistons, then you should print the 10mm versions. This set includes: - Front shock body - Rear shock body - Installation collar - Spring holder (lower) - Spring upper collar adapter (i did this to prevent use of supports in shock body print) - Shock upper cap. To get this set working, you will need these: - Kyosho X-Groove seals (ORG03X) - Stock shock shafts. Ultima ST Front shaft is about 41,5mm x 3mm, rear shaft is 52mm x 3mm. - Stock 10mm pistons. You can use either stock black pistons, but those Type-R white pistons are better. - E-clips for pistons - 3x6x1mm plastic or aluminum shims - 3x7x1mm plastic or aluminum shims. - Small star washers with exactly 8mm maximum diameter. I used the original shocks star washers. - 10mm shock bladders. - Stock springs or whatever you find suitable - Lower ball joint plastic parts - Upper ball joint parts (these are both available in "Kyosho shock plastic parts set). Or just use your old parts like i did. - Silicone shock fluid Print the shock body and top cap with brim. Shock body needs to be printed right way around and the cap needs to be printed upside down. You only need minimal supports to the lower spring holder. Print the cap and the shock body with 0.10mm layer height, 100% infill and "quality settings". I printed mine from clear PETG. Print one shock body at the time to get best quality and minimal stringing. Assembling these are simple. First install the piston to the shaft with two e-clips. Then put the installation shim (10mm x 6mm collar) to the shaft. - After that goes the star washer - Then 3x7x1mm plastic or aluminum shim - Then one X-groove seal - 3x6x1mm plastic or aluminum shim - Then one X-groove seal - And finally 3x6x1mm plastic or aluminum shim After you have packed all those to the shock shaft, push the whole package through the shock. After you have pulled the package all the way in, grab the threaded part of the shock shaft with pliers and pull as hard as you can until you can feel that the star washer grabs on the the shock body groove thats inside there. Now pull the shaft off from the shock and you should see that the shim/seal package is nice and tight inside the shock body. Remove the installation collar, put the shaft/piston back in to the shock, pour in some silicone shock fluid, remove the bubbles, put the shock upper bladder on, then push the upper ball joint plastic part through the cap and screw the cap on. Rest is history. You can use the stock springs and spring tension adjuster pieces, but you dont need to use the spring upper cups, as the shock body outer diameter is bigger than the original to get these durable enough. See pictures. EDIT: cant upload the pictures, too big. These are working wonderfully in my own car, but printing these require quite a lot of accuracy from the printer. Enjoy and please post a make and respect the licence. Heres a short test video about the shock: https://hitecmods.kuvat.fi/kuvat/RC/3D%20printed%20Ultima%20ST%20Type-R%20EP/20210301_221610.mp4
With this file you will be able to print Kyosho Ultima ST/RB EP/GP 3D printable oil filled shocks. with your 3D printer. Click on the button and save the file on your computer to work, edit or customize your design. You can also find more 3D designs for printers on Kyosho Ultima ST/RB EP/GP 3D printable oil filled shocks..