Laboratory Pipette
thingiverse
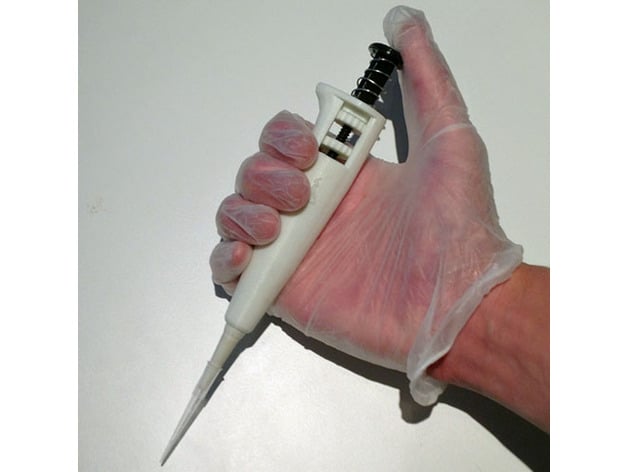
Redesign existing pipettes on Thingiverse for 200ul commercial tips usage. The accuracy depends on gear placement; liquids dispense consistently so far. The idea was to replace balloon membrane suction with plunger and tube due to issues retaining siphon pressure. Required items include EPDM, Nitrile o-rings (3 x 7 mm), PEZ spring/similar, lubricant, and commercial tips like Eppendorf. Print at highest settings for plunger, gears, and pipette tube, with 100% infill for the former and 15% for main body. Before assembly, test o-ring fit using water as if it were a syringe. Lubricate them for better function. Assemble by placing pipette tube in main body, adding spring to plunger, inserting gears into top cavity, threading the plunger through the gears with o-rings on its tip, and locking middle o-ring in recesses of plunger's tips. Test spring function and calibration as needed. Modifications include a stronger spring for better performance, and the potential redesign of plunger to fit round springs. This project may benefit DIY biologists or molecular gastronomists.
With this file you will be able to print Laboratory Pipette with your 3D printer. Click on the button and save the file on your computer to work, edit or customize your design. You can also find more 3D designs for printers on Laboratory Pipette.