Lace Bobbin Winding Machine
thingiverse
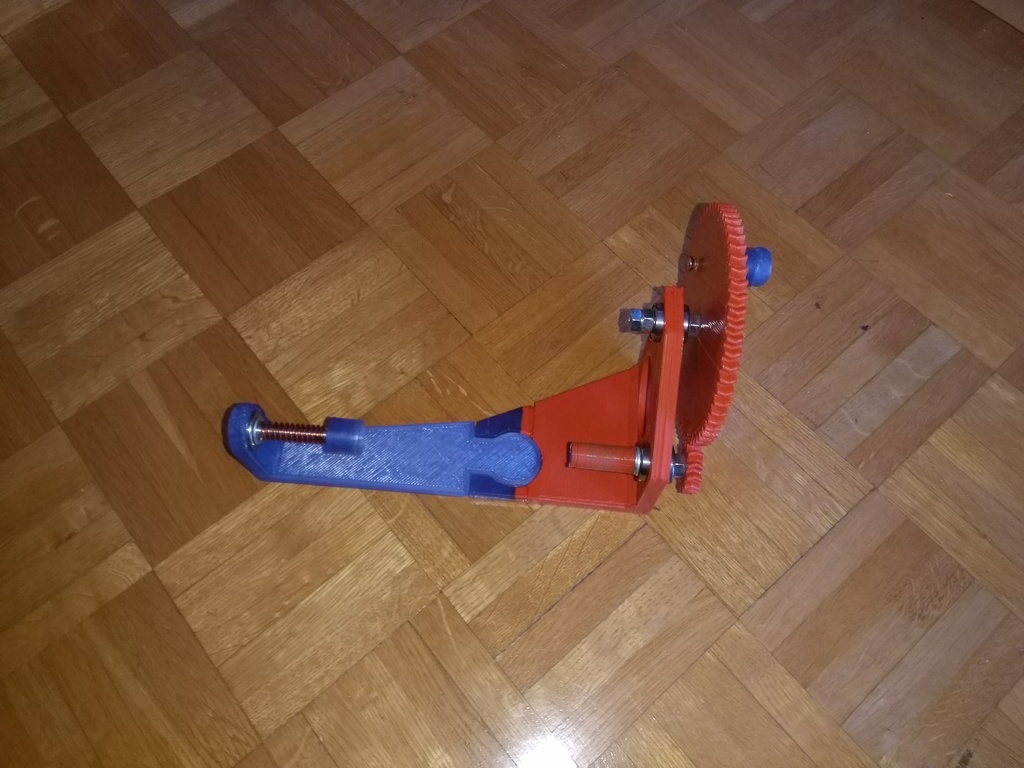
Lace Bobbin Winding Machine As coronavirus is forcing us to be more at home my wife decided to learn how to make lace (she prefers to say that "the stars aligned") - all of a sudden, she got all the basic equipment to start this new hobby from a friend. The only missing part was the lace bobbin winding machine. As badly winded bobbins make a lot of trouble I decided to 3D-print a simple one. It is hand driven with 1:5 gearup ratio. As the body is too large for my printer I divided it in two parts with a puzzle-like joint. Assembly instruction: - Attach the drive handle to a big gear. I used 4mm x 25mm self-tapping (Spax) screw. - The screw itself is without thread in the 1st 10mm and this part should freely rotate inside the gear but should be tightly fit to handle. - Put a washer between the gear and the handle. - For the axle on the big gear, use M8 x 50mm bolt. Put the bolt through the gear and tighten with nut. After that put one skate bearing in the bolt and push everything to the hole on the base. Then, put on another skate bearing and loosely fix with nut too, but do not tighten yet. - You should be careful as the big gear needs to be meshed with pinion gear, so observe to mount the handle on the right side. - For the pinion gear, use M8 x 50mm bolt and push through the pinion gear and firmly tighten with nut. - Put the skate bearing on the bolt and again push through the hole in the base. Then, add another skate bearing and washer and tighten with bobbin holder. - Thighten the nut on the big gear, too, and add another nut and tighten both to prevent to be loose (or use a nylock nut). - The right bobbin holder has a thread and therefore should be screwed with force. If it is too loose it will unscrew while winding a lace bobbin. - In the left side the skate bearing is pressed into the hole. (I did heat the holder a little and forced the bearing in.) There is only one bearing on left side. - The 8mm shaft 70mm long is pressed into the left bobbin holder with force. On the shaft you need a suitable spring to press the bobbin. I simply winded one from a steel wire. - Then put the shaft into the bearing. There is no retainer so the shaft can pop out. Usage: - You need to clamp the winding machine to the desk! I used a C clamp. - The bobbin in the right driving holder can slip so I put some bluetack into the hole to increase friction. Have fun! Video at: https://youtu.be/K38SPtD1egA
With this file you will be able to print Lace Bobbin Winding Machine with your 3D printer. Click on the button and save the file on your computer to work, edit or customize your design. You can also find more 3D designs for printers on Lace Bobbin Winding Machine.