Laptop LCD Panel Bezel
prusaprinters
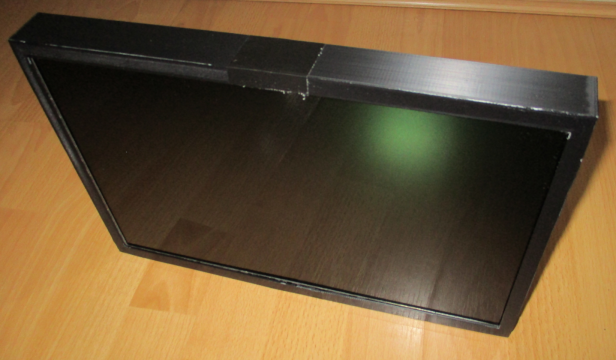
<p>If you have an old laptop and plan to dispose of it, be aware that you can disassemble it and then remove the lcd panel. There are numbers on the back that allow you to order a driver board for that panel - ebay for example has lots of such driver boards.</p> <p>This is not a project for everybody, as some components may be high voltage, so you should only do this sort of project if you have the necessary skills, and can do so safely.</p> <p>Typically driver boards are a few electronics components that need a power supply eg 12v, and have the necessary connectors to allow hdmi and vga connections. Basically these components allow you to carry on using the screen as a monitor instead of throwing it away.</p> <p>This is a bezel to support and protect the lcd panel, and to join 2 parts of the bezel together as it was too big for my bed to print as one part. The rear tray part also contains the necessary holes and compartments to mount the driver board components.</p> <p>The only thing I've not uploaded yet is a back panel as I'm still figuring out what I need. A rear cover for the electronics should be fitted to protect the electronics, and also to prevent anyone touching them in case they have dangerous high voltage components.</p> <p>This bezel fits my 15.4 inch panel.</p> <h3>Print Settings</h3> <p><strong>Supports:</strong></p> <p>Yes</p> <p class="detail-setting resolution"><strong>Resolution: </strong> <div><p>0.2mm</p></div> <p><strong>Filament:</strong> Generic PLA <br/> <p class="detail-setting notes"><strong>Notes: </strong></p> </p><div><p>After printing clean up all the parts. Test fit them. I inserted the panel, then used epoxy glue to join the bezel pieces together. After the epoxy had set I then attached the rear component and threaded all wires through to the electronics. I then used hot glue on the fingers going into the slots to fix them in place and secure the back tray component. I then used hot glue to fix the lcd panel to the bezel, pushing it down so there was no gap between the bezel and the panel until the glue cooled. The electronics were also hot- glued in place (I had pads for threaded inserts but didn't need them).</p> I then applied black duct tape on the bezel over the epoxy glue for cosmetic reasons and to provide a little more strength. <p>I will design a rear cover for the electronics and attach that when I've decided what I want - but one should be fitted to protect the electronics, and also to prevent anyone touching them in case they have dangerous high voltage components.</p> </div></p> Category: Electronics
With this file you will be able to print Laptop LCD Panel Bezel with your 3D printer. Click on the button and save the file on your computer to work, edit or customize your design. You can also find more 3D designs for printers on Laptop LCD Panel Bezel.