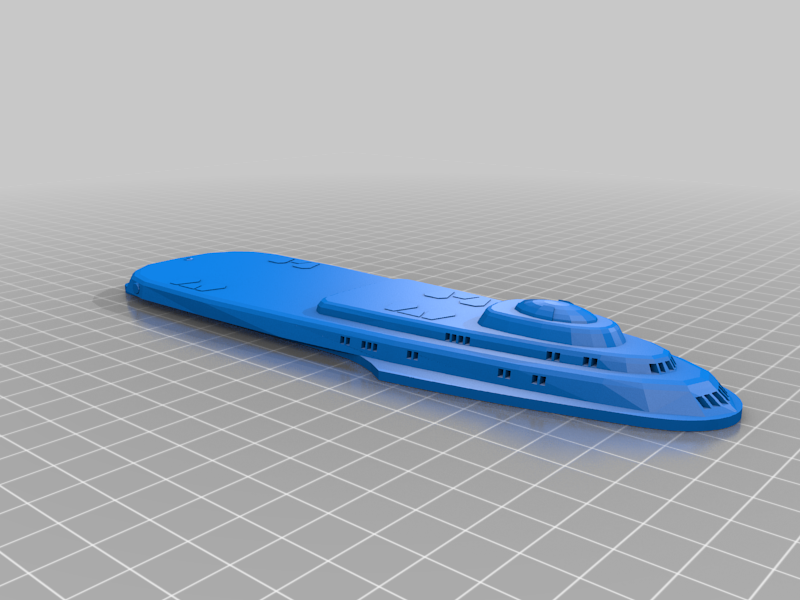
Large Star Trek Enterprise 1701 E 4-Foot - improved parts
thingiverse
This is a remix of **Nenzilla**'s great (!) original model - all credits for the "model kit like" design go to him. As the base model may have originated from a computer game it differs significantly in various aspects. Especially bridge and nacelles are vastly different and somewhat dull looking. For my ongoing build I modded these parts with the more accurate ones from **nd4spd1919**'s Enterprise E (https://www.thingiverse.com/thing:1306177), as well as the deflector and added some additional windows where I deemed it appropriate. For building the ship you will still need Nenzilla's model as a base (https://www.thingiverse.com/thing:3333439), just replace the original parts with the modded ones where it makes sense to you (scale is 1:1). Building tips (you can also checkout my "Make" for this "Thing" entry): 1. The STLs intended for transparent parts in **NenZilla**'s files (e.g. impulse drive covers or nacelle covers) are not needed here. The nacelles will take **385x25mm transparent acryclic tubes** (preferably bead-blasted, with matte finish) for simplified lighting with LED strips (dimensions only valid for the 4 foot version). There are holes and channels to allow for installing navigational LEDs and cabling. The openings of the impulse drive outlets and bussard collectors can be closed with pre-cut matt-finished foils (I recommend to salvage it from a dead LCD screen for example, the light diffusion foils there can be helpful, too, to ensure uniform illumination). 2. I have added a Captain's yacht based on **Snickett**'s great STL (https://www.thingiverse.com/thing:3438141). It can take in a small neodym magnet to be clipped to its socket on the underside of the saucer section (which needs another magnet then of course). 3. Ensure to print Bridge and yacht with maximum FDM printer resolution or - way better - get them printed with a resin printer as there are tiny details! 4. I have added escape pods and phaser strips. It is recommended to sand and paint them before installation (numbered strip parts are installed clockwise). For placement reference you can check out the picture gallery here: https://www.ex-astris-scientia.org/scans/sovereign1.htm 5. I have added window-inlays for the gallery above the saucer shuttlebay and the six larger window openings on the saucer's bottom side. There is also an inlay with doors for said saucer shuttlebay. 6. I have added a spacer plus an improved deflector disc which has been designed like it appeared in "First Contact". I recommend to print it in black material with SLA or - in case only FDM is accessible to you - be sure to swap to a very fine nozzle, e.g. 0.2mm. 7. Added two covers for the two pylon's cable ducts. These are a little fragile along the recesses. If FDM: Ensure to print with 100% infill and a fine nozzle (0.2mm) for multiple 0.1mm layers. The surface will need a light polish after printing for a smooth appearance. 8. Added grills as covers for the impulse drive outlets. Recommended to SLA-print with non-translucent resin. **As this is an ongoing work-in-progress project, I might add further improved files in the future, feel free to check back again some time from now...**
With this file you will be able to print Large Star Trek Enterprise 1701 E 4-Foot - improved parts with your 3D printer. Click on the button and save the file on your computer to work, edit or customize your design. You can also find more 3D designs for printers on Large Star Trek Enterprise 1701 E 4-Foot - improved parts.