Larger HDD case for retrofitting LaCie Rugged Thunderbolt 2 interface with 5TB HDD - NO SUPPORTS NEEDED
prusaprinters
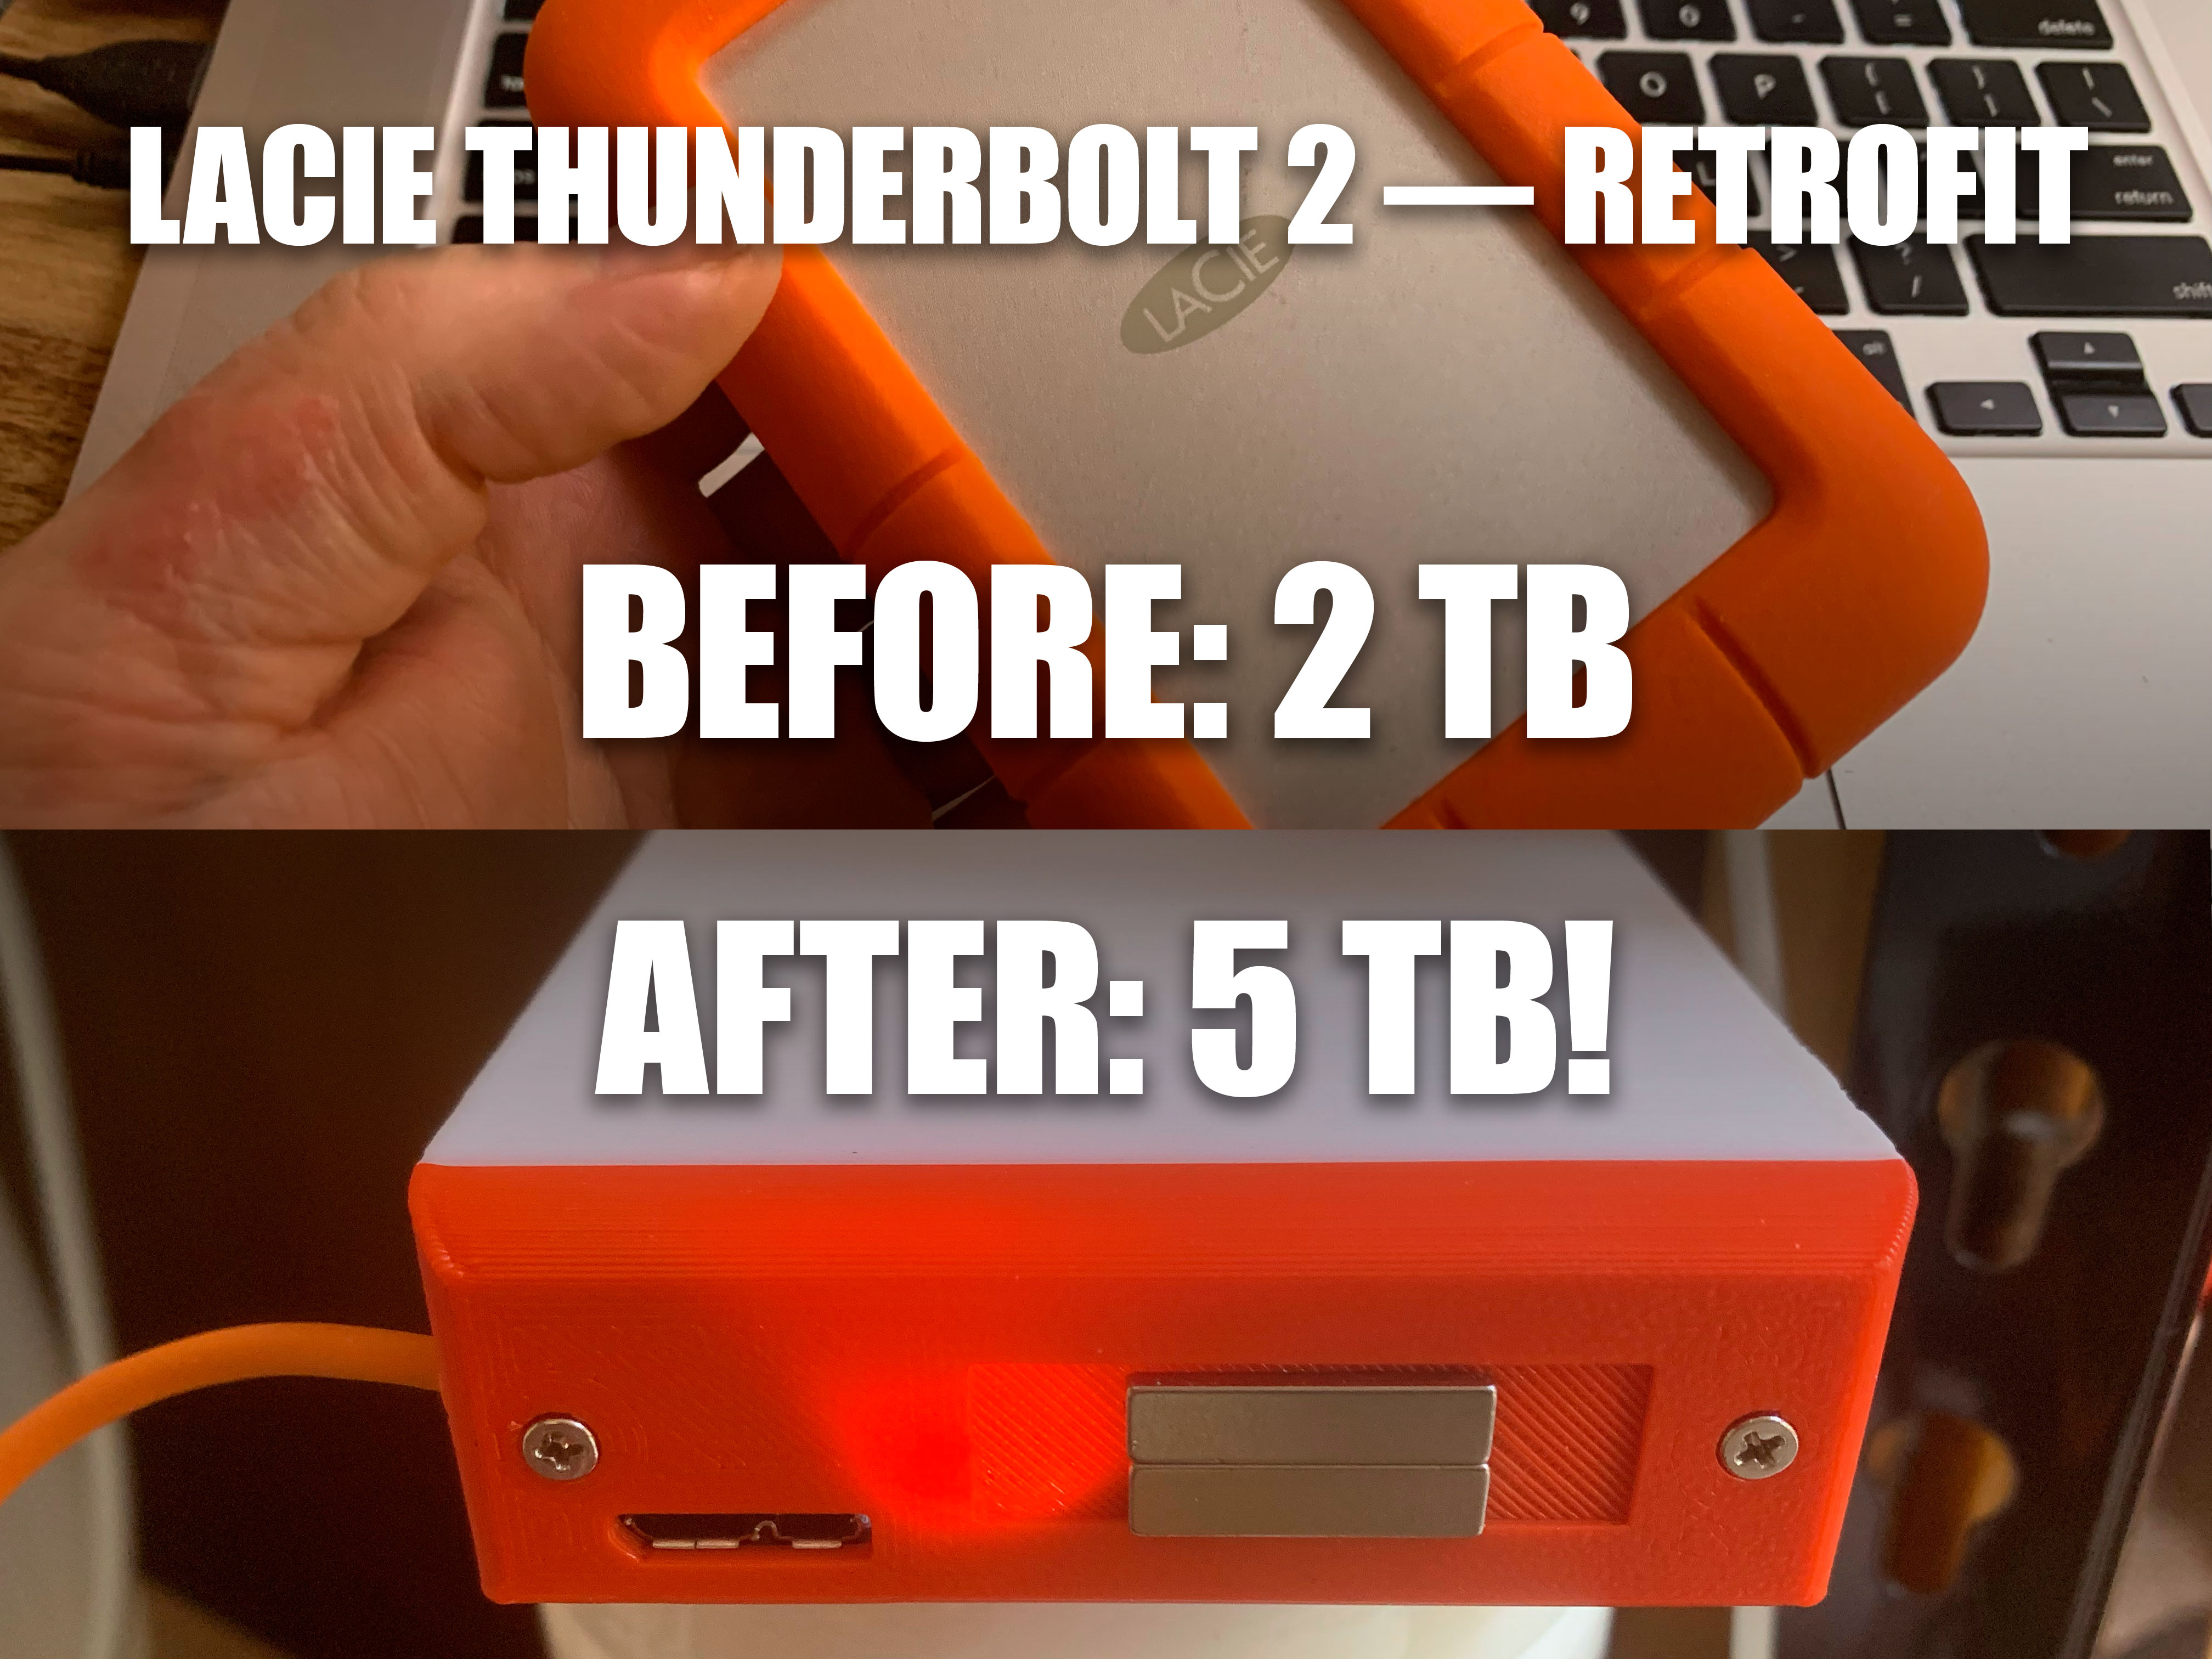
<p> </p><p>I have and use two nice, older MacBook Pro laptops (Retina, mid-2015) that have older, slower USB ports, yet have Thunderbolt 2 ports (which are still decent, speed wise, to this day). </p><p>I had a LaCie Rugged portable HDD with a Thunderbolt 2 interface/connector cable. It originally had a 1 TB HDD. I had previously retrofitted it with a 2 TB HDD. I wanted more space in it, since my MacBook Pro laptops have 4TB SSD's in them. However, the LaCie Rugged portable HDD case is made for 2.5" HDD's that are about 9mm thick, while a 2.5" HDD that is 5 TB (<a href="https://amzn.to/3yJCJdJ">price: about $110 in this listing on Amazon</a>) is about 15mm thick. The thicker HDD won't fit inside the OEM LaCie case.</p><p>So, I designed this 3D printed case to hold a new, thicker 5 TB HDD — as well as holding the existing LaCie Thunderbolt 2 interface and its built-in data cable, all while using only existing hardware (the original screws and the provided flat, thin neodymium magnet that is apparently intended to help hold the data cable whenever it is stowed away). </p><h5>Steps: </h5><ol><li><a href="https://amzn.to/3yJCJdJ">Bought this Seagate 2.5" SATA HDD, 5 TB (about $110 on Amazon)</a>.<br> </li><li>Searched YouTube for “disassemble LaCie rugged thunderbolt hard drive” —watched video. <br><br>The video shown below is “spot on” for the case opening and hard drive removal. However, the remainder of that video is not really applicable, as that guy was retrofitting an SSD instead of installing another, physically larger HDD. <br> </li><li>Searched YouTube for “disassemble Seagate portable hard drive” —watched video, shown below.<br> </li><li>Designed and printed my new case you see available here. <br> </li><li>Removed the HDDs and controllers/interfaces from both the LaCie (old drive) case and Seagate (new drive) case.<br> </li><li>Installed the LaCie <i>interface</i> (and data cable) onto the new Seagate HDD. Reattached the aluminum foil stick-downs on on the HDD. Installed both that interface and the new drive into the new 3D-printed case.<br> </li><li>Installed the Seagate <i>interface</i> onto the old HDD. Reattached the aluminum foil stick-downs on on the HDD. Installed that interface and old drive into the new Seagate portable drive case. (The old 2TB HDD is still good, and still usable, only now via USB 3, which is backward compatible with my old USB 2 ports, just at a loss of available bandwidth.)<br> </li><li>Since I am on MacOS, I used the Mac Disk Utility app to reformat the new 5 TB hard drive (it comes from the factory with NTFS formatting for Windows). <br> </li></ol><h5>Notes: </h5><ul><li>Parts are intended to be printed in the same orientation as shown in the STL files.<br> </li><li>Parts are printable with no supports needed. The pocket for holding the slim magnet requires that your printer should be capable of modest bridging over a reasonable distance.<br> </li><li>Parts were designed for printing at 0.3mm layer height, with 0.6mm wall width, but should also print well at finer resolutions, such as for a stock 0.4 nozzle. I have Cura slicer set to output such that my stock 0.4 nozzles can emulate 0.6 nozzles, using the above height and thickness. Also one of my printers now actually has a 0.6 nozzle, so for it, Cura not only outputs the above height and thickness, but does so for printing things even more quickly. <br> </li><li>There is an LED on the controller/interface (that signals connection and transmission activity), for which the OEM case has a clear, plastic, optics piece that conveys the light to a small round window on the case end. My 3D printed plastic piece is translucent enough that the light's output can be seen right through the plastic. I'm happy with that. <br> </li><li>While doing this retrofit, I managed to break the flat, thin neodymium OEM magnet, so instead I used a couple of other magnets I had on hand. You should be able to use the OEM magnet (careful, it's kind of fragile). It can be attached to the new case end with CA glue. The OEM magnet is not glued into the OEM case, but rather is merely held in place magnetically; owing to a thin metal sheet attached to the inside of the OEM case end. As far as I know, the magnet's only purposes are to hold the data cable end in place when it's stowed, and perhaps also to serve as “screw storage” while working with the drive/case.<br> </li><li>Seagate HDD link to Amazon is an affiliate link. </li></ul><h5>FAQ:</h5><ul><li><strong>Q:</strong> Are there heat dissipation problems by switching from the aluminum metal sleeve of the original LaCie case to the all-plastic sleeve of the 3D-printed case?<br> </li><li><strong>A:</strong> No. I found a great hard disk drive S.M.A.R.T. monitoring app, named DriveDX, and I'm using it to monitor the new drive's temps during a lengthy stress test (of doing a Time Machine backup, which takes multiple days to complete). The drive's manufacturer (Seagate) says the recommended max temp is 50c, and my real-life temps have been between 42c and 48c. Also consider that while the original LaCie case had a metal sleeve, the original Seagate case (from which the new HDD was taken) did not have a metal sleeve. Its case was all plastic with no vents or cracks. Thus, it does not seem to be against the drive manufacturer's specs to operate the drive in an all-plastic case.</li></ul><h5>Caveat:</h5><ul><li>Removing the drive will probably void any warranty.</li></ul><p><strong>Video (not mine) on disassembly of LaCie rugged Thunderbolt drive:</strong></p><figure class="media"><oembed url="https://www.youtube.com/watch?v=D9mglHTQWW0"></oembed></figure><p><strong>Video (not mine) on disassembly of Seagate portable hard drive:</strong></p><figure class="media"><oembed url="https://www.youtube.com/watch?v=ewrU-y75Kog"></oembed></figure><p> </p><p><strong>My PayPal tip jar: </strong><a href="https://paypal.me/design8studio"><strong>https://paypal.me/design8studio</strong></a><strong> </strong></p><p> </p><p><strong>Various LowRider 3 CNC remixes:</strong></p><ul><li><a href="https://www.printables.com/social/127223-doug-joseph-design8studio/collections/175217"><strong>LowRider 3 CNC Collection</strong></a></li></ul><p> </p><p><strong>View all my models and remixes on Printables:</strong></p><ul><li><a href="https://www.printables.com/social/127223-doug-joseph-design8studio/models"><strong>Design8Studio 3D models</strong></a></li></ul><p> </p><p><i>*Amazon product links are affiliate links. </i> </p>
With this file you will be able to print Larger HDD case for retrofitting LaCie Rugged Thunderbolt 2 interface with 5TB HDD - NO SUPPORTS NEEDED with your 3D printer. Click on the button and save the file on your computer to work, edit or customize your design. You can also find more 3D designs for printers on Larger HDD case for retrofitting LaCie Rugged Thunderbolt 2 interface with 5TB HDD - NO SUPPORTS NEEDED.